
Snowboard tattoos capture the thrill of carving through powder and the spirit of mountain exploration. If you’re drawn to the rush of snowboarding, these designs turn that passion into permanent art. From simple outlines to bold statements, they reflect freedom and adventure on your skin, inspiring riders and dreamers alike.
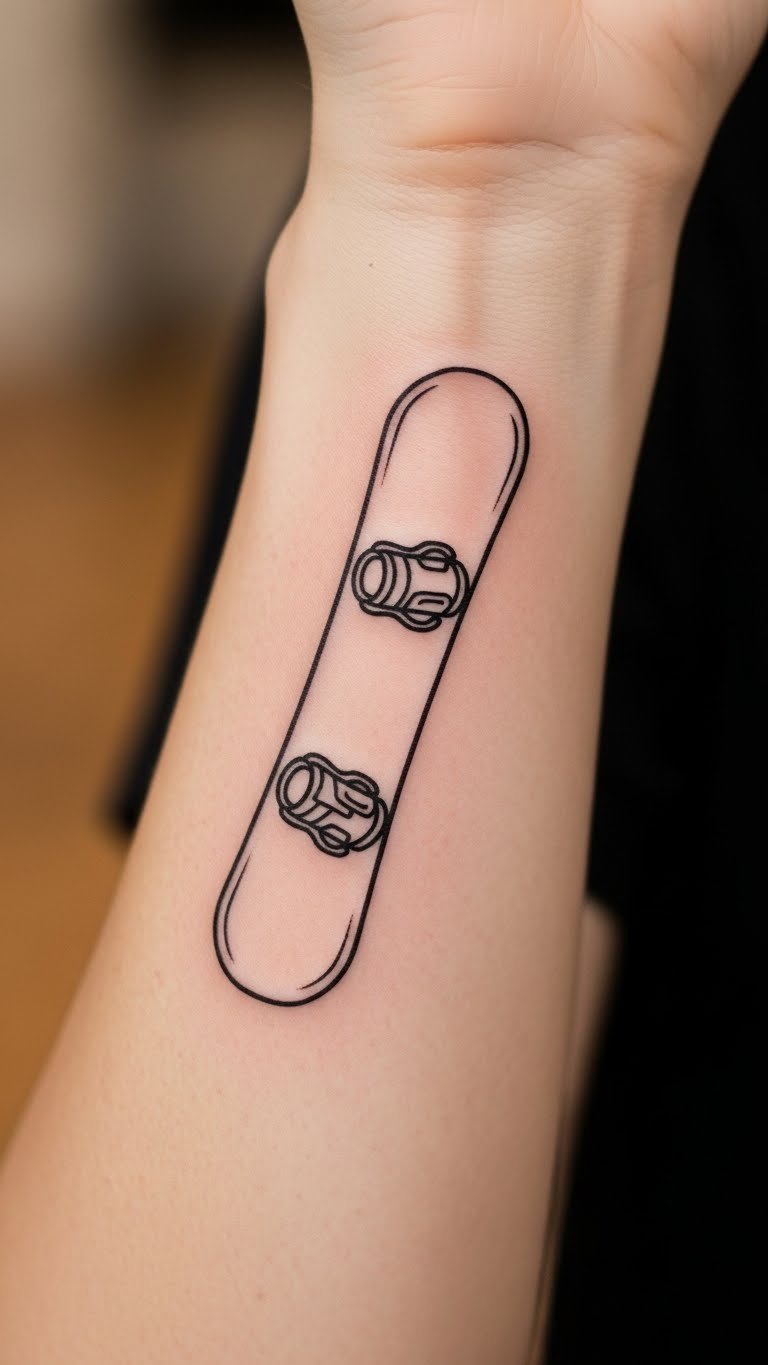
Minimalist Mountain Peaks

Picture a sleek design with just a few lines forming rugged peaks. This minimalist mountain peaks tattoo keeps things straightforward and elegant. Start with a basic sketch on paper using a pen. Think about placing it on your wrist for easy visibility. Budget tip: Use free online tattoo design apps to create your own version before visiting an artist. Grab some tracing paper and pencils for a DIY mock-up at home. It symbolizes adventure without overwhelming detail. Short sessions with an artist keep costs low, around $50–$100. Add a small snowflake for a personal touch. Focus on black ink to save money. Real talk: This style heals quickly, so pick spots like your arm. Experiment with different angles on your phone’s camera for ideas.
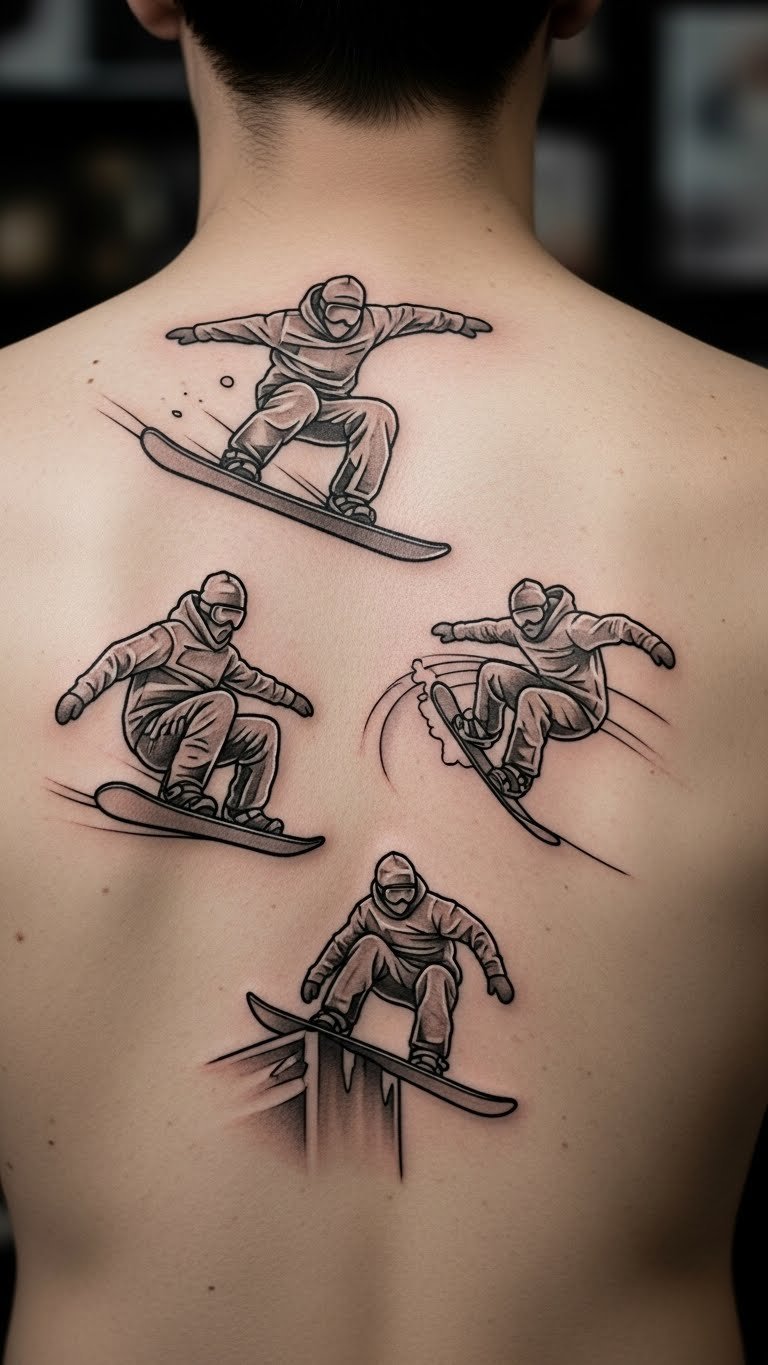
Snowboarder Silhouette in Action
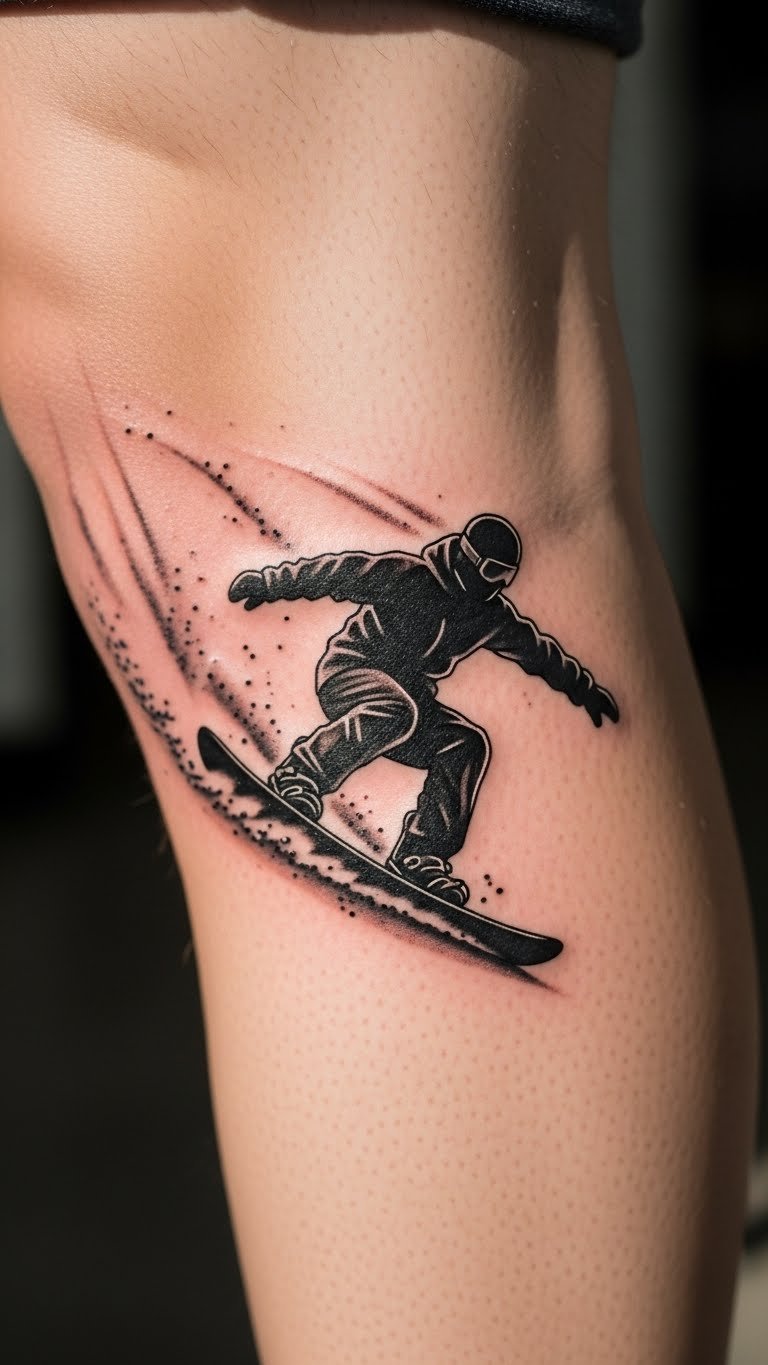
Imagine a bold figure caught in a turn down the slope. This snowboarder silhouette in action tattoo highlights movement and speed. Draw it out first with charcoal on sketch paper. Place it on your leg for a cool effect during rides. Budget tip: Look for local artists offering flash designs for under $150. Try a DIY stencil using household tape and markers to plan it. Keep the design simple to reduce time in the chair. It represents overcoming challenges on the mountain. Add elements like tiny stars for flair. Opt for smaller sizes to cut expenses. Real example: Many riders start with this on their ankle and build from there.
Pop Art Snowboard Design
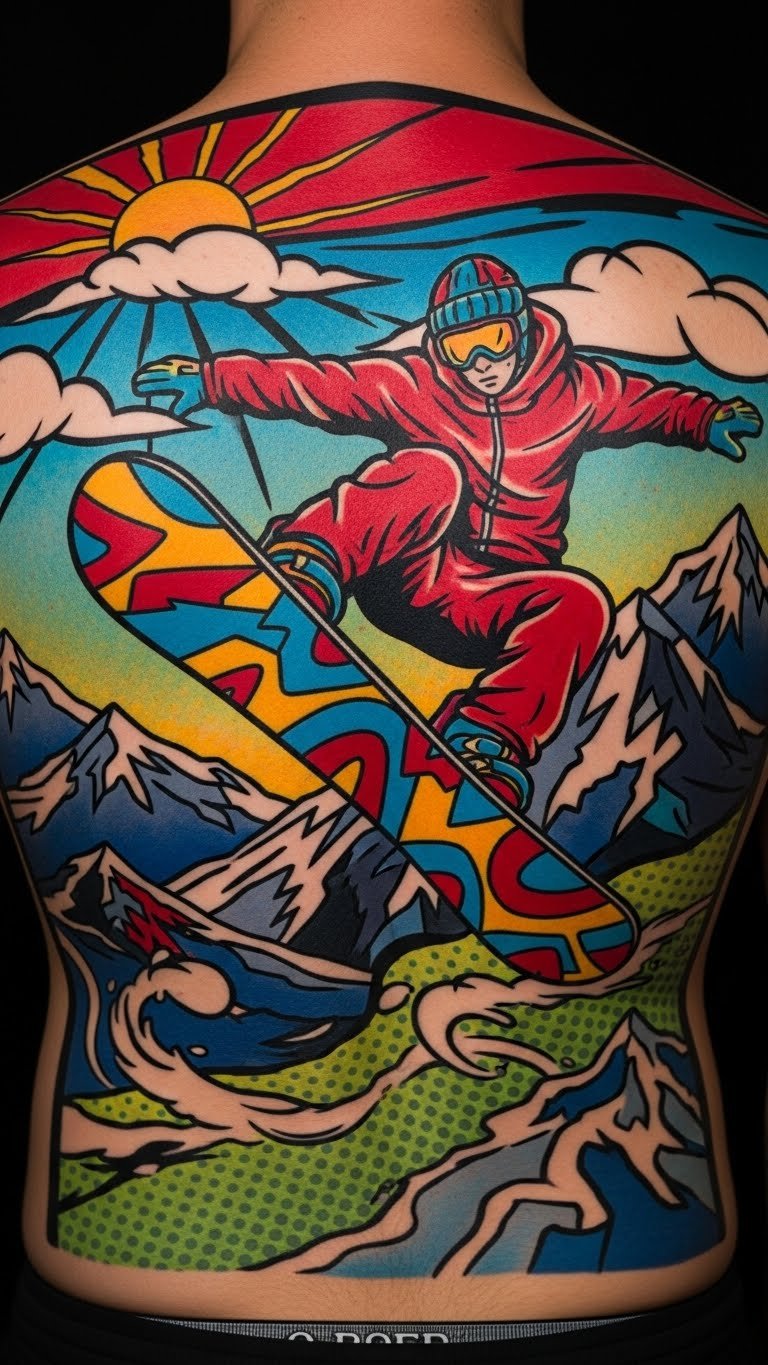
Think vibrant colors and comic vibes for your ink. This pop art snowboard design adds fun to your collection. Sketch ideas with colored pencils at your desk. Position it on your back for a larger canvas. Budget tip: Search for affordable artists at conventions, often $100–$200. Create a DIY version by printing templates from free sites and tracing them. Use basic paints to test colors on paper. It celebrates snowboarding culture with a twist. Keep it small to manage pain and price. Real advice: Pair it with friends for matching sets to share costs.
Retro Comic Boarder Tattoo
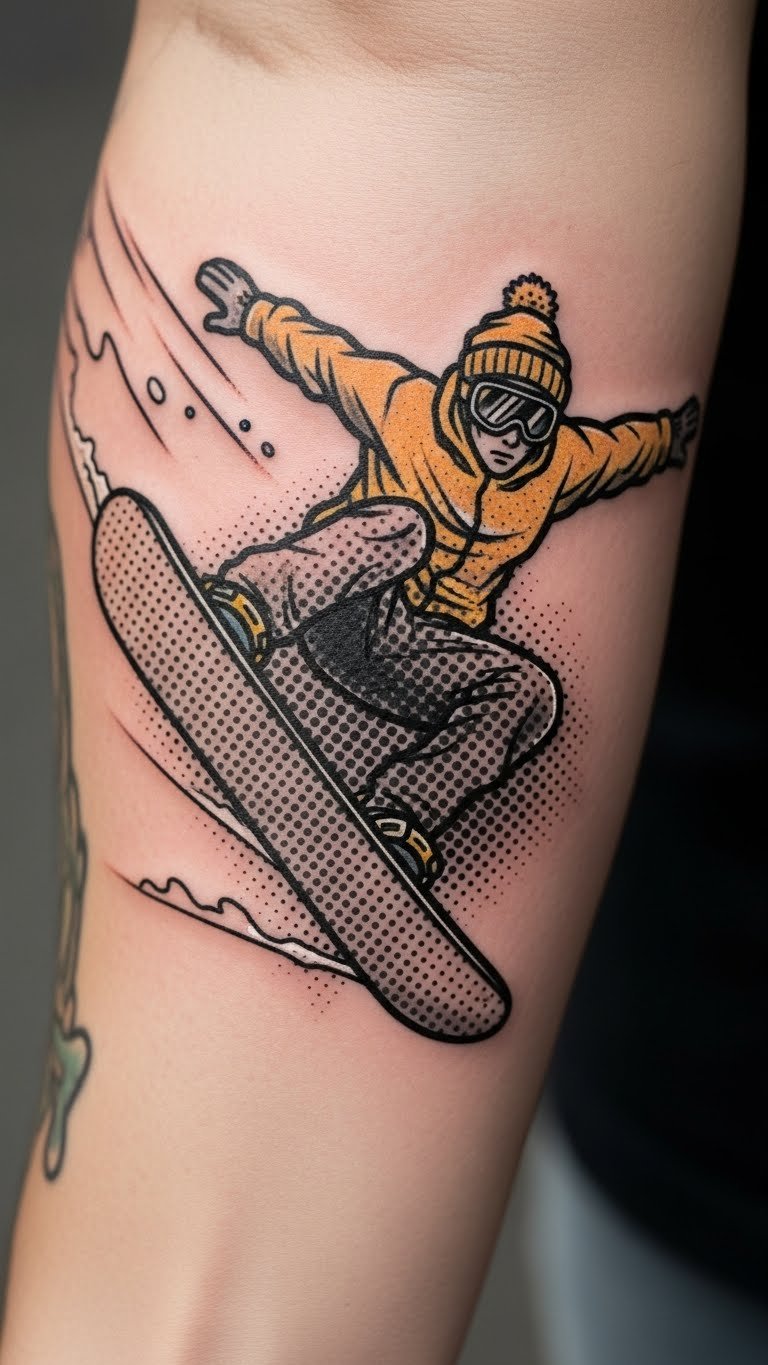
Step back in time with comic-inspired lines and dots. This retro comic boarder tattoo brings playfulness to your skin. Start by doodling on notebook paper with markers. Put it on your forearm for daily views. Budget tip: Find deals on group sessions for about $120. Make a DIY comic strip using apps on your phone to visualize it. Add speech bubbles in your sketch for fun. It echoes adventure stories from the slopes. Go for medium size to keep it affordable. Real tip: Heals fast on less sensitive areas.
Personalized Name on Slopes

Make it yours by adding a name to the design. This personalized name on slopes tattoo mixes text with terrain. Jot down ideas with a basic pen on paper. Wear it on your wrist as a reminder. Budget tip: Opt for small text add-ons for just $30 extra. Create a DIY layout by writing names on graph paper. Incorporate dates for milestones. It shows your unique story on the mountain. Choose spots that are easy to cover for work. Real example: Riders often add family names for motivation.
Quote from the Peaks

Words that inspire can stay with you forever. This quote from the peaks tattoo blends phrases with snow motifs. Write options in a journal first. Place it on your rib for a hidden gem. Budget tip: Use free quote generators online and bring prints to the artist for savings. Sketch with erasable markers for a DIY trial. Pick lines about freedom for impact. It captures the essence of your rides. Keep fonts simple to lower costs. Real advice: Test with temporary tattoos first.
Freedom Symbol with Board

Embody the open air with a bird and board combo. This freedom symbol with board tattoo speaks to wild spirits. Draw birds with crayons as a start. Stick it on your ankle for subtle flair. Budget tip: Look for walk-in shops with basic designs under $80. Make a DIY bird sketch using free drawing tools. Add the board for balance. It represents breaking free on snow. Opt for one-color ink to save. Real tip: Great for first-timers due to small size.
Snowflake and Board Fusion
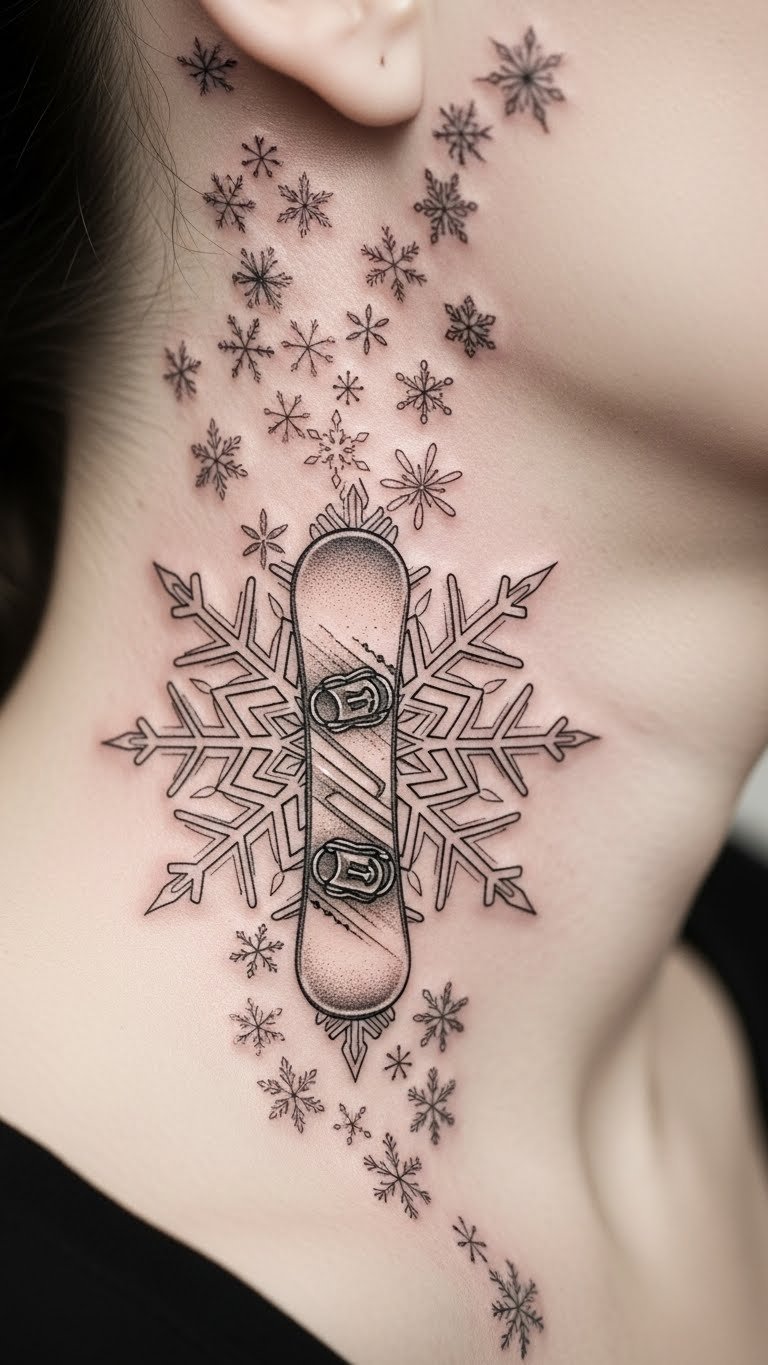
Mix winter magic with your gear. This snowflake and board fusion tattoo layers patterns beautifully. Trace snowflakes on plain paper. Position on your neck for a bold statement. Budget tip: Combine elements in a single session for around $90. Use stencils from craft stores for DIY planning. Make it symmetrical for appeal. It highlights seasonal joy. Go small to reduce discomfort. Real example: Perfect for winter lovers expanding their collection.
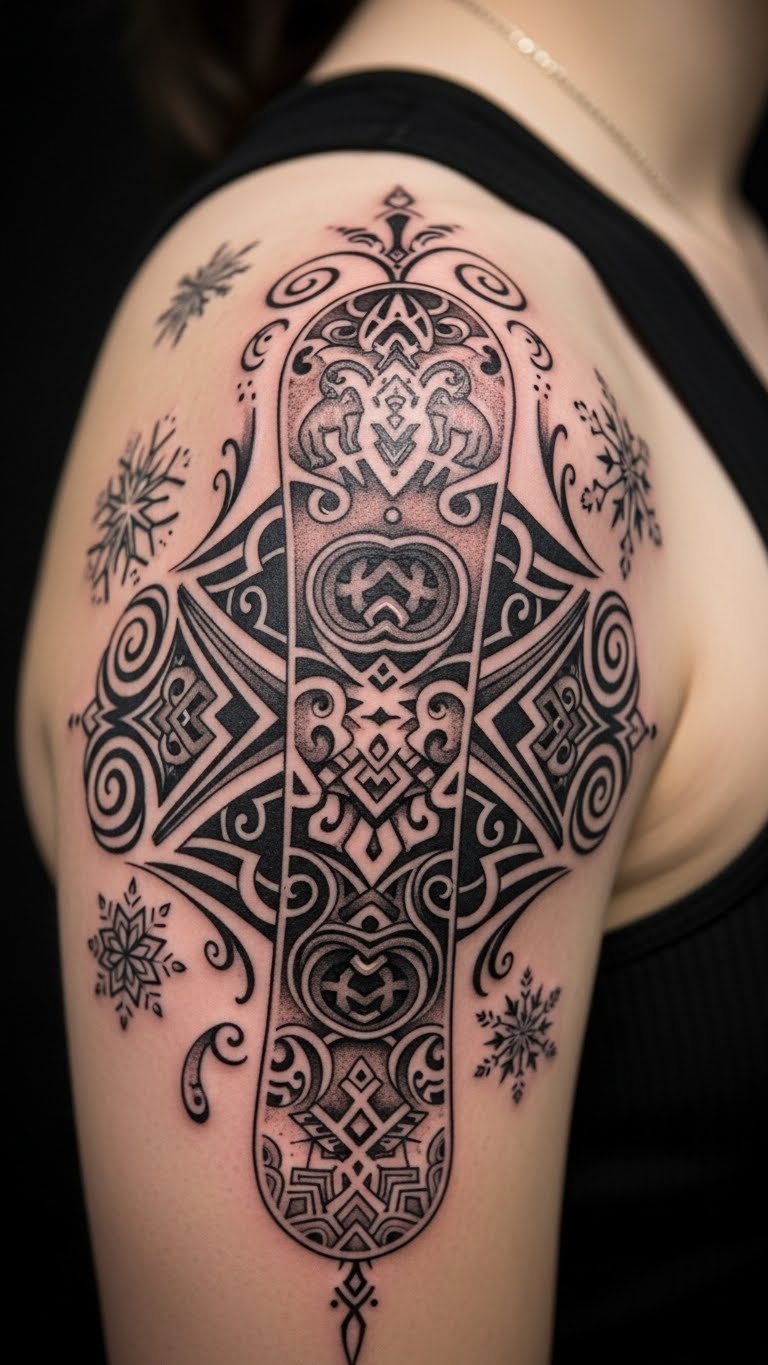
Gear-Inspired Board Tattoo
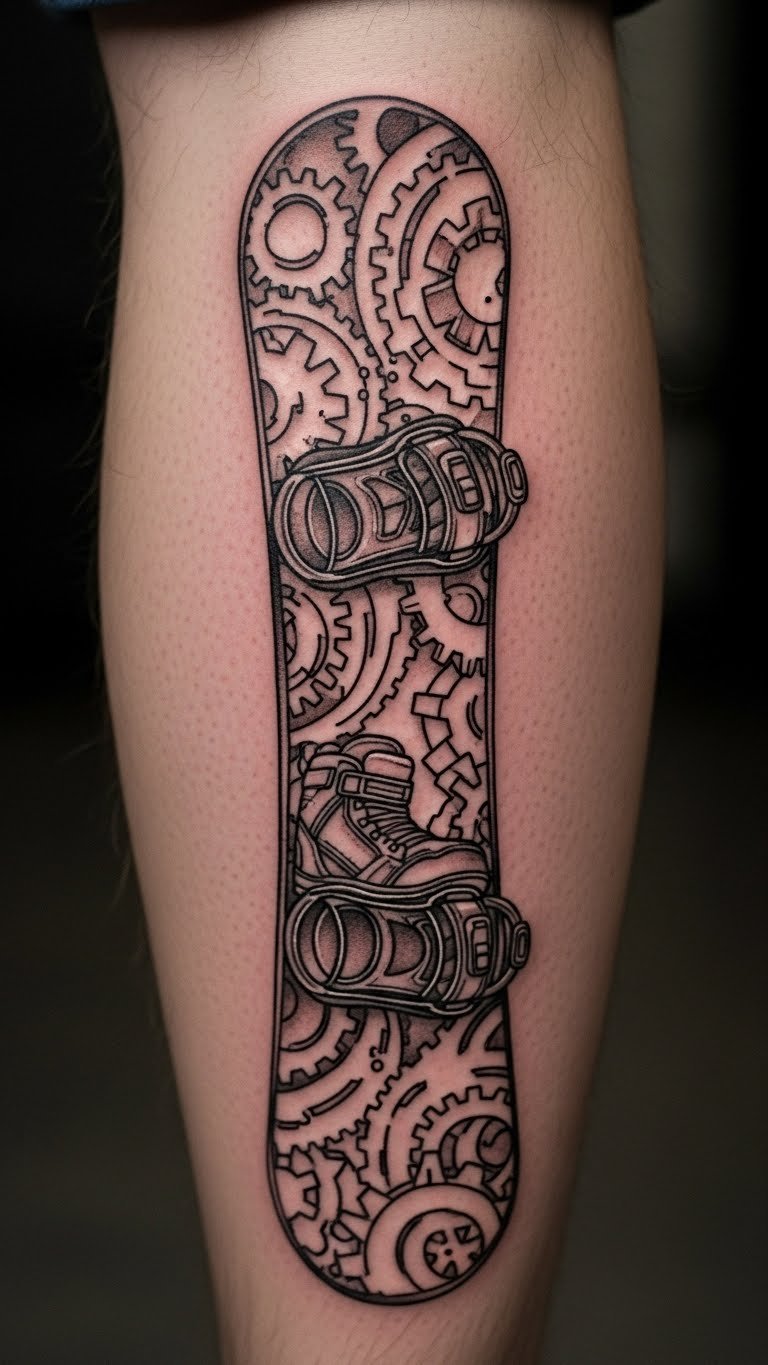
Show off your equipment in ink. This gear-inspired board tattoo focuses on realistic details. Sketch boards from photos at home. Put it on your leg for action vibes. Budget tip: Request simple outlines to keep costs at $70. Create a DIY version with photos and tracing paper. Add boots for completeness. It pays tribute to your setup. Choose black and gray for affordability. Real advice: Easy to cover if needed.
Destination Mountain Scene

Bring favorite spots to life. This destination mountain scene tattoo recreates memorable views. Map out peaks on a drawing pad. Place on your back for grandeur. Budget tip: Use reference images from free sites to guide the artist, saving time. Draw rough scenes with pencils for DIY fun. Include a small figure for scale. It evokes travel memories. Keep it stylized to cut expenses. Real tip: Ideal for frequent travelers.
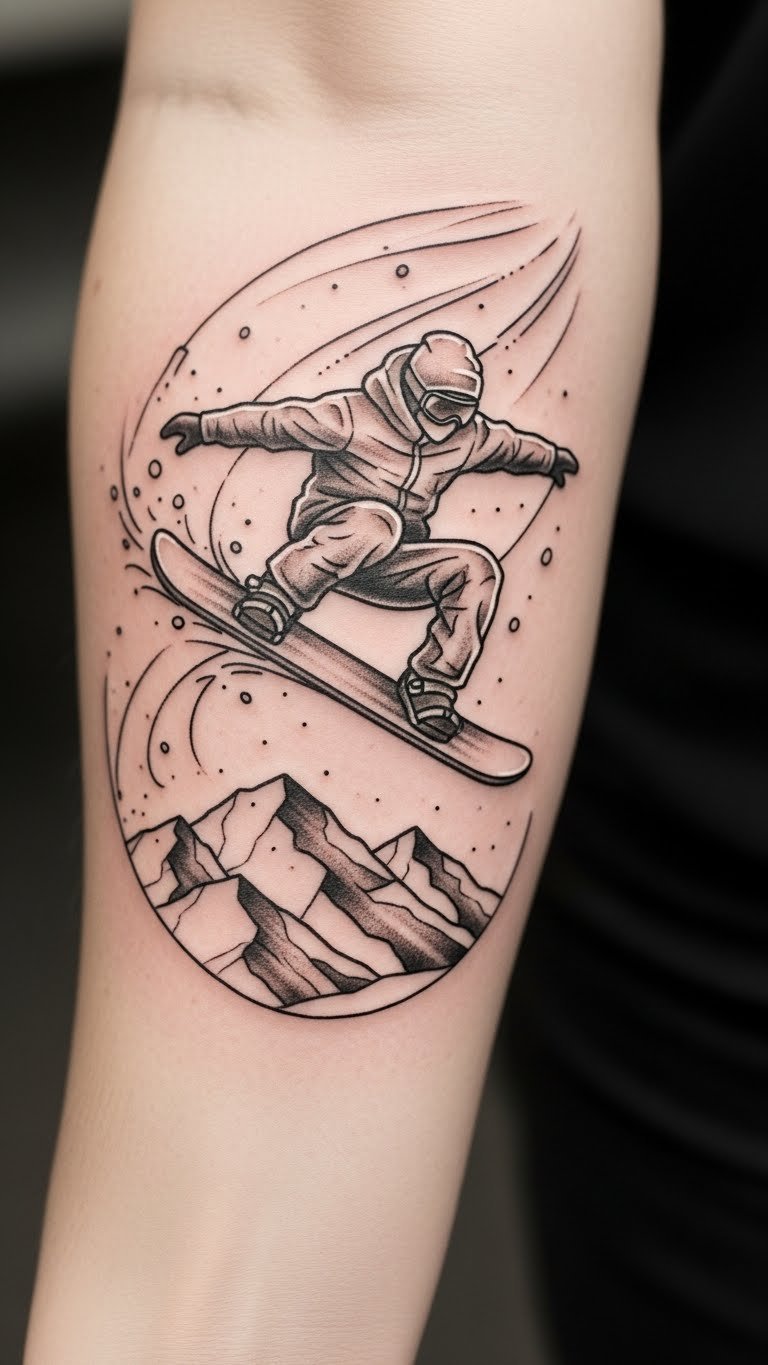
Freestyle Jump Design

Capture the air time thrill. This freestyle jump design tattoo shows flips and twists. Practice drawing jumps on scrap paper. Wear it on your arm as a badge. Budget tip: Go for line-only versions for about $60. Use action photos to make a DIY sketch. Add tricks for personality. It celebrates your style. Opt for smaller details to manage budget. Real example: Popular among park riders.
Milestones Like First Run

Mark your achievements permanently. This milestones like first run tattoo includes dates and paths. Note dates in a notebook first. Put it on your wrist for quick glances. Budget tip: Add text for just $40 more. Create a timeline drawing at home. Make it personal with symbols. It tracks your progress. Keep it minimal for low cost. Real advice: A great starter tattoo.
Animal Companion on Snow

Pair wildlife with winter fun. This animal companion on snow tattoo features beasts like wolves. Sketch animals from books. Position on your shoulder for strength. Budget tip: Combine with existing designs for discounts. Use animal stencils for DIY ideas. Add snow elements for cohesion. It adds a wild touch. Go for outlines to save money. Real tip: Heals well on muscular areas.
Seasonal Winter Vibes

Embrace the chill of the season. This seasonal winter vibes tattoo mixes trees and snow. Draw seasonal scenes on cardstock. Place on your calf for visibility. Budget tip: Use seasonal themes to find sales, around $100. Create mood boards with magazine cutouts for DIY. Include flurries for depth. It captures yearly excitement. Keep colors limited for affordability. Real example: Refreshing for annual riders.
Event-Themed Competition Ink

Remember big events with style. This event-themed competition ink tattoo highlights races. List events in a planner. Wear it on your arm as a trophy. Budget tip: Share designs with friends for group rates. Sketch podiums with rulers for DIY. Add your event for uniqueness. It honors victories. Opt for simple shapes to reduce cost. Real advice: Motivates for future contests.
Memory Lane First Jump

Relive key moments in ink. This memory lane first jump tattoo tells your story. Jot memories in a diary. Put it on your leg for storytelling. Budget tip: Incorporate dates cheaply with basic fonts. Use old photos for DIY sketches. Make it heartfelt. It preserves experiences. Keep it compact for budget. Real tip: Emotional and affordable.
Beginner-Friendly Simple Lines
Ease into tattoos with basics. This beginner-friendly simple lines tattoo uses straightforward shapes. Start with straight lines on paper. Place on your forearm for practice. Budget tip: Choose small designs for $50. Draw with straight edges for DIY. Add minimal details. It builds confidence. Go for quick sessions. Real example: Perfect for new riders.
Matching Designs for Friends

Bond with buddies through ink. This matching designs for friends tattoo creates pairs. Plan with friends over coffee. Wear on arms for symmetry. Budget tip: Get matching sets at the same time for deals. Sketch pairs on shared paper. Customize slightly. It strengthens connections. Split costs evenly. Real advice: Fun for group trips.
Famous Rider Tribute
Honor legends with tribute art. This famous rider tribute tattoo features icons. Research riders online. Position on your back for impact. Budget tip: Use public images for inspiration, saving on custom work. Draw icons simply for DIY. Add signatures for flair. It pays respect. Keep it affordable with outlines. Real tip: Inspiring for fans.
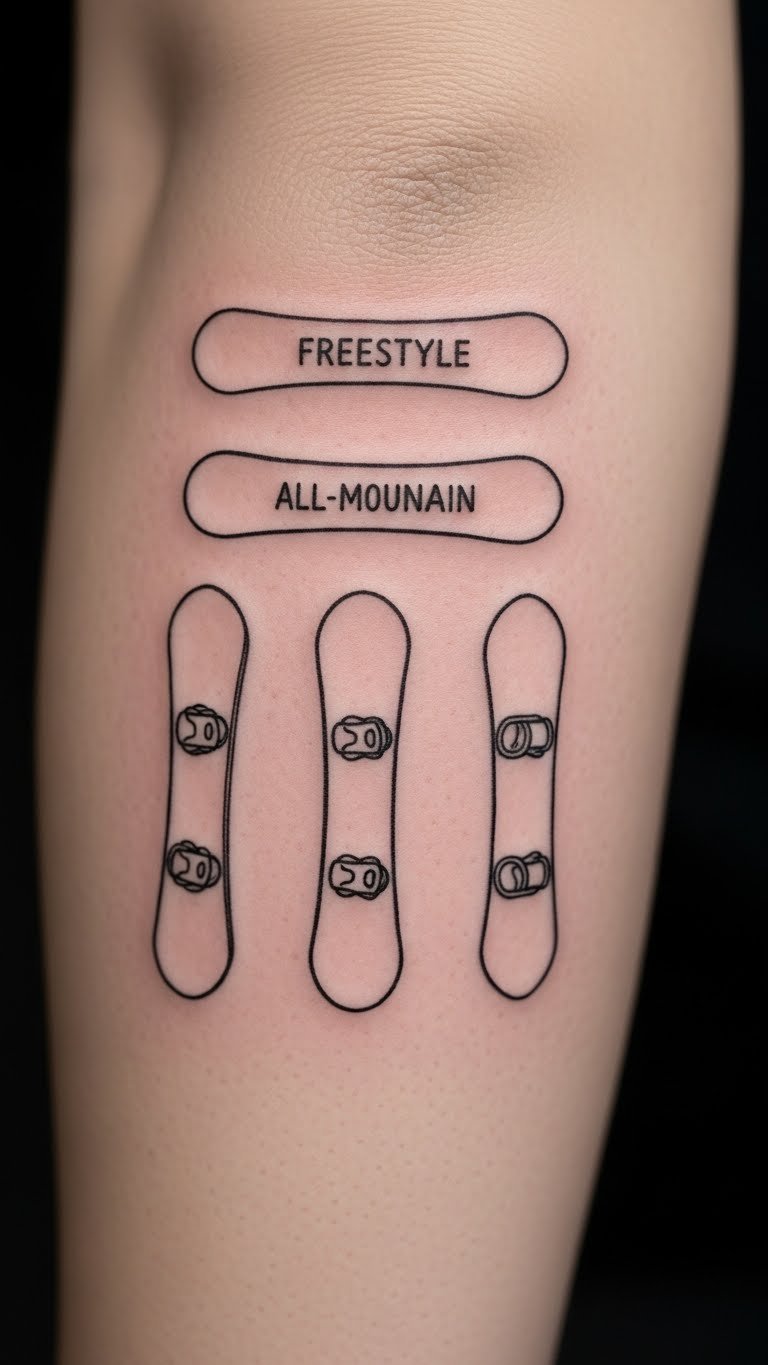
Regional Slope Styles

Reflect local vibes in your tattoo. This regional slope styles tattoo varies by area. Note regional spots in notes. Put on your leg for variety. Budget tip: Adapt to local themes for lower prices. Map out styles for DIY. Include unique elements. It showcases origins. Opt for adaptable designs. Real example: Tailored for different spots.
Tattoo Aftercare Basics
Keep your ink looking fresh. This tattoo aftercare basics focuses on healing. Follow simple steps post-session. Apply on any spot carefully. Budget tip: Use drugstore lotions for under $10. Clean with soap and water at home. Moisturize daily. It ensures longevity. Avoid sun initially. Real advice: Simple routines work best.
Best Placements for Visibility
Choose spots that suit your life. This best placements for visibility tattoo considers location. Think about daily wear. Opt for wrists or arms. Budget tip: Pick easy areas to speed up sessions. Measure spots with string for DIY. Ensure comfort. It enhances enjoyment. Go for visible yet coverable. Real tip: Practical for all.
Speed and Movement Lines

Show the rush in every line. This speed and movement lines tattoo captures motion. Draw curves freely. Place on your calf for flow. Budget tip: Use fewer lines for quick, cheap work. Practice with flowing pens. Add arrows for emphasis. It conveys energy. Keep it streamlined. Real example: Exciting for speed lovers.
Culture-Infused Snow Designs
Blend heritage with snow. This culture-infused snow designs tattoo mixes elements. Research your background. Wear on shoulder proudly. Budget tip: Incorporate simple cultural symbols for savings. Sketch fusions at home. Make it meaningful. It tells a story. Opt for basic versions. Real advice: Deepens personal connection.
Pain-Free Spot Ideas

Find spots that hurt less. This pain-free spot ideas tattoo prioritizes comfort. Test areas gently. Choose outer arms. Budget tip: Select less sensitive spots to shorten sessions. Use pillows for DIY pressure tests. Plan ahead. It makes the process easier. Go for quick designs. Real tip: Start small and build.
Affordable Ink Options

Get art without breaking the bank. This affordable ink options tattoo keeps it simple. Look for deals online. Place on wrist for value. Budget tip: Hunt for flash sales under $60. Draw budget sketches. Compare prices. It offers great bang for buck. Stick to essentials. Real example: Accessible for everyone.
In the end, these snowboard tattoos bring your mountain dreams to life in fresh ways. Pick a design that speaks to you, sketch it out affordably, and find a reliable artist to make it real. Start today and wear your passion proudly.