
Snowboard tattoos capture the rush of carving down fresh powder, blending adventure and personal stories into lasting art. If you’re a rider seeking designs that echo your love for the slopes, this list dives into bold ideas ready to spark your next ink session. From simple silhouettes to vibrant mixes, these tattoos turn your passion into wearable stories, helping you stand out on and off the mountain.
Minimalist Snowboard Outline
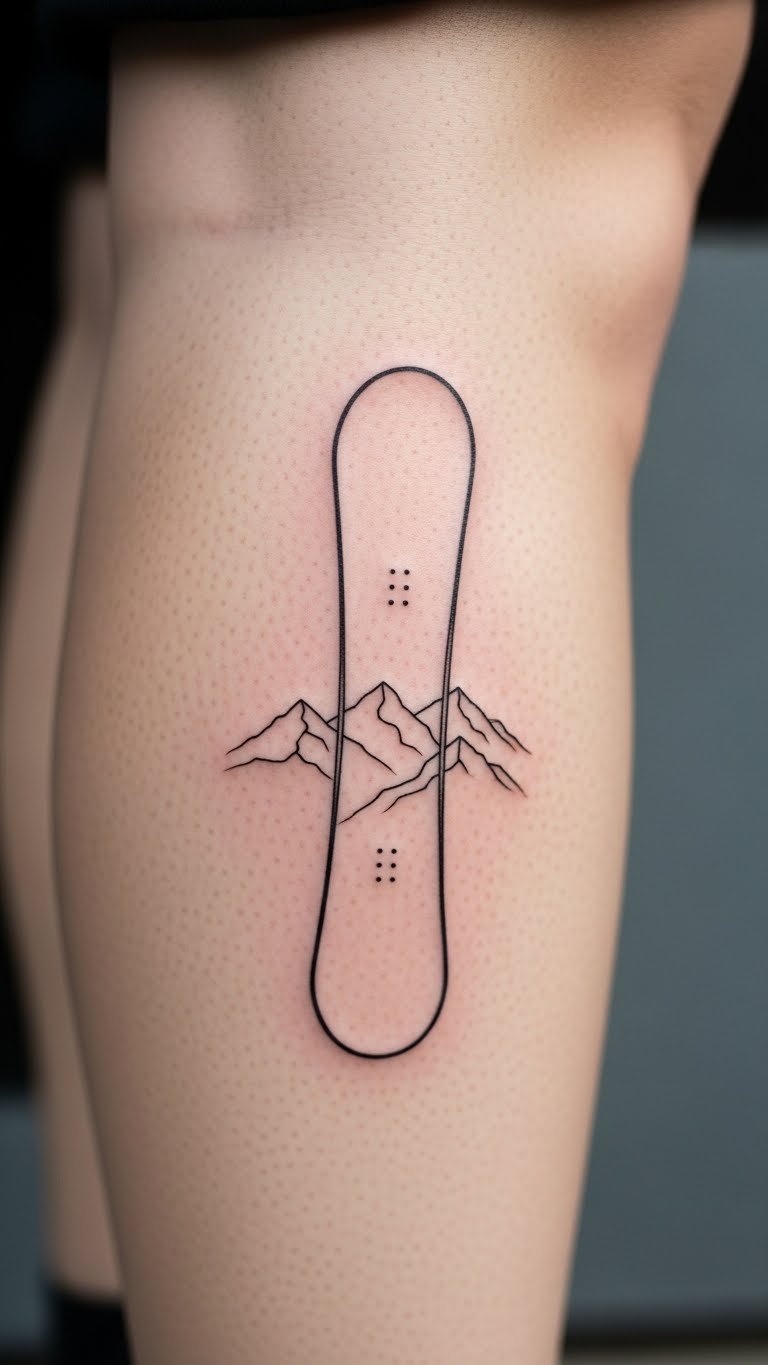
Think of a clean snowboard shape etched on your skin, perfect for everyday wear. Start with a basic outline using just black ink. This keeps things simple and affordable—many artists charge less for straightforward designs. Break it down: Sketch your idea on paper first, then snap a photo for your tattoo session. For a DIY twist, use temporary tattoo kits from online stores; they cost under $10 and let you test the look. Place it on your forearm for easy visibility. Bold the key: try a temporary first. Mix in a small mountain peak for motion. This style ages well, staying sharp through years of rides. Keep costs low by visiting local shops during off-peak times. End result: A tattoo that fits your active life without overwhelming your budget.
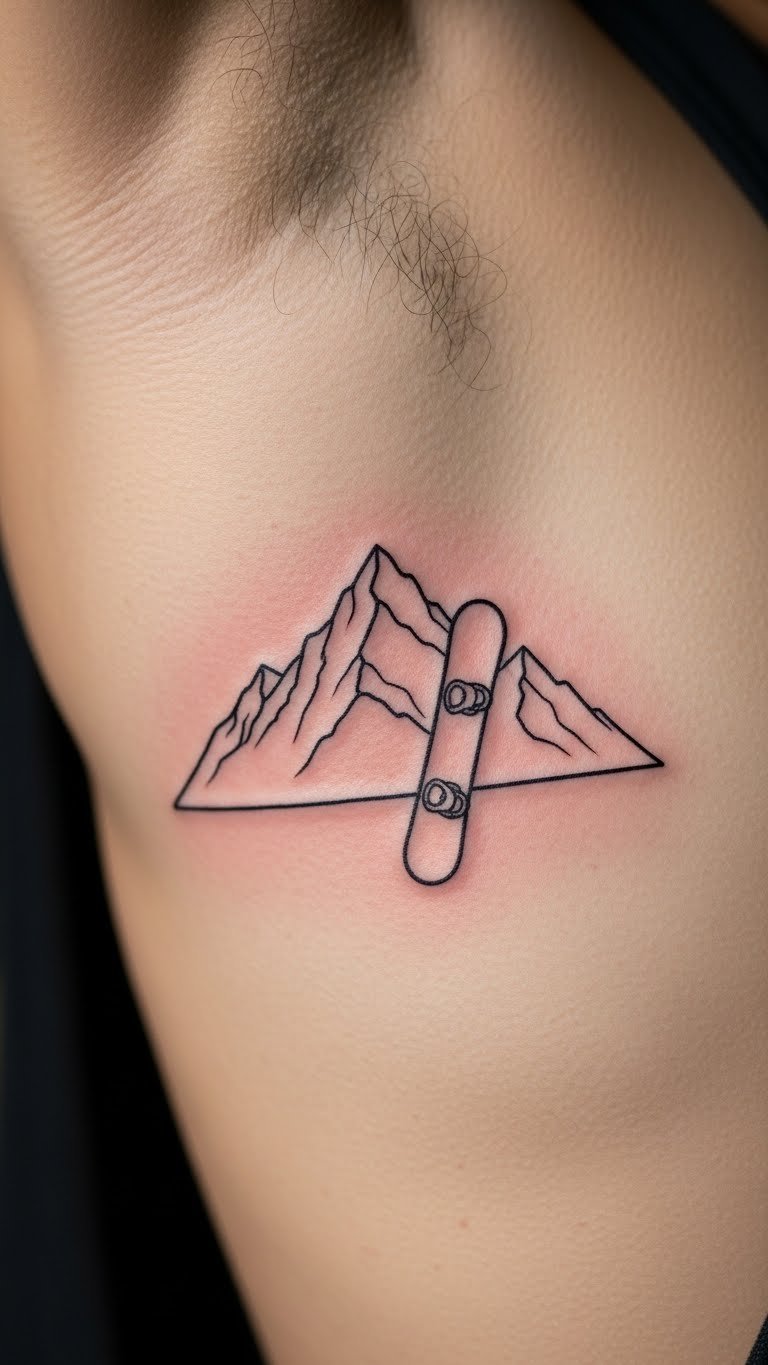
Mountain and Board Fusion

Pair a snowboard with towering peaks for a design that screams adventure. Go for gray shades to add depth without extra color costs. Plan ahead: Draw the layout at home using free apps, then show your artist for tweaks. This saves money on changes later. Add a budget tip: Use stock images from free sites as inspiration, printing them for reference. Place this on your back for a larger canvas. For a DIY feel, apply henna versions from craft stores; they last a week and cost pennies. Mix peaks and boards for flow. The result fits winter trips, fading less over time. Keep it practical: Choose spots that hide under gear during rides.
Floral Snowboard for Women

Blend flowers around a snowboard for a fresh, empowering look. Opt for small blooms in budget inks to keep prices down. Start simple: Trace designs on your skin with washable markers to preview. This helps avoid regrets and extra fees. Shop for affordable henna stencils online, applying them yourself for under $5. Place on your wrist for subtle style. Add floral twists to make it personal. This design works for all, mixing strength with beauty. For longevity, pick spots away from sun exposure. The key: Test with temporaries first, found at drugstores.
Silhouette with Motion Lines

Use motion lines with a snowboard silhouette to show speed on your skin. Stick to black ink for an easy, cheap option. Practice: Draw lines on paper and snap pics to share with your artist. This cuts consultation costs. Try DIY stickers from online templates; they stick for days at low cost. Put it on your calf for movement feel. Incorporate lines for speed. This style stays clear through active days. Bonus: Layer with clear tape over temporaries to extend wear. Keep it fun and functional for your rides.
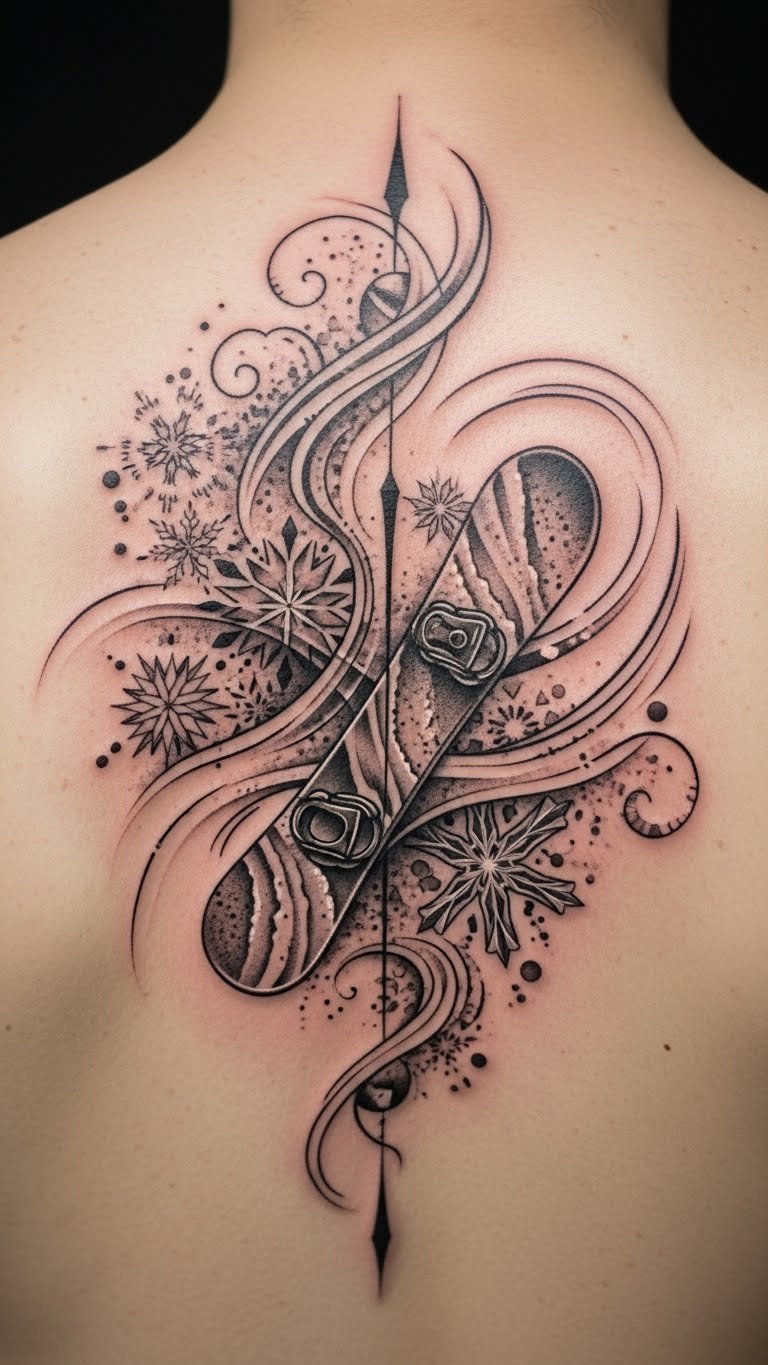
Snowflakes and Board Combo

Combine snowflakes with your board for a winter vibe. Choose basic colors to save money. Sketch ideas on a notebook first, using free tools online. This previews the look without paying extra. Get snowflake stencils for home use; they’re cheap and reusable. Position on your arm for visibility. Blend flakes and boards seamlessly. The design holds up in cold weather. Tip: Use phone apps to edit designs before committing. Make it your own with simple tweaks.
Retro Pop Art Board

Go retro with pop art colors on your snowboard tattoo. Pick a few hues to keep costs low. Design at home using free graphic apps, then print for your artist. This avoids pricey revisions. Try colorful temporary tattoos from variety stores; they cost less than $10. Place on your bicep for impact. Use pop colors boldly. This adds fun to your ink. For care, cover during sunny days to maintain vibrancy. Start small for affordability.
UV-Reactive Snowboard Glow

Make your tattoo glow with UV ink on a snowboard theme. Opt for small areas to cut expenses. Test with glow stickers first; buy them online for cheap. Place on your hand for easy viewing. Add UV for night fun. This works great for evening rides. Keep it simple: Apply sunscreen to protect the ink. The effect lasts with proper care. Experiment with home UV lights to see it in action.
Eco-Friendly Ink Design
Choose eco inks for your snowboard tattoo to match your outdoor spirit. Select basic designs to save money. Research brands online and discuss with your artist ahead. This keeps things straightforward. Use eco temporary options from green stores; they’re affordable. Put it on your thigh for coverage. Go eco for sustainability. The ink holds up well. Tip: Wash with natural soaps to maintain it.
Toronto Winter Vibes

Incorporate Toronto elements with your snowboard for a local twist. Keep designs simple to lower costs. Map out ideas using city photos from your phone. This personalizes without extras. Try local sticker sets as temporaries; they’re budget-friendly. Place on your back for space. Mix city and snow. It reflects your roots. Protect from weather for longevity.
Geometric Board Patterns
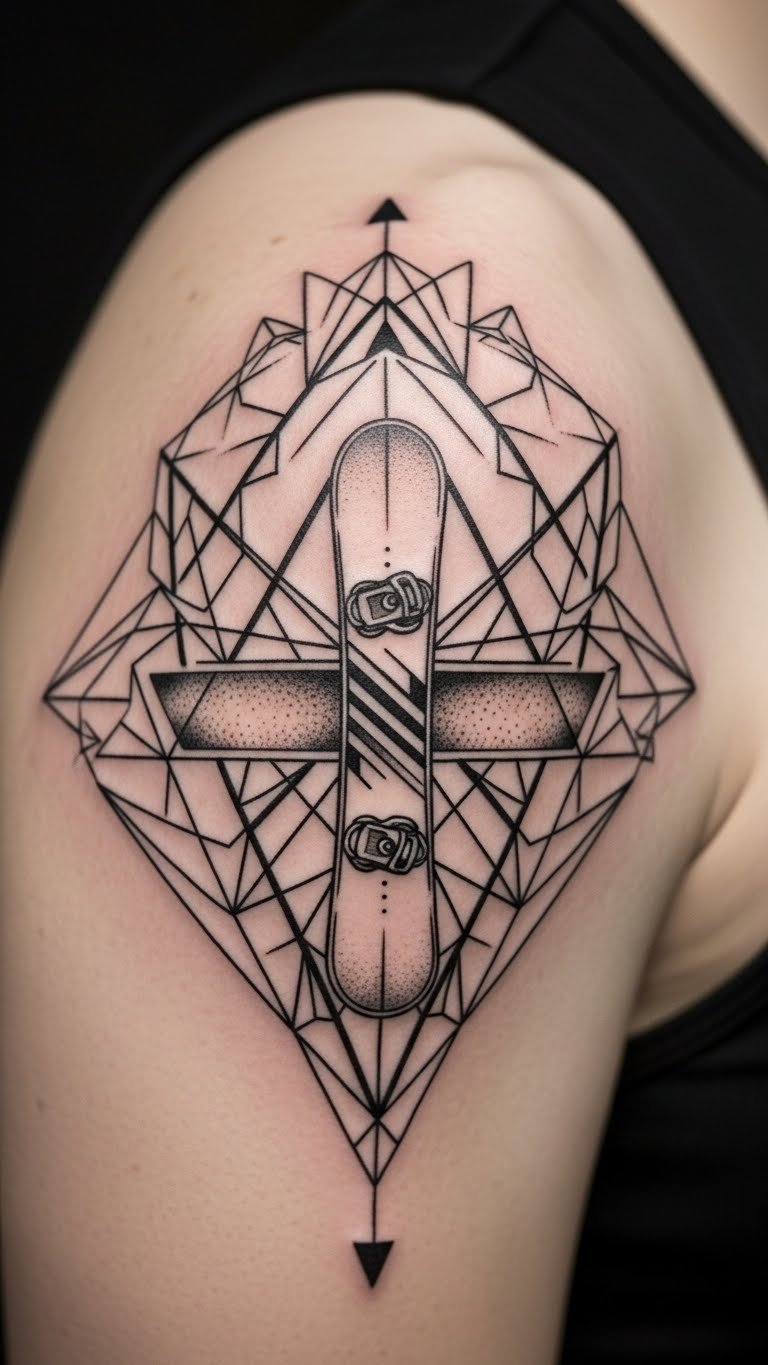
Add geometric shapes to your snowboard for a modern edge. Use straight lines to keep it cheap. Draw patterns on paper first for free. This helps refine your vision. Get geometric stencils online for DIY tests. Position on your shoulder. Layer shapes creatively. The design stays sharp. Use apps to plan it out.
Animal and Board Mix
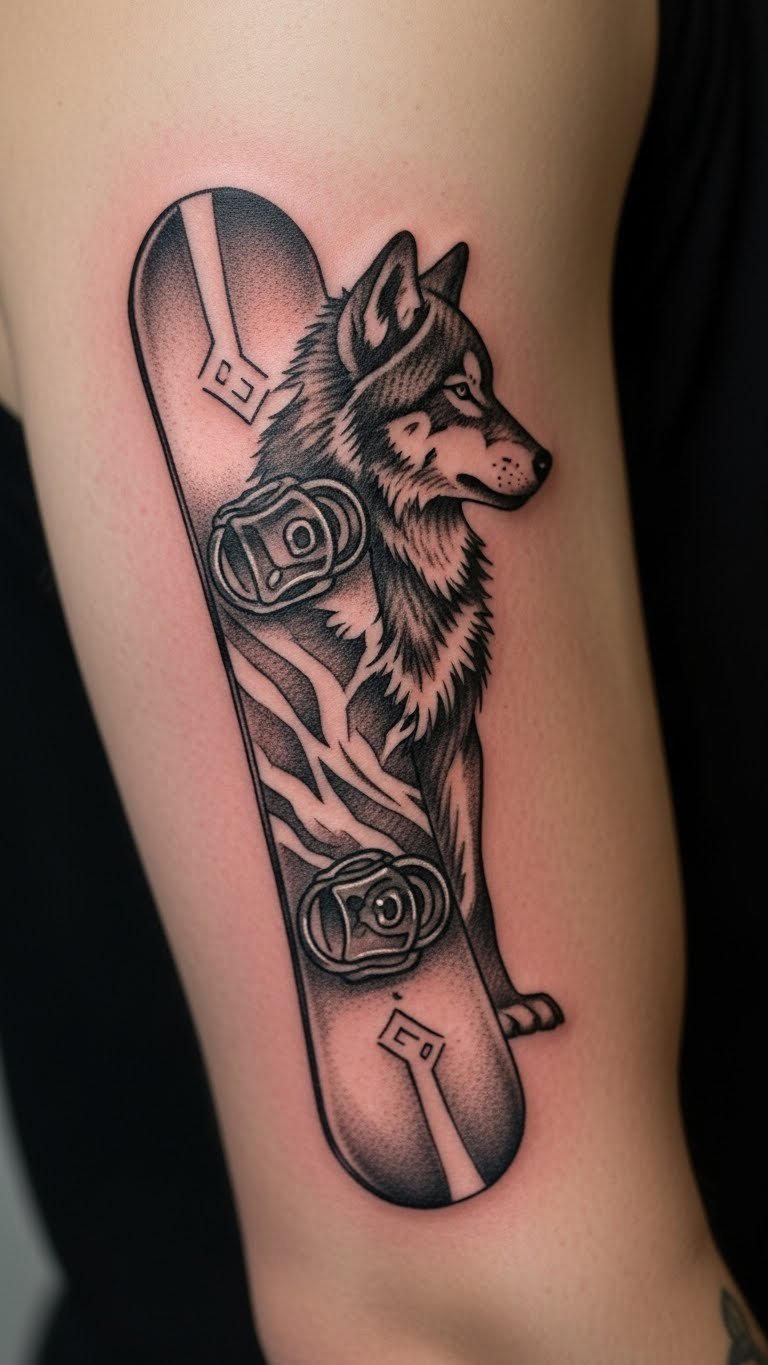
Pair animals with your board for a wild feel. Choose one element to save on ink. Sketch animals from nature books at home. This adds meaning without cost. Use animal stamps for temporary tries. Place on your arm. Blend creatures and rides. It tells a story. Keep it simple for daily wear.
Pine Trees with Snowboard
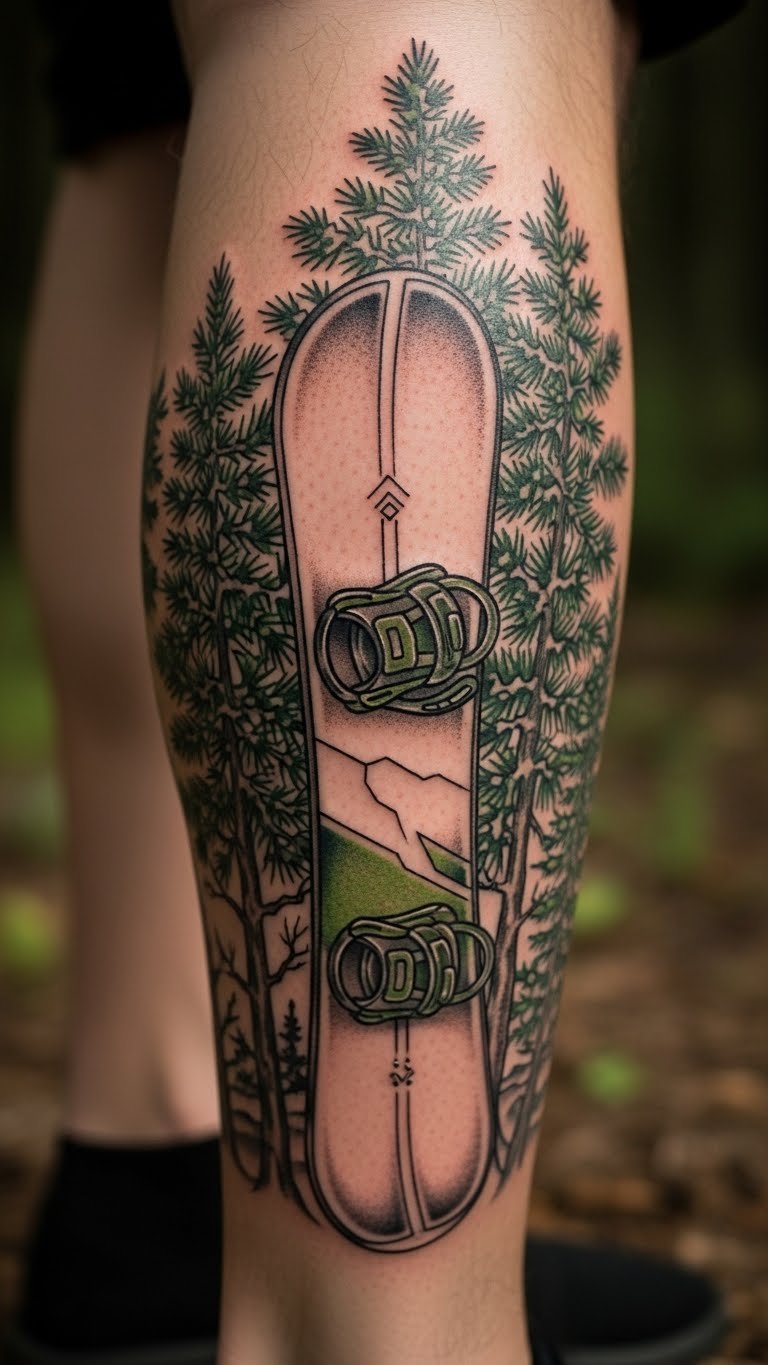
Surround your board with pine trees for a nature link. Stick to two colors for affordability. Draw trees from outdoor photos. This makes it personal. Try tree rub-ons from stores. Put it on your calf. Incorporate trees for depth. The tattoo fits hiking trips. Seal with basic lotions.
Custom Personal Story Ink

Turn your snowboarding tales into tattoo stories. Focus on key symbols to cut costs. Jot down your story and illustrate it simply. This guides your artist. Use storybook stickers as tests. Place on your ribs. Make it your story. It keeps memories alive. Start with sketches.
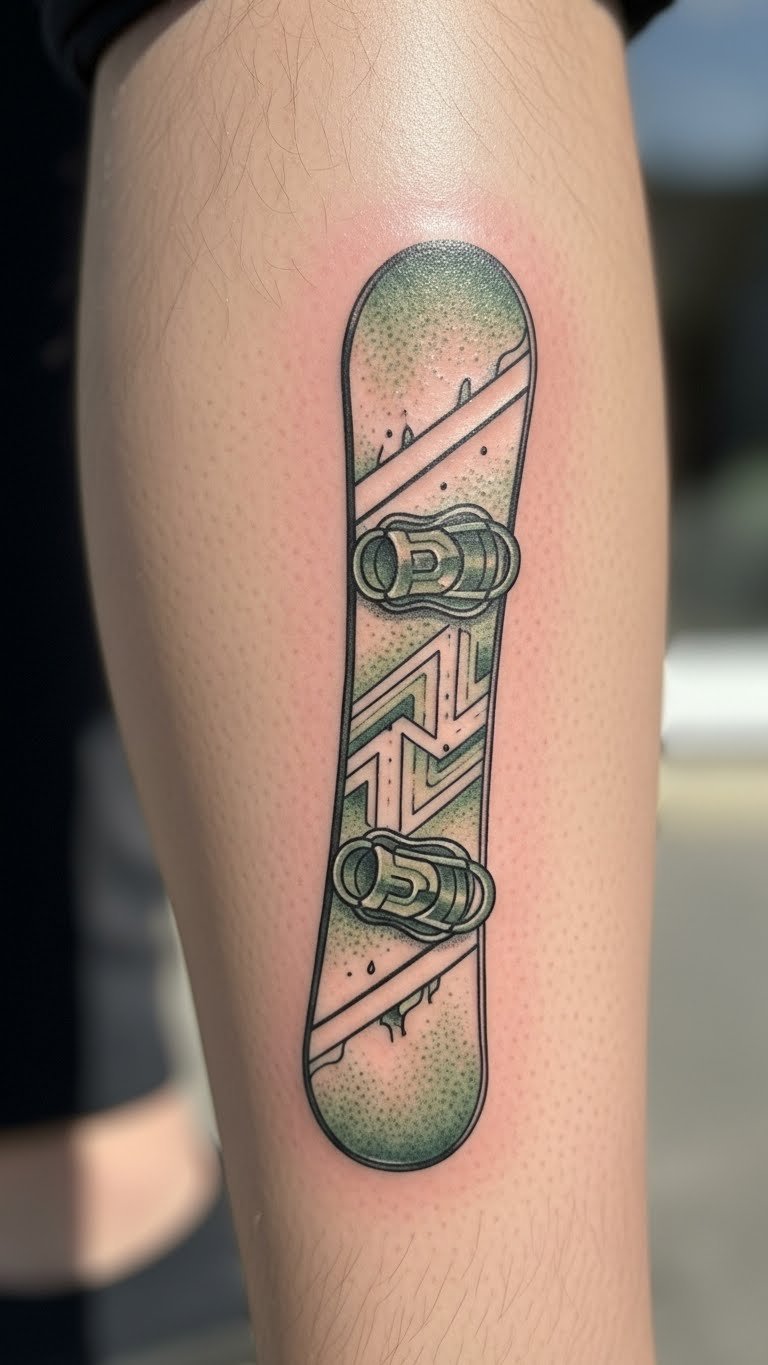
Bold Color Palette Board
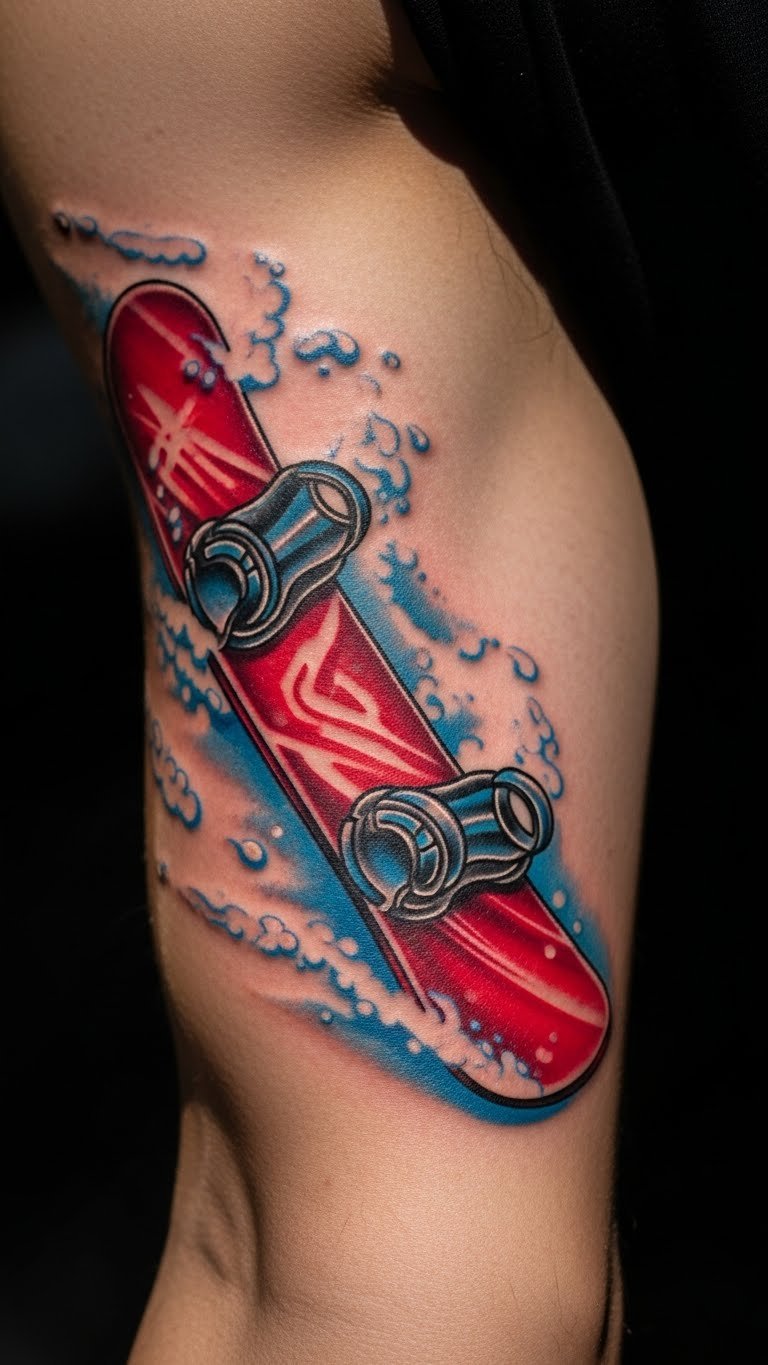
Use bold colors on your board for a lively look. Select two shades to stay budget-friendly. Mix paints at home for mock-ups. This previews the vibe. Get colored temporaries online. Position on your bicep. Choose colors wisely. They brighten your gear. Protect from fade.
Silhouette on Ribs
Place a simple silhouette on your ribs for a dynamic feel. Opt for thin lines to save money. Trace on your body with markers first. This tests the spot. Use rib wraps for temporary options. Fit it to your ribs. It moves with you. Keep sessions short.
Wave-Like Motion Tattoo

Add wave lines to show flow on your board. Keep lines minimal for low cost. Draw waves on paper quickly. This plans it out. Try wave stickers at home. Put it on your arm. Create wave effects. It captures speed. Use for active days.
Festive Holiday Board
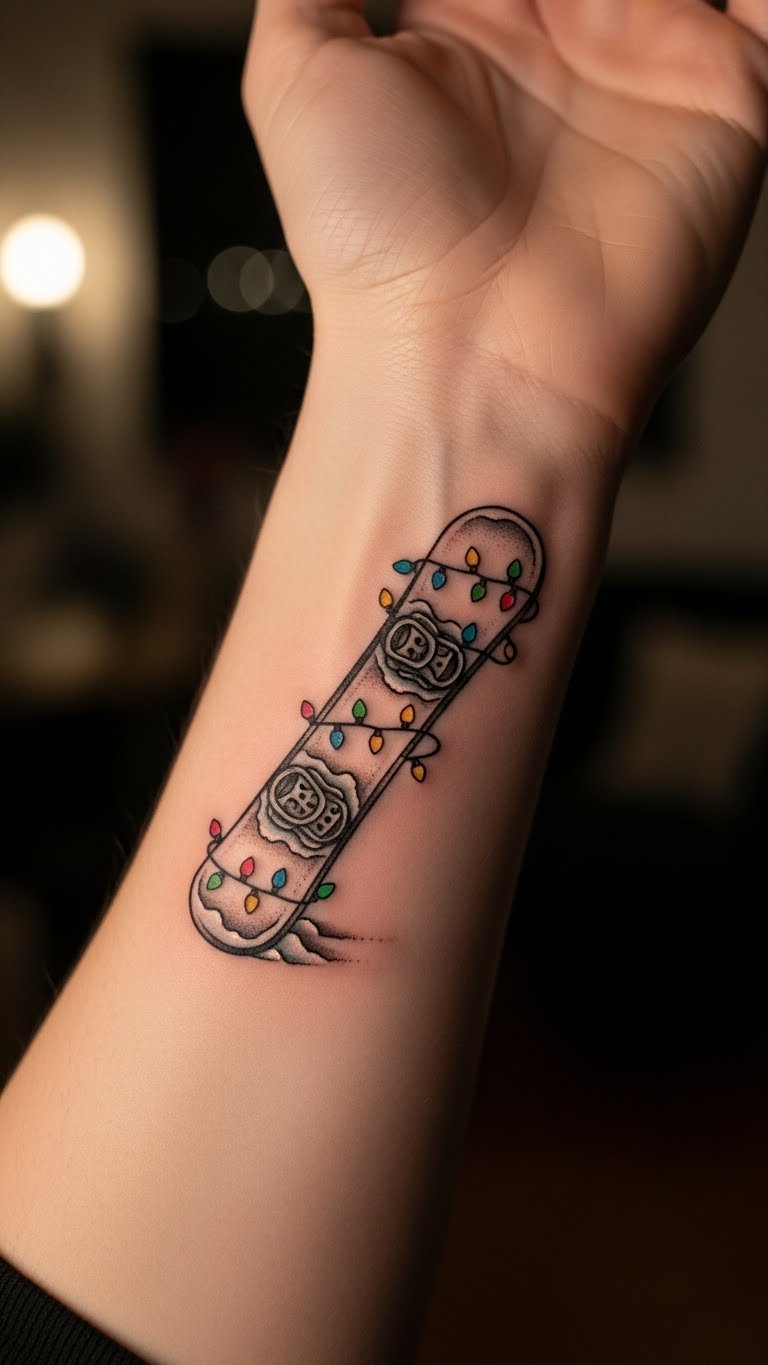
Mix holiday lights with your board for seasonal fun. Use basic lights in design. Cut out lights from cards for ideas. This sparks creativity. Get light-themed temporaries. Place on your wrist. Add holiday flair. It celebrates winters. Store ideas in a folder.
Indigenous Art Influence
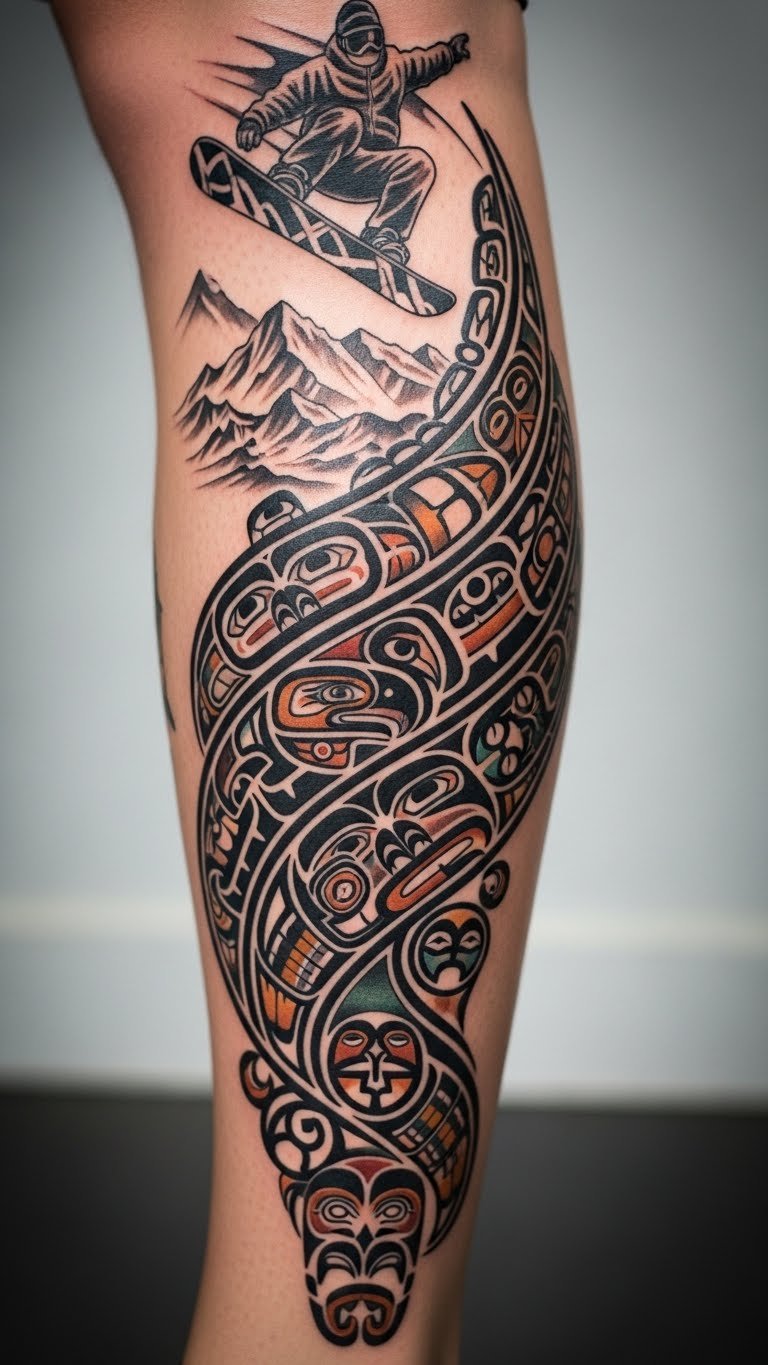
Inspire from indigenous art for your board tattoo. Choose simple patterns to afford it. Research respectfully online. This adds depth. Use pattern papers for tests. Position on your leg. Respectfully blend art. It honors traditions. Discuss with artists.
Small Wrist Board
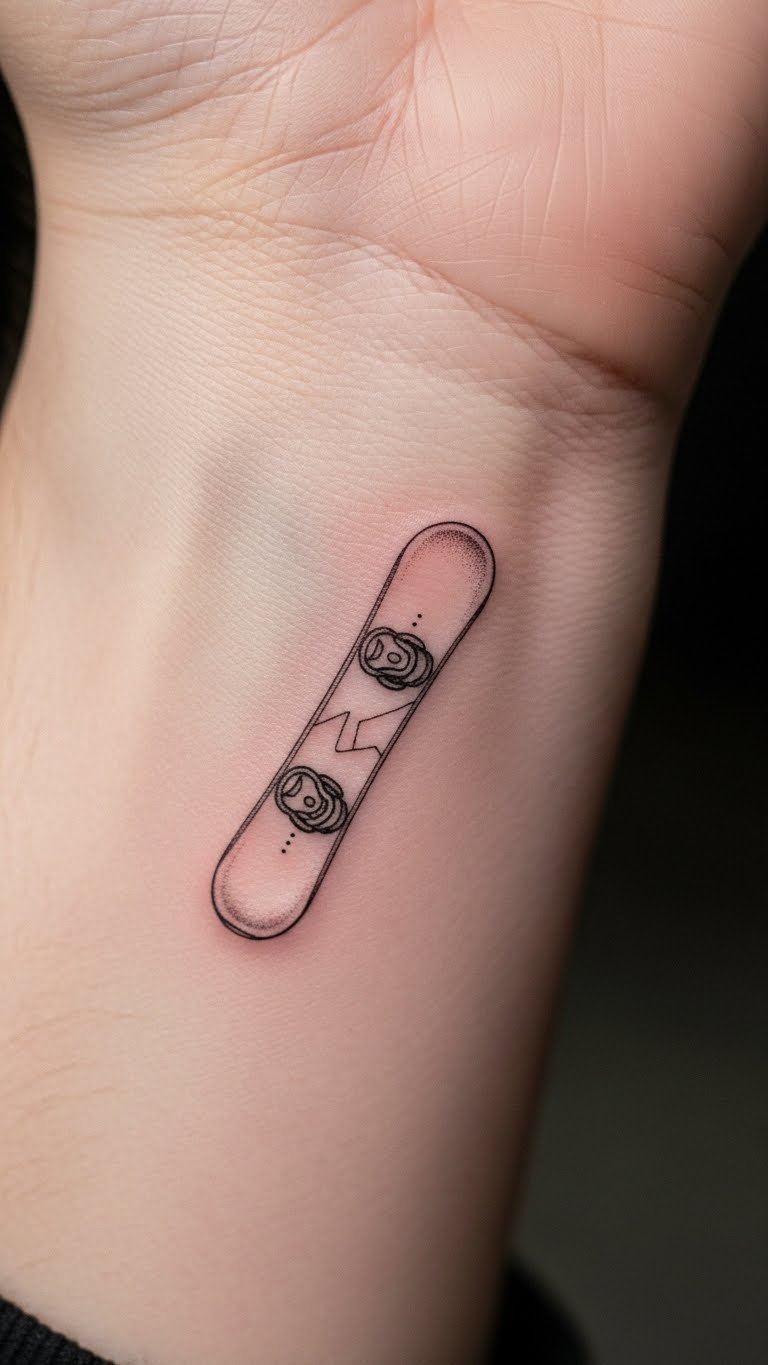
Go small on your wrist for a discreet board. Pick tiny details to cut costs. Draw on your wrist with pen first. This checks size. Buy mini temporary kits. Keep it small. It’s easy to hide. Perfect for beginners.
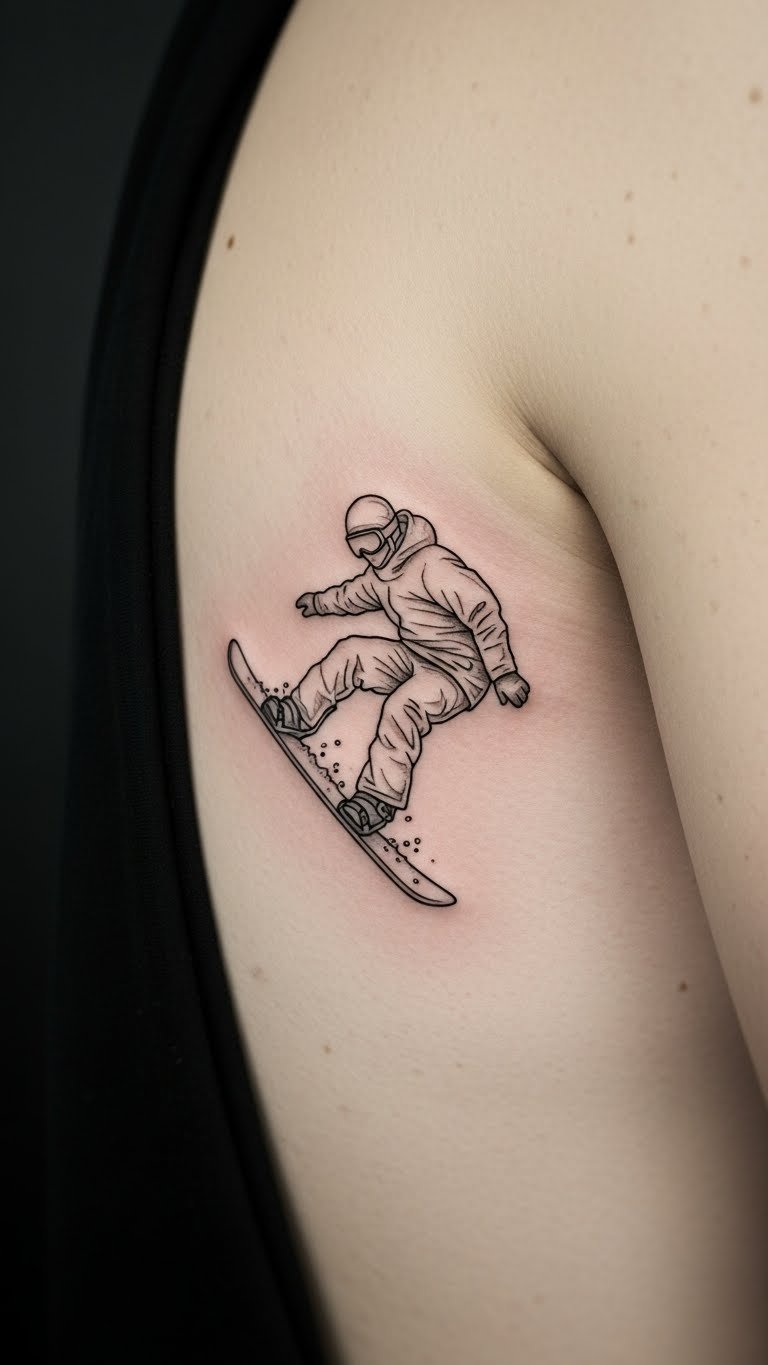
Dynamic Action Pose
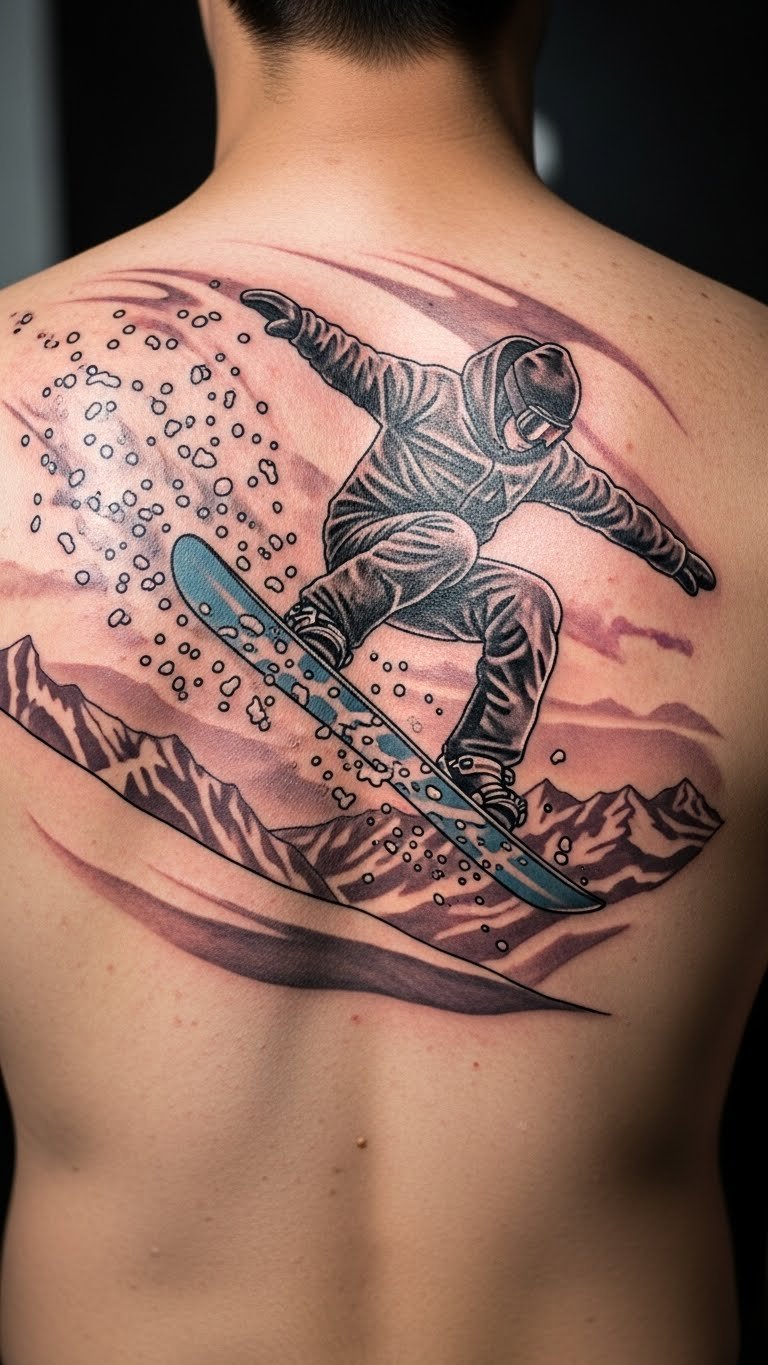
Show a rider in action on your back. Use action lines sparingly. Pose and draw it yourself. This visualizes it. Try action figures for inspiration. Place on your back. Capture the pose. It feels alive. Plan with photos.
Forearm Gear Detail

Detail your gear on your forearm. Focus on one item for savings. Sketch gear from your own. This makes it real. Use gear stickers as stand-ins. Detail what you use. It represents your kit. Keep it practical.
Abstract Snow Patterns
Use abstract snow around your board. Keep shapes loose for cheap ink. Doodle patterns freely. This experiments fun. Get abstract temporaries. Put on your arm. Abstract for uniqueness. It stands out. Mix with your style.
Calf with Tree Lines

Add tree lines to your calf board. Choose few trees to budget it. Draw from hikes. This connects to nature. Try tree line stickers. Line up trees. It flows well. Wear for outdoor fun.
Vibrant Blue Shades
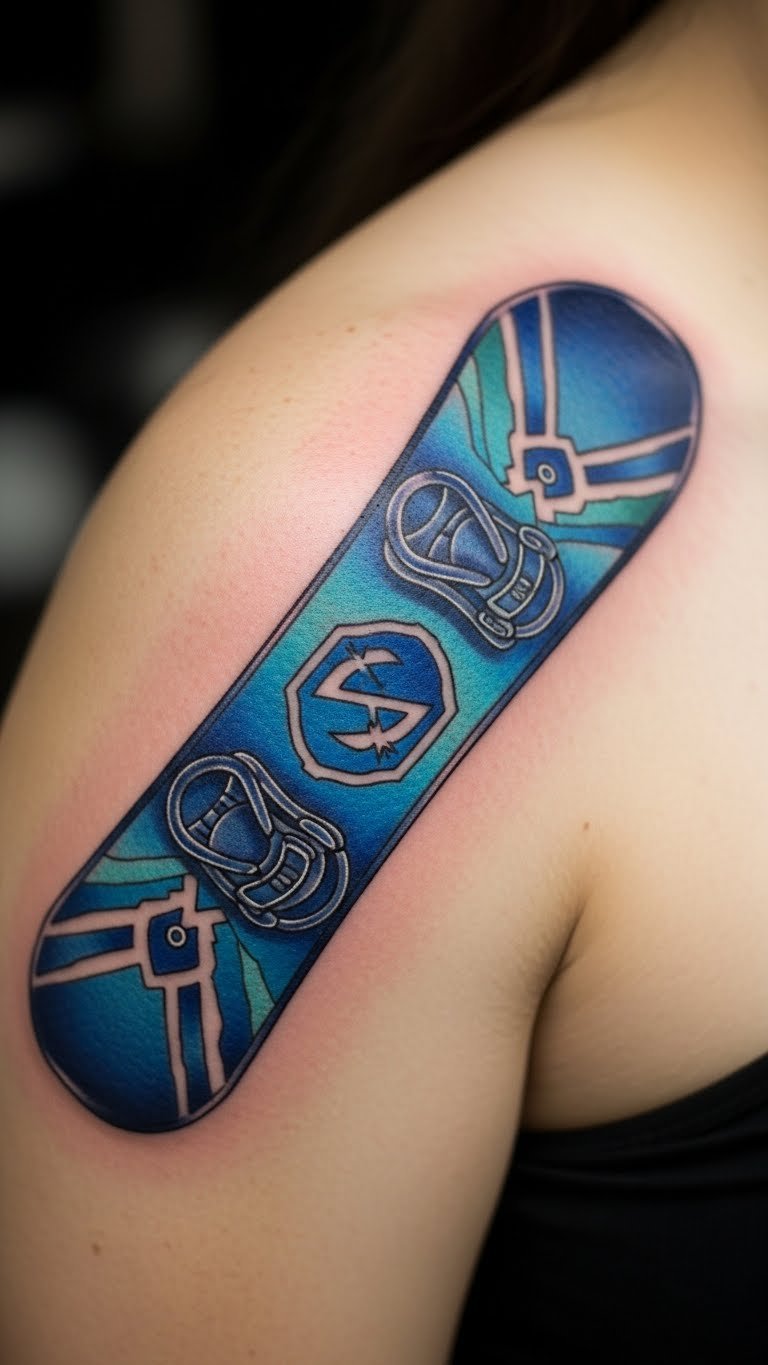
Opt for blue shades on your shoulder board. Pick one blue for economy. Mix blues at home. This tests tones. Get blue temporaries. Shade in blue. It evokes snow. Protect from sun.
Rib with Peak Outline
Outline peaks with your rib board. Use outlines only. Trace peaks on paper. This simplifies. Use peak outlines for tests. Outline for clarity. It stays defined. Ideal for slim spots.
Arm with Flare Elements

Add flares to your arm board for energy. Keep flares minimal. Draw sparks quickly. This adds pop. Try flare stickers. Element with flares. It excites. Use for events.
Back with Full Scene

Create a full scene on your back. Break into parts for cost. Plan the scene step-by-step. This builds it. Use scene posters for ideas. Scene it fully. It immerses you. Start small sections.
Wrist with Simple Peak

Pair a simple peak with your wrist board. Go minimal to save. Draw one peak. This keeps it easy. Buy peak temporaries. Peak it simply. It’s versatile. Wear daily.
This list of bold snowboard tattoos brings your mountain passion to life, offering designs that fit any style and budget. Pick one that speaks to you, grab a temporary to test it out, and head to a local artist for your next adventure—your skin’s ready for the ride.