
Robin tattoos capture the spirit of hope and fresh starts, drawing from the bird’s lively symbolism. If you’re eyeing new ink, this guide dives into creative designs that blend art and meaning. Explore these ideas to find one that resonates with your story, from bold colors to subtle lines, all while keeping things simple and inspiring.
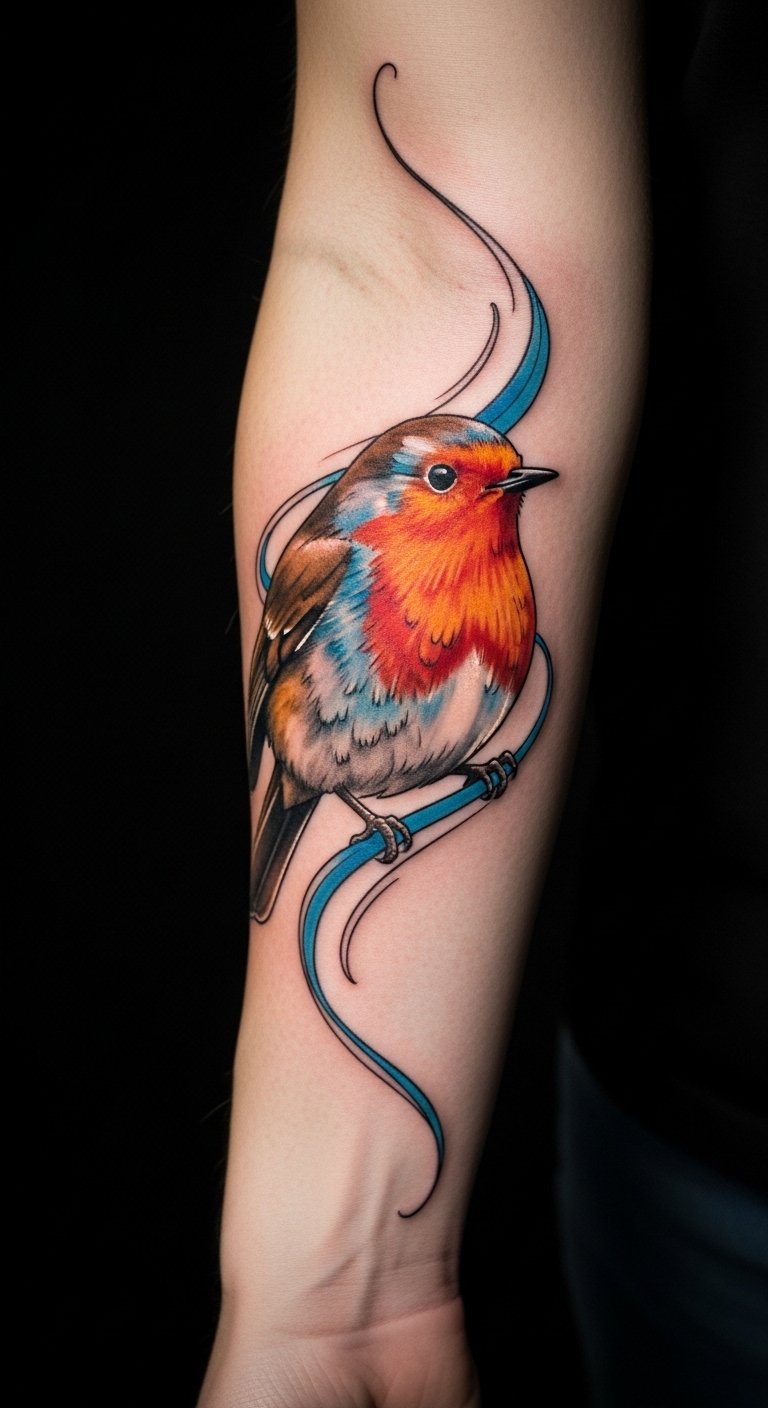
Classic Watercolor Robin Tattoo
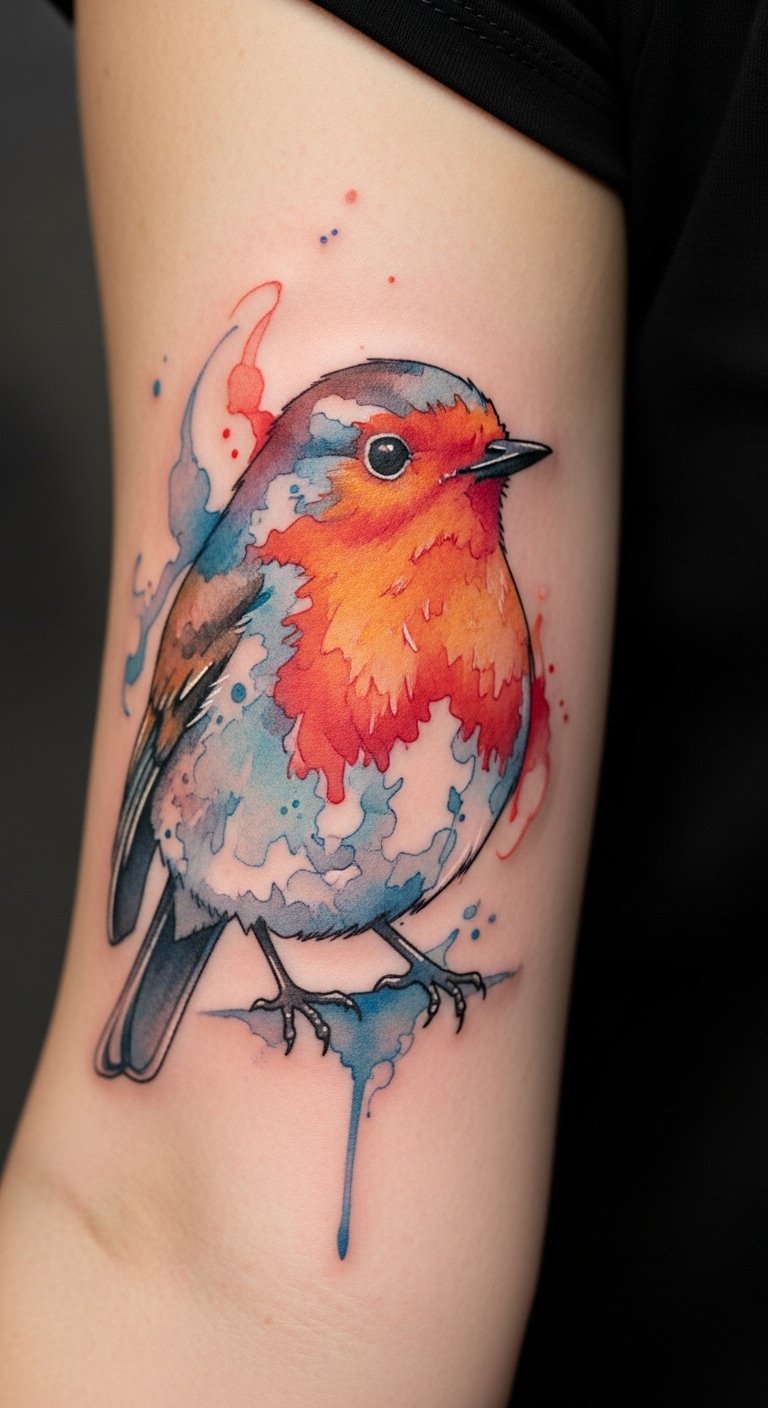
Picture a robin in soft, flowing colors that mimic paint on paper. This style brings a gentle vibe to your skin. Start with a quick sketch at home using colored pencils. It’s fun and cheap. Grab paper and draw the bird’s shape. Add light washes for feathers. Think about placing it on your upper arm for easy views. A budget tip: Use free apps like Procreate Pocket on your phone to test designs before hitting a shop. This way, you save money on changes. Keep it personal—maybe add a small leaf for growth. Artists often charge less for simpler versions. Try this DIY: Trace a robin image online and color it yourself. You’ll get a feel for the look. No need for fancy tools. Just enjoy the process and pick what feels right.
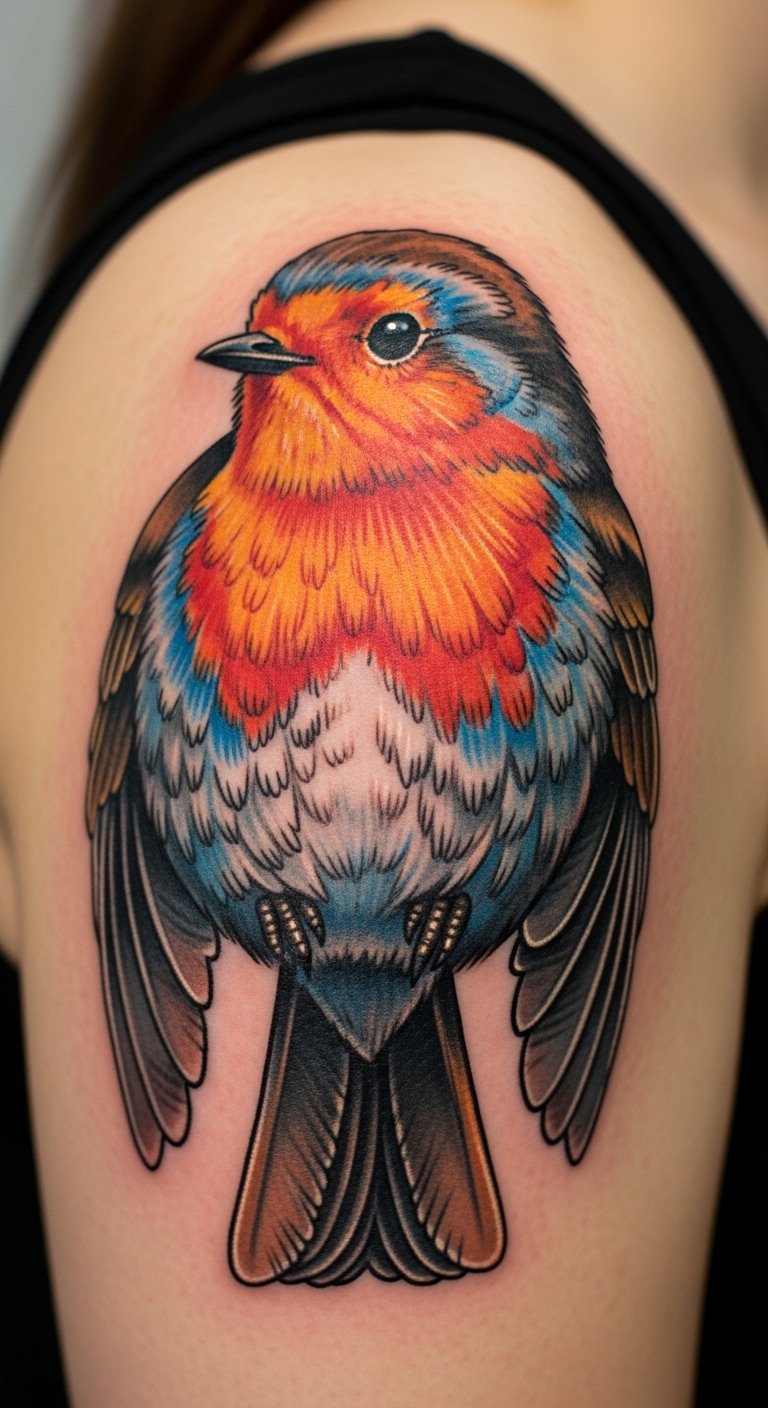
Vibrant Neo-Traditional Robin Design
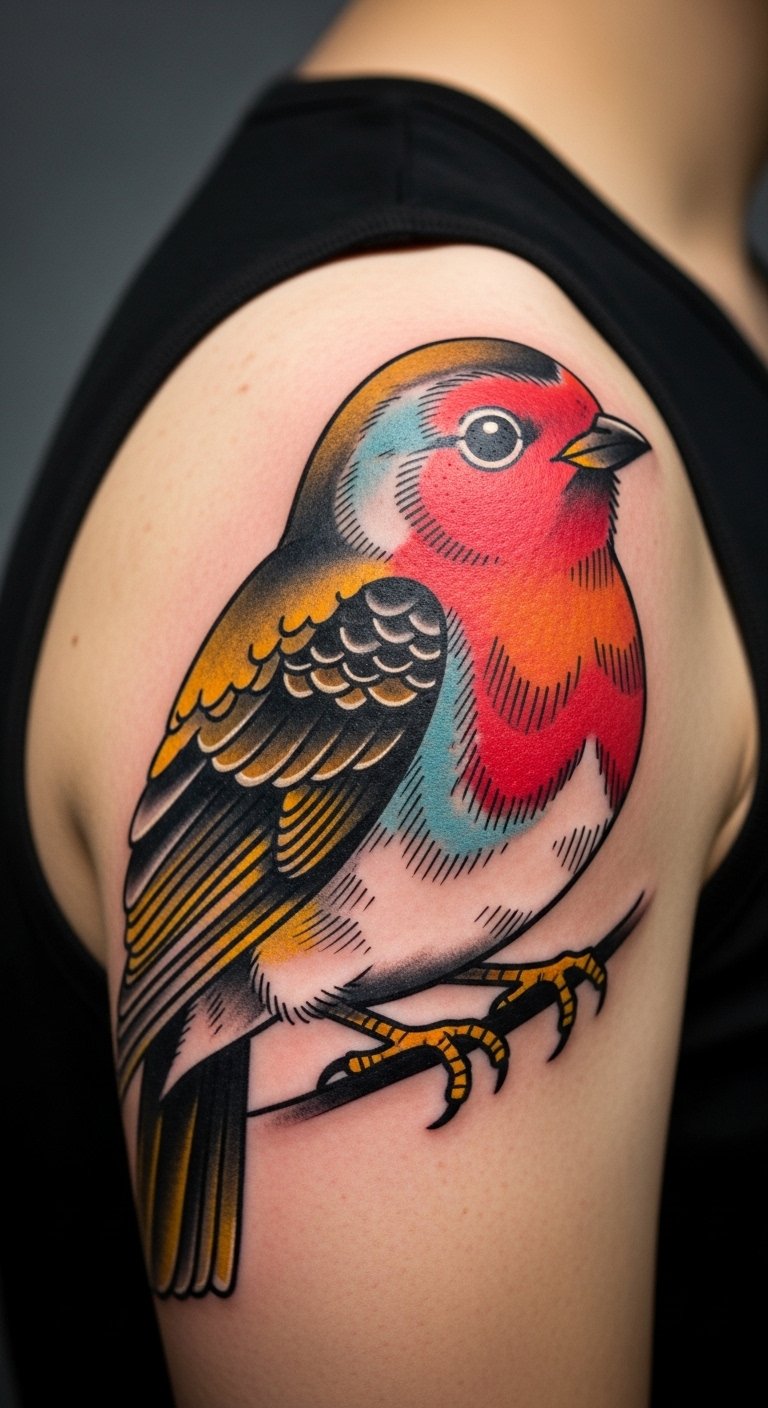
Go bold with bright hues that pop on your skin. This design mixes old-school lines with modern flair. Draw it out on paper first with markers. It’s an affordable start. Focus on the red breast for that passion pop. Place it on your chest for a personal touch. A tip: Look for local artists who offer flash deals to cut costs. Use household items like ink pens to practice shading at home. Keep strokes simple and fun. This style tells your story of resilience. Try a DIY mock-up: Print a template and color it in. You’ll see how it fits. No big expenses needed. Just grab what you have and experiment. Make it yours with extra details like a flower.
Robin with Floral Elements
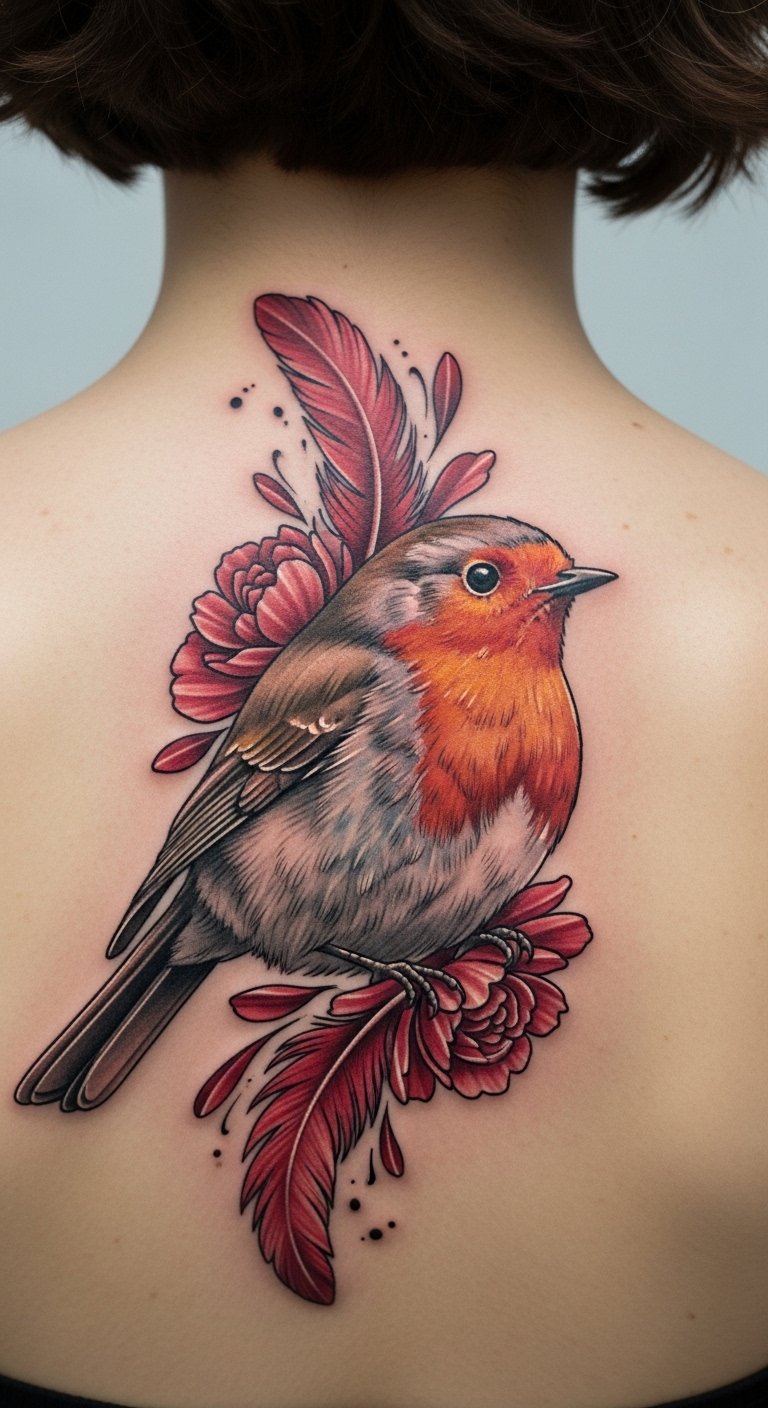
Blend the robin with flowers for a nature feel. This mix shows growth and life on your body. Sketch it quickly on paper with a pencil. Add petals around the bird. It’s easy and low-cost. Put it on your upper back for a hidden gem. Tip: Find free online tutorials to draw simple blooms. Use crayons at home for color tests. Break it down: Draw the robin first, then add flowers. This keeps things straightforward. A DIY idea: Cut out bird and flower shapes from old magazines and arrange them. Glue on paper to visualize. Save cash by avoiding extras. Make it meaningful, like tying it to a fresh chapter in life.
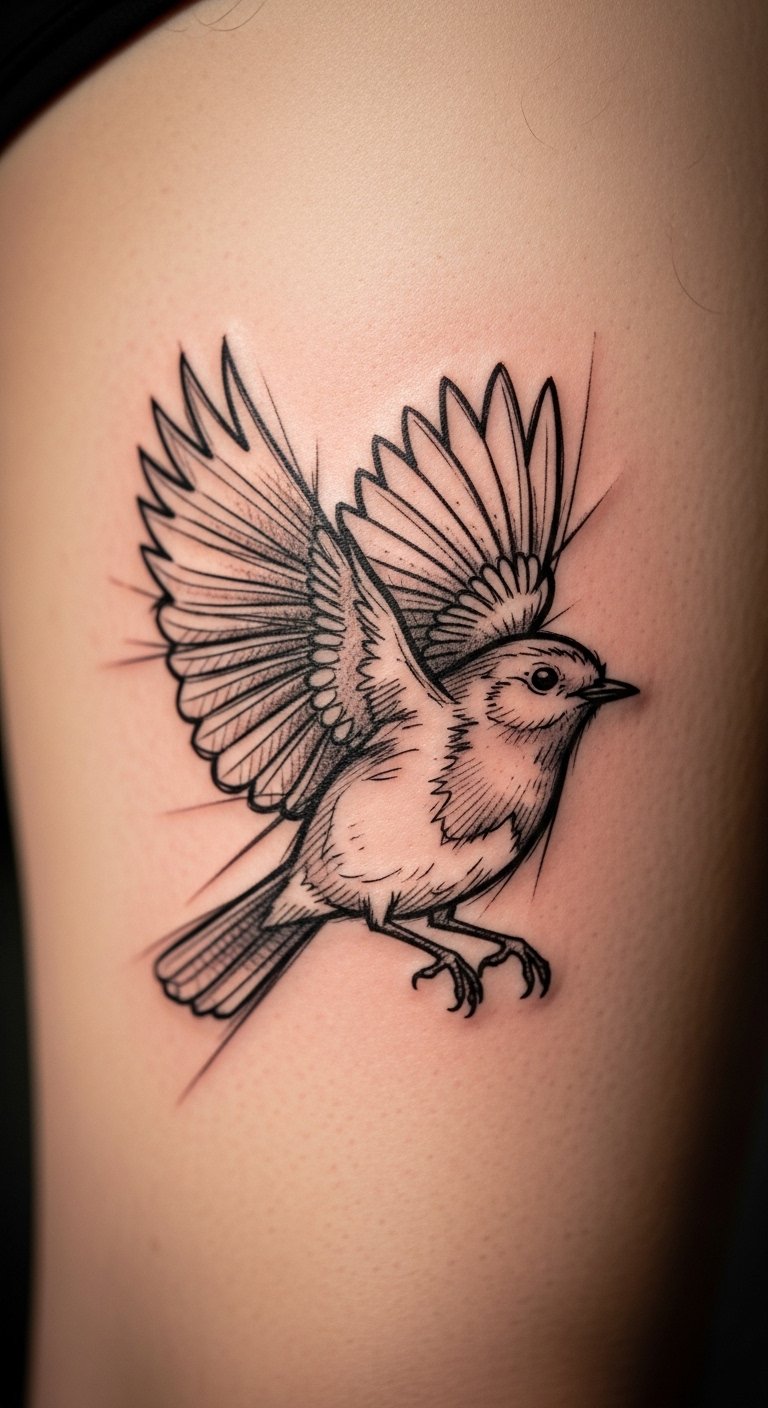
Flying Robin for Freedom
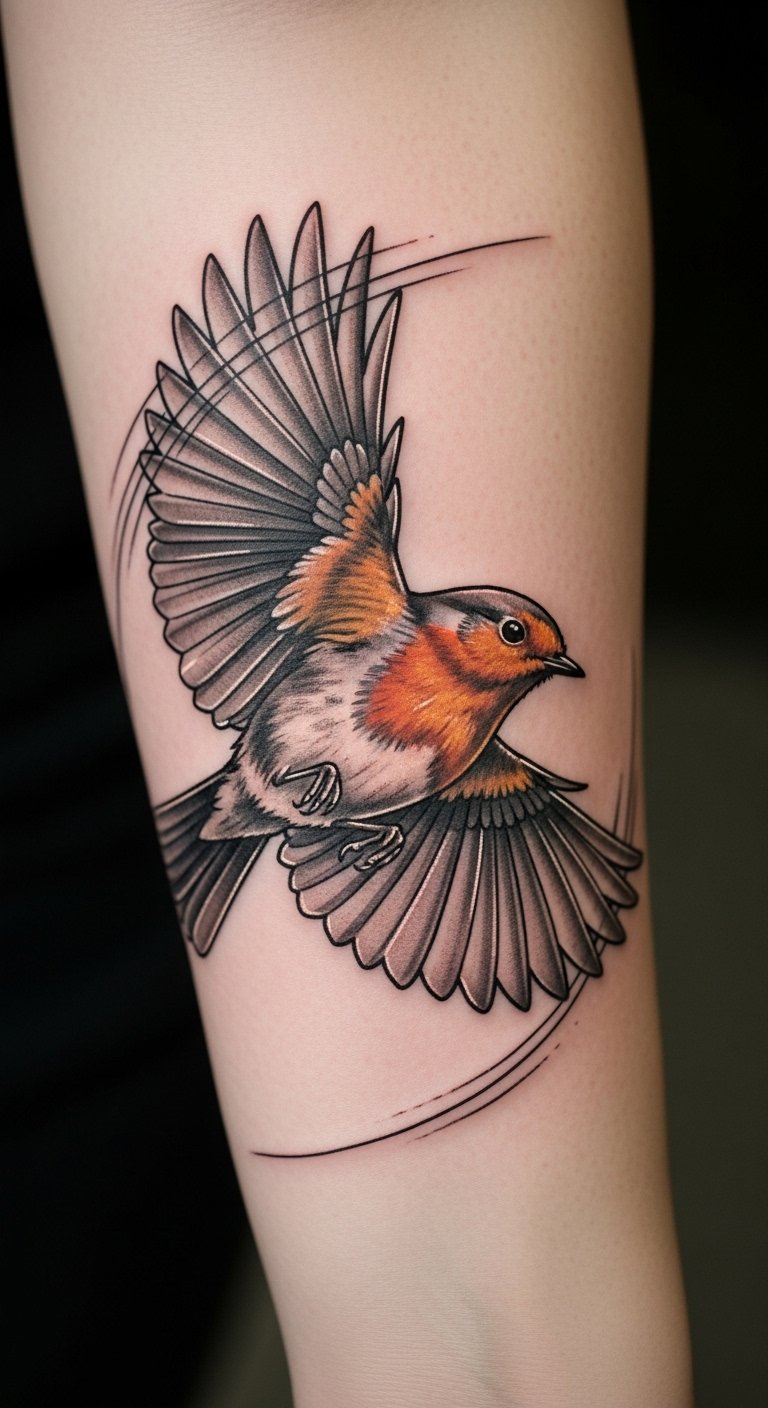
Show movement with a robin in flight. It stands for breaking free and facing challenges. Jot it down on a notebook page with basic lines. Keep wings wide for impact. Tattoo it on your shoulder for daily reminders. Advice: Check second-hand stores for drawing supplies to stay budget-friendly. Practice with a ruler for straight flights. Simple steps: Draw the bird, then curve the path. At home, use string to outline shapes on your skin temporarily. It’s a fun test. No fancy gear required. This design motivates you every day. Try it: Tape paper birds to your mirror and see how they inspire.
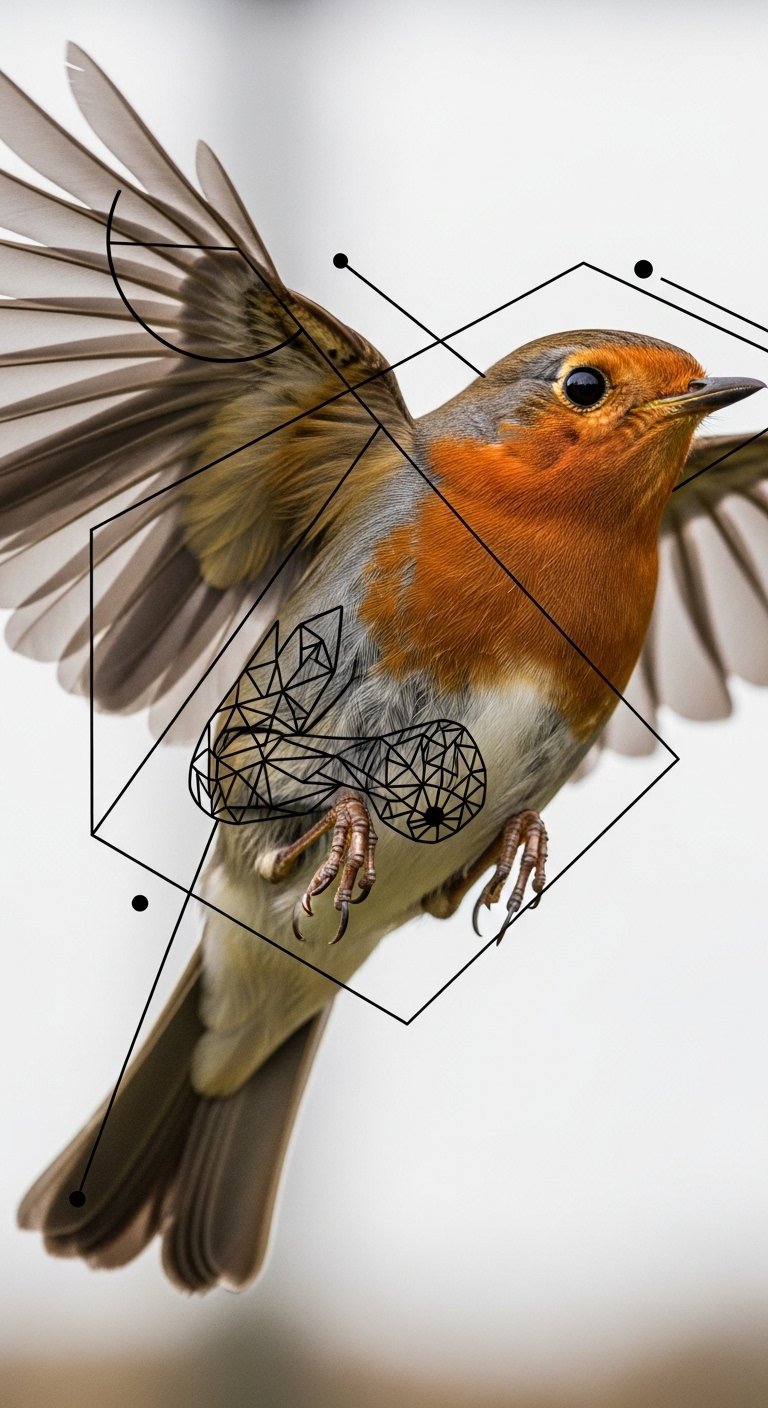
Minimalist Geometric Robin Feather
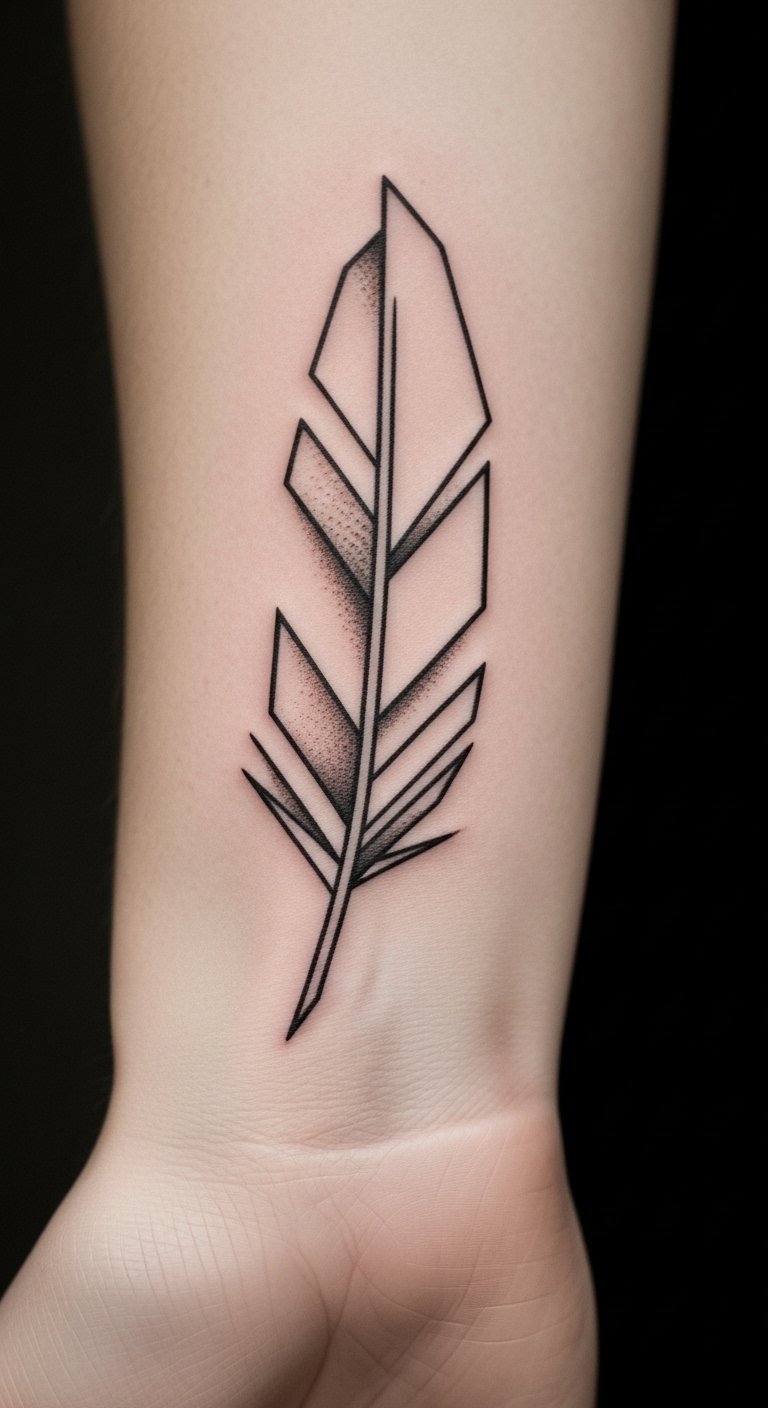
Keep it clean with geometric shapes around a feather. This modern take is subtle yet strong. Draw squares and triangles on paper first. Add the feather in the center. It’s quick and cheap. Place it on your wrist for easy access. Tip: Use free phone apps to create patterns before committing. At home, trace shapes with a pen. Break it into parts: Start with the base, then layer details. A DIY option: Cut geometric forms from cardboard and arrange them. This helps plan without spending. Make it personal with your favorite angles. You’ll love the simplicity.
Black and Gray Robin Tattoo
Stick to shades of gray for a timeless look. This style focuses on details without color overload. Sketch the bird in pencil on paper. Shade lightly for depth. Put it on your arm for versatility. Save money: Borrow pencils from kids’ sets at home. Practice shading with your fingers. Easy steps: Outline the shape, then add shadows. Try this: Use charcoal from your fireplace to mimic ink on paper. It’s a real-world test. No need for stores. This design speaks of quiet strength. Keep it straightforward and meaningful.
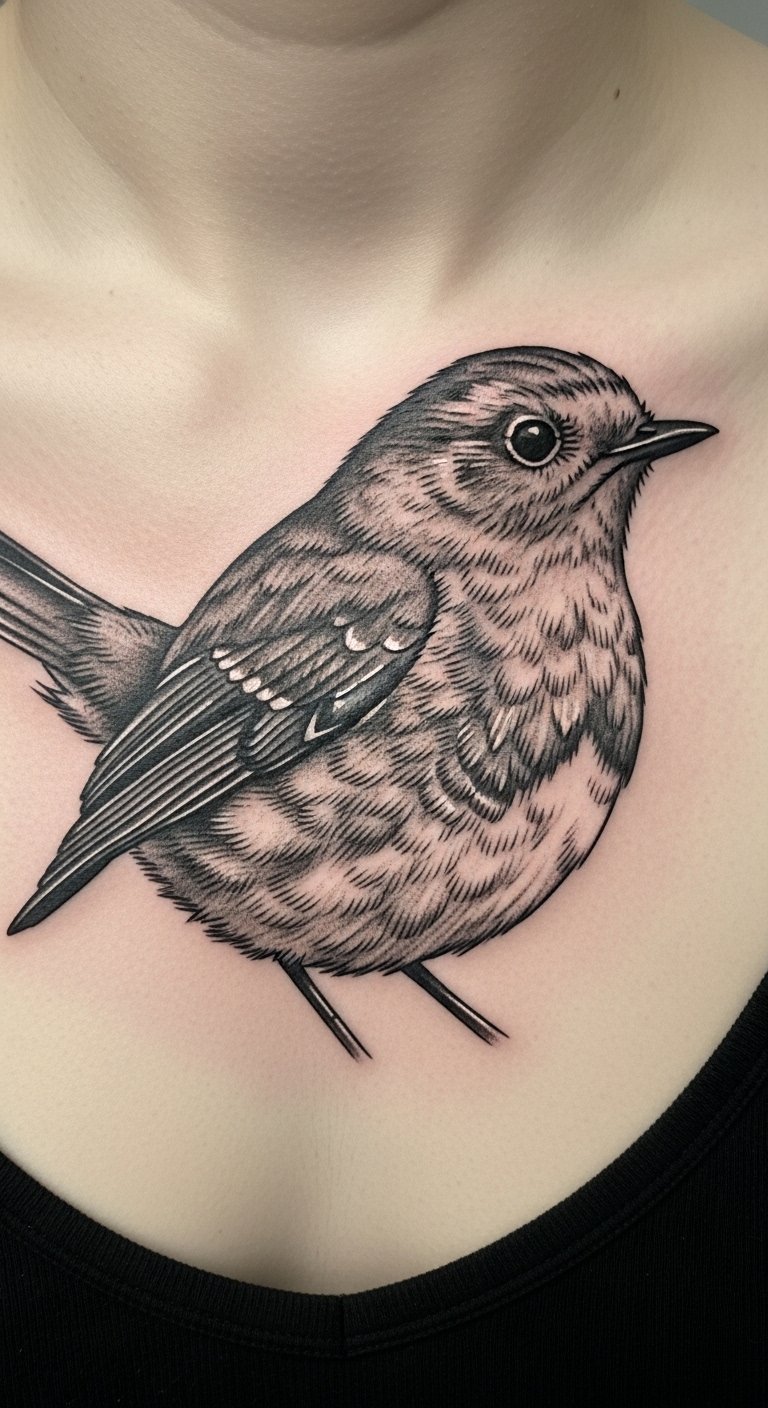
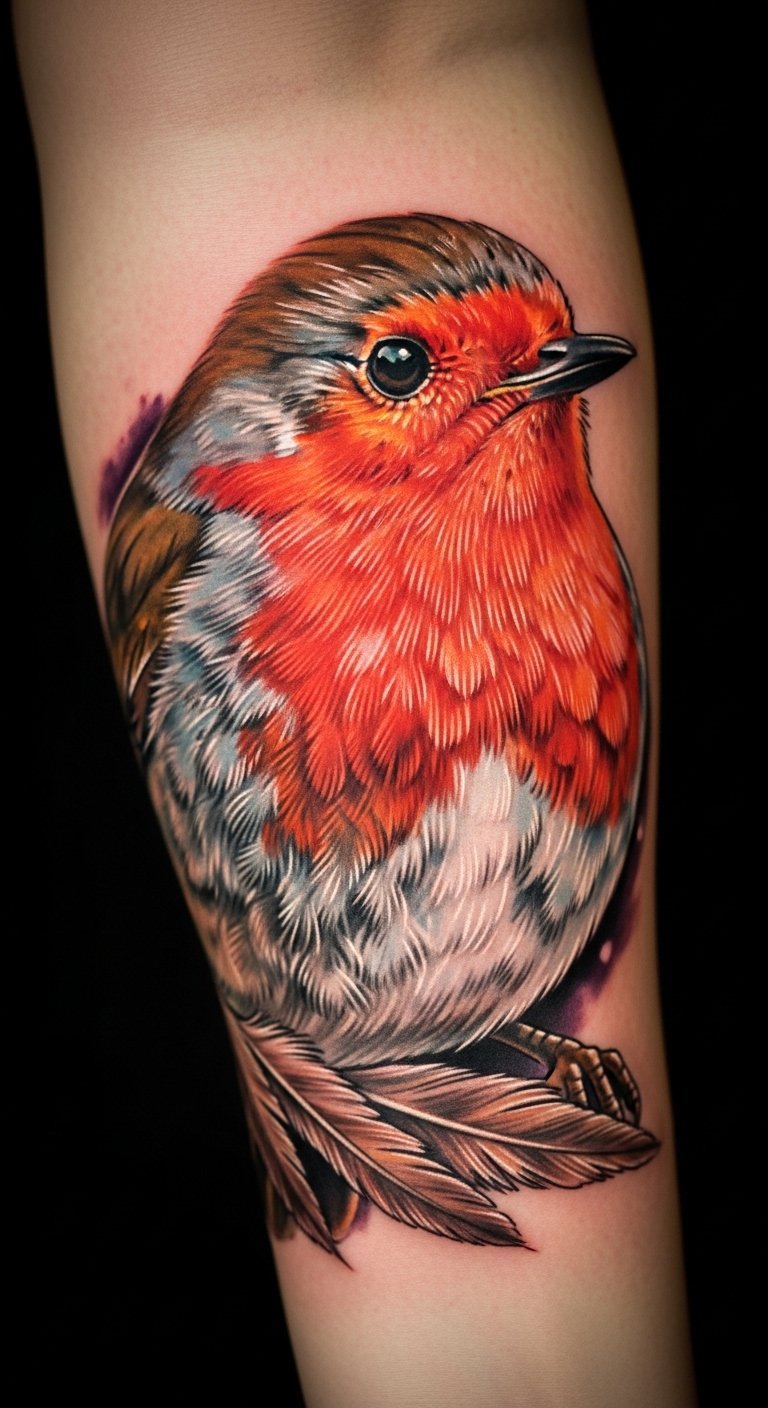
Realistic Robin Perched Tattoo
Make it look like a real bird just landed. Focus on fine details for authenticity. Draw it step by step on plain paper. Start with the body pose. Tattoo it on your ankle for a discreet spot. Tip: Watch YouTube videos for free drawing tips. Use an eraser to fix mistakes at home. Simple process: Draw the head, then the body. A DIY trick: Photocopy a robin photo and trace it. This costs nothing extra. Bring nature closer with this choice.
Sketch-Style Robin Idea
Go for a doodle-like feel with loose lines. This playful design adds fun to your ink. Scribble it on a scrap of paper quickly. Keep lines light and free. Place it on your thigh for coverage. Advice: Use old pens from your desk for practice. Draw multiple versions fast. Break it down: Sketch the outline, then refine. At home, scan your drawing with a phone app. It’s free and easy. This style lets your personality shine. Experiment and see what clicks.
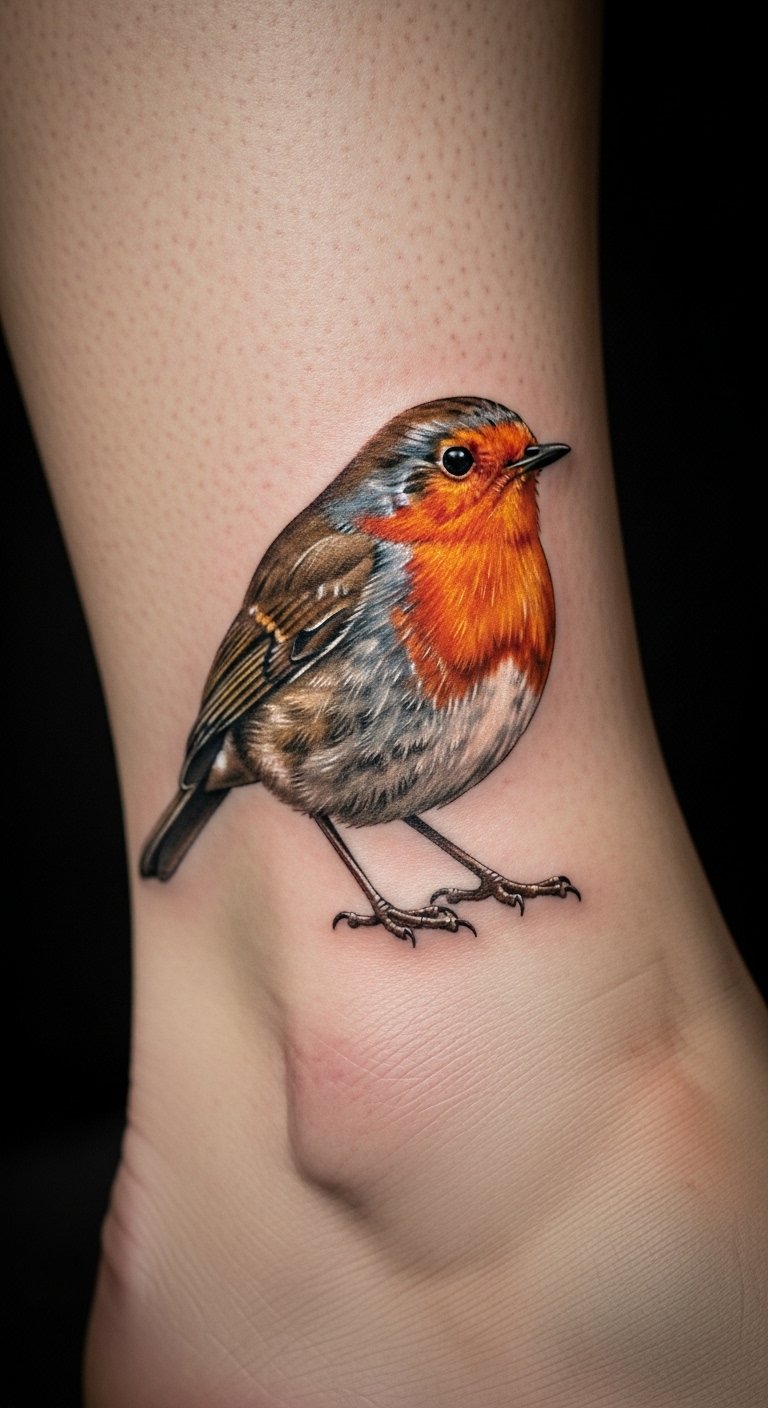
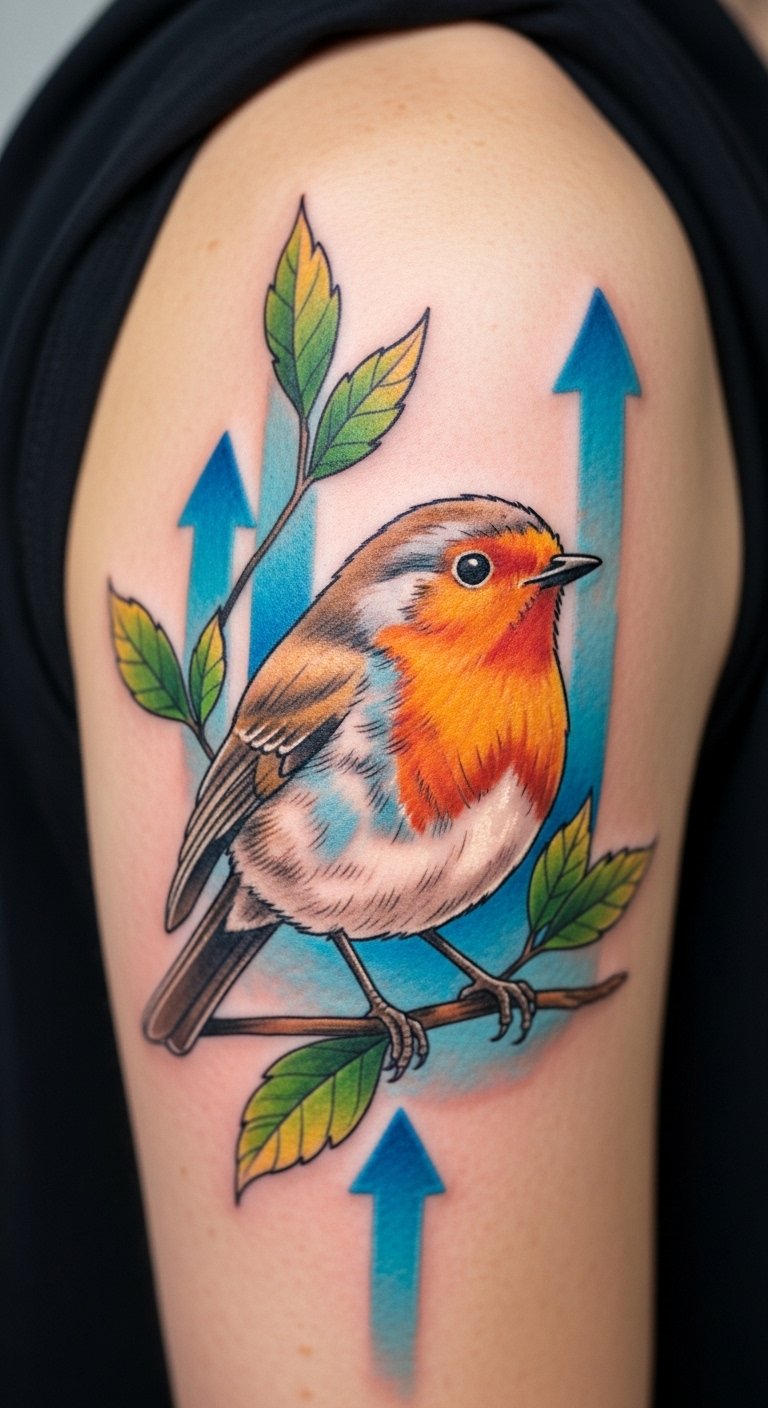
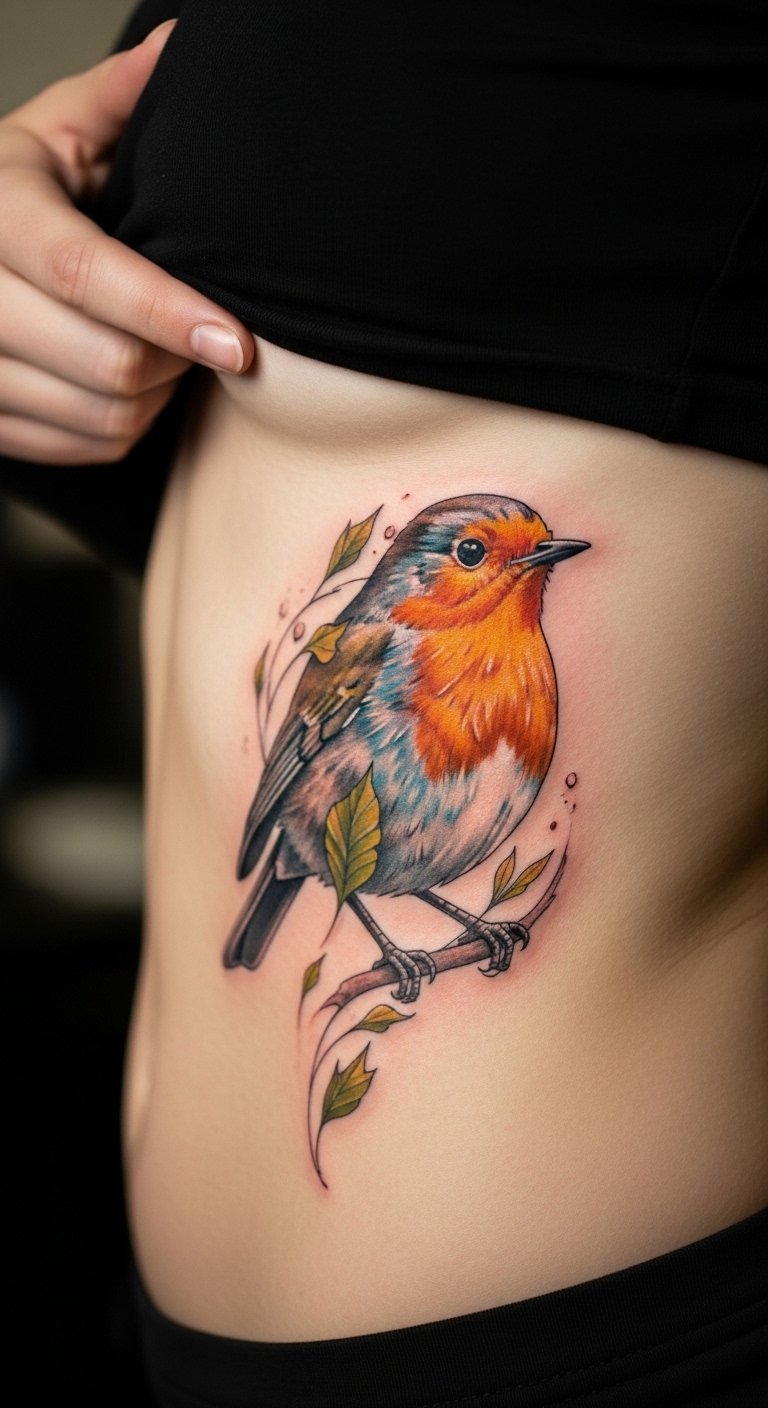
Robin Breast with Bold Colors
Highlight the red breast for energy and life. Use bright colors to make it stand out. Color in a basic drawing with markers. Focus on the chest area. Put it on your forearm for visibility. Tip: Buy a cheap set of markers for testing. Blend colors gently. Steps: Draw the bird, then fill the red. A DIY: Paint on fabric with fabric paints you might have. It’s reusable. This design pumps up your spirit. Keep it lively and true.
Abstract Robin Wings Tattoo
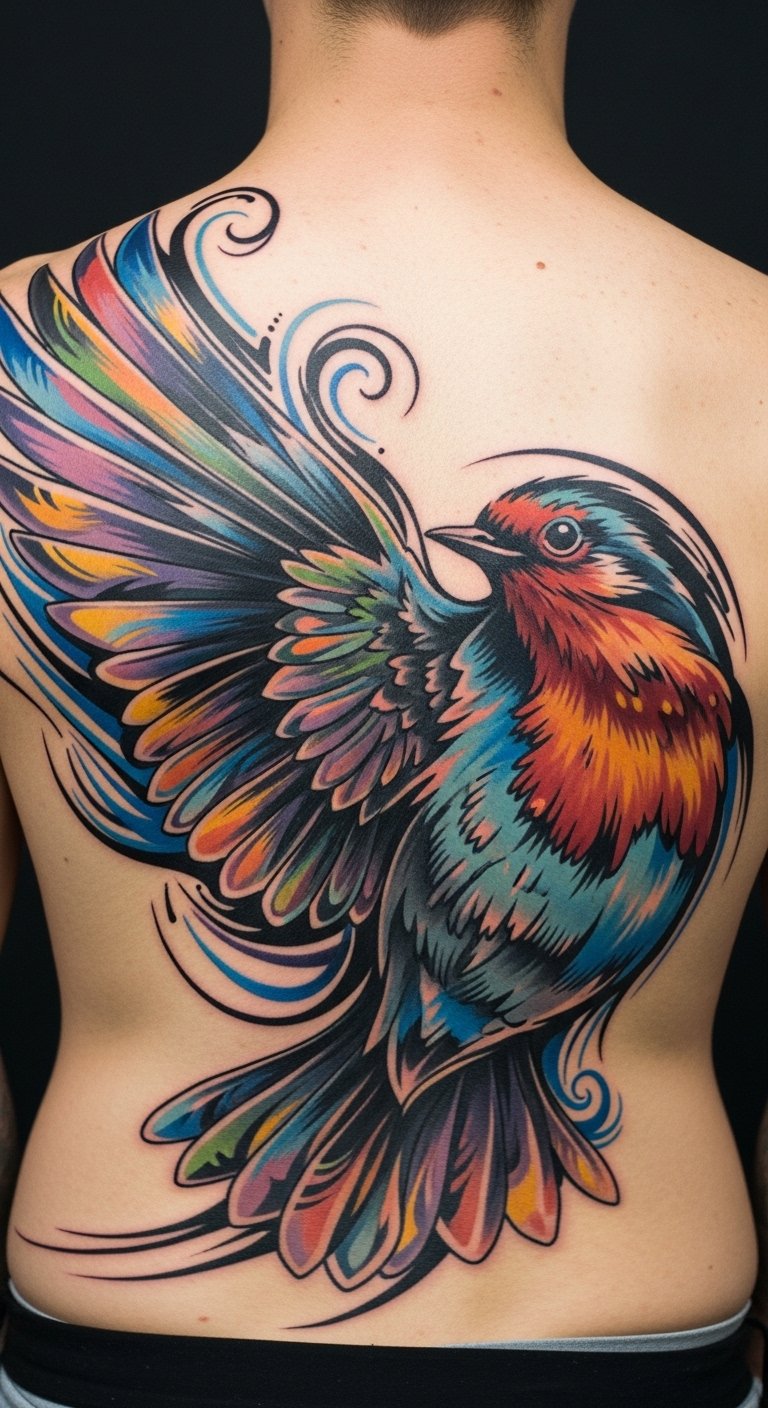
Abstract the wings for a creative twist. Turn feathers into flowing patterns. Doodle abstract shapes on paper. Let your imagination lead. Tattoo it on your back for a big canvas. Save: Use free digital tools on your computer. Draw loops and curves. Easy: Start with wings, add abstracts. Try gluing paper cutouts to your body for a preview. No cost involved. This makes your tattoo unique. Dive in and create.
Small Robin on Branch
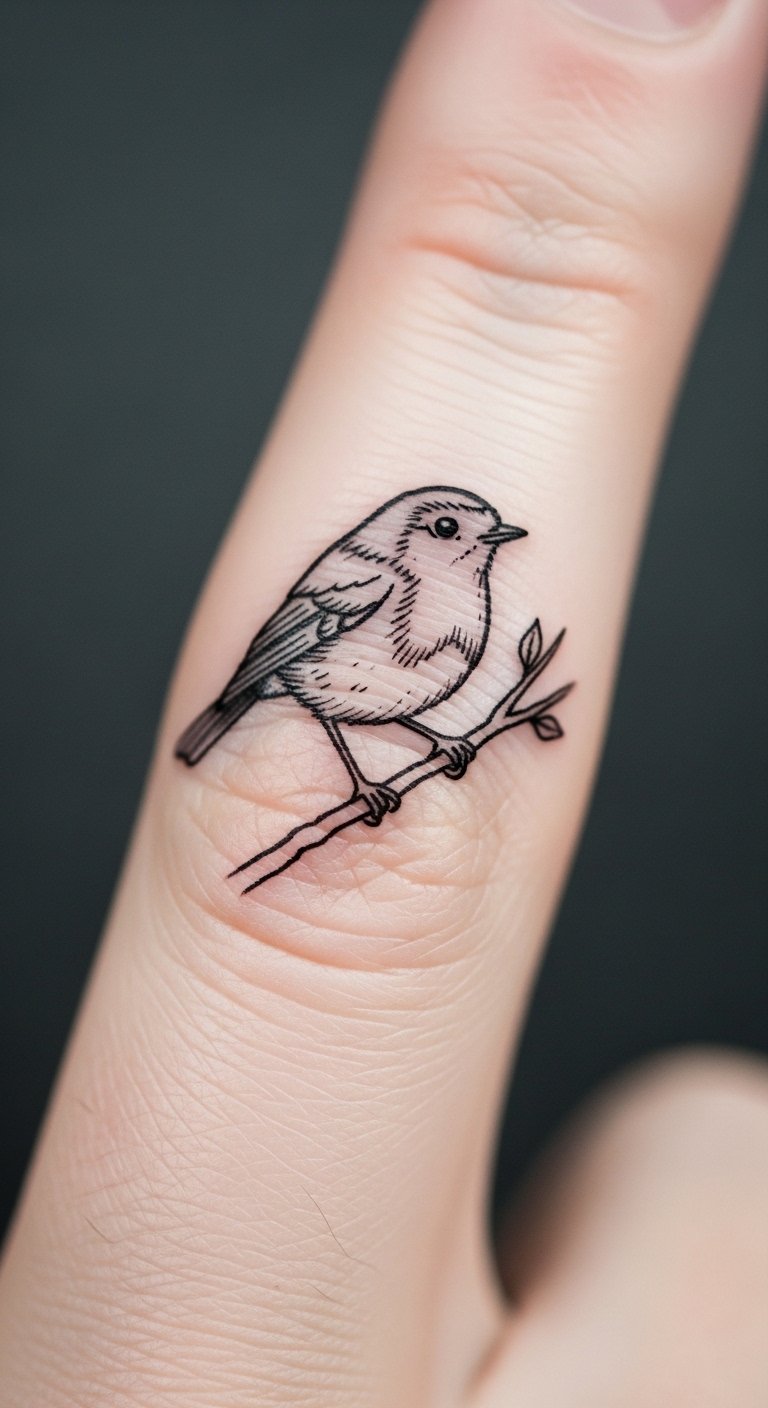
Keep it tiny with a robin on a branch. Perfect for first-timers. Sketch a small version on a card. Add a branch for balance. Place it on your finger for subtlety. Tip: Use a fine-tip pen from your drawer. Practice on small spaces. Steps: Draw the bird, then the branch. A DIY: Draw on your hand with washable marker. Wash off and try again. This fits any budget. Make it a sweet reminder.
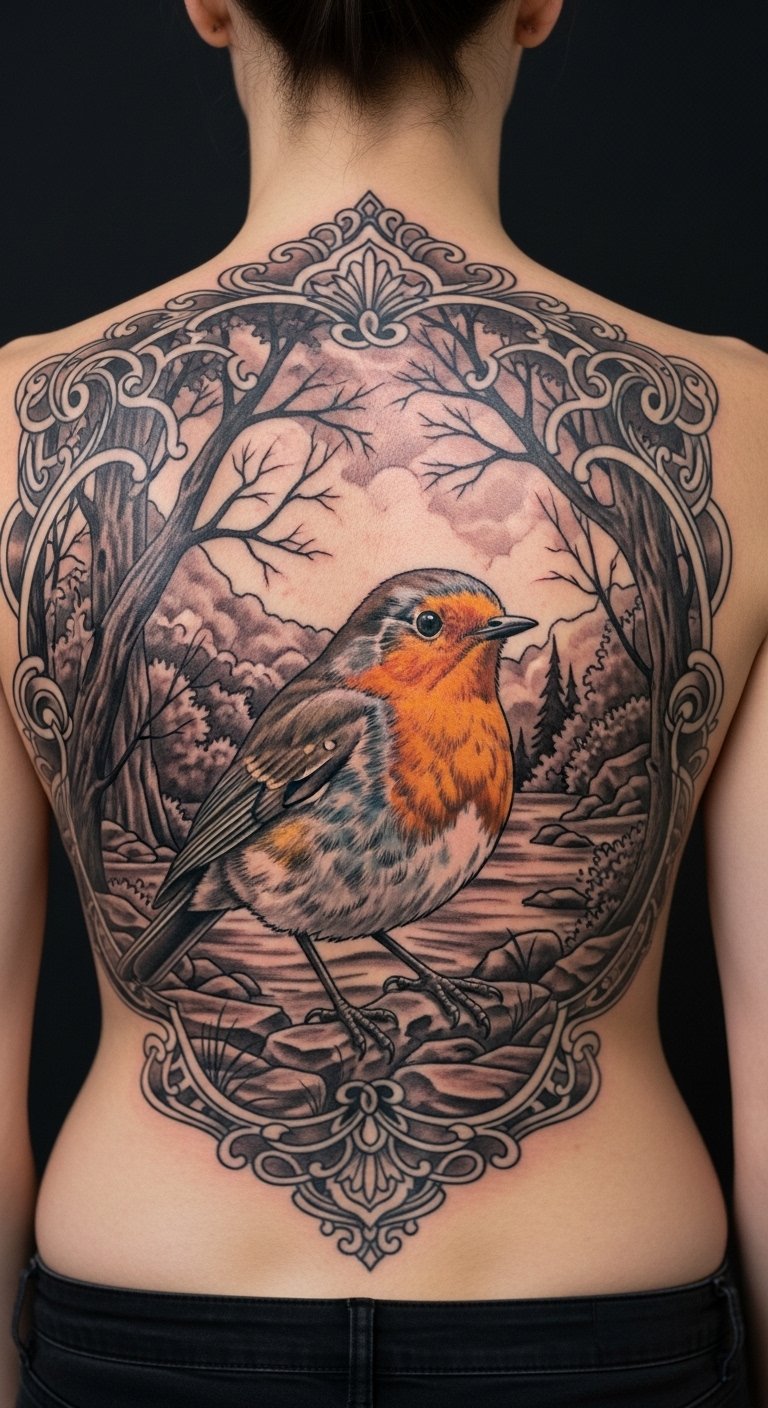
Robin in Nature Scene
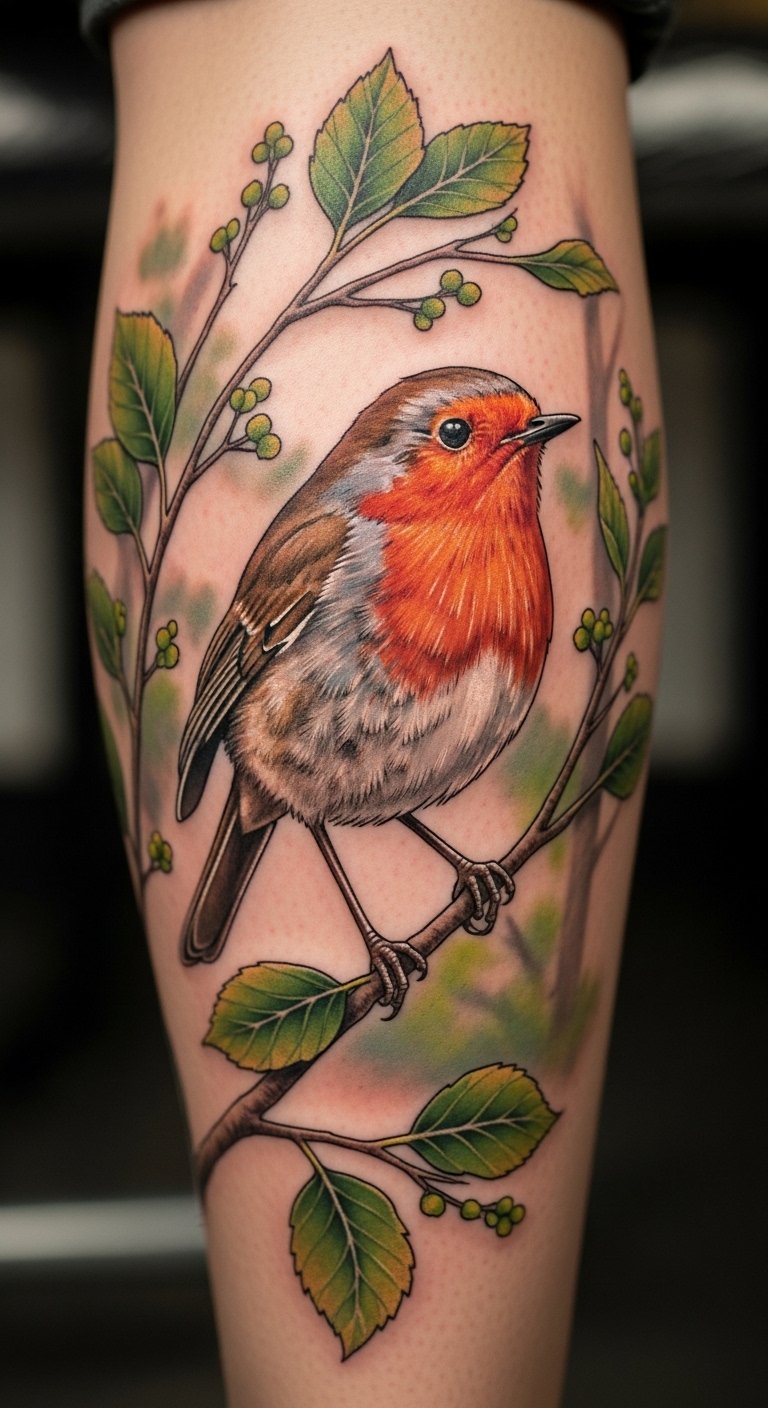
Surround the robin with leaves and branches. This brings the outdoors in. Draw a scene on paper with basic tools. Include extra elements. Put it on your calf for movement. Advice: Gather leaves from your yard for inspiration. Sketch freehand. Break it: Draw the robin, add nature. Try arranging real leaves on paper to plan. It’s free. This design connects you to the world. Get started today.
Colorful Robin Flight Path

Add a path to the flying robin for extra story. Use colors to show the journey. Outline it on paper with crayons. Make the path curve. Tattoo it on your side for flow. Tip: Use sidewalk chalk outside for big sketches. Keep it colorful. Steps: Draw the bird, then the path. A DIY: String yarn on paper to mimic the trail. No extras needed. This captures your adventures. Plan it out simply.
Celestial Robin Feather
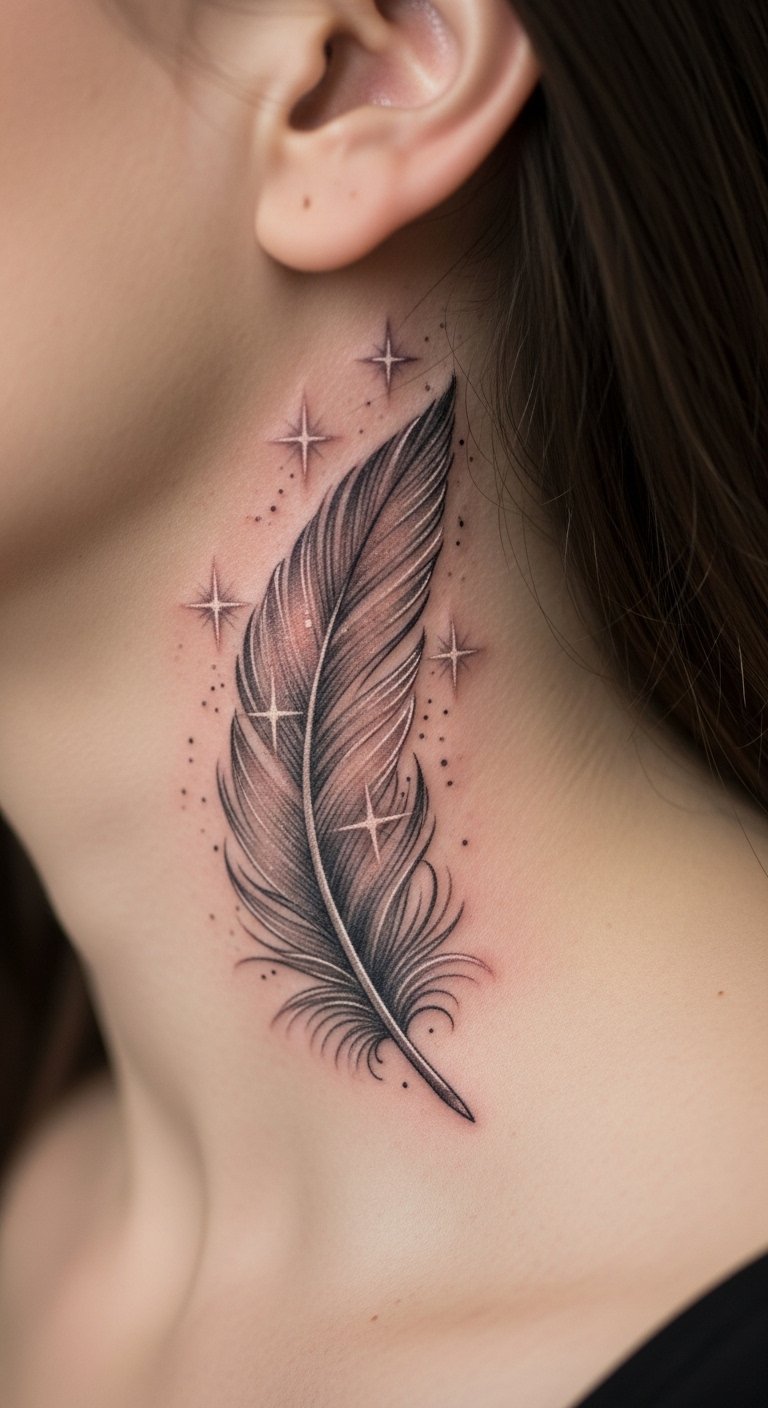
Mix feathers with stars for a dreamy look. This adds wonder to your ink. Doodle stars around a feather sketch. Keep it light. Place it on your neck for a mystical feel. Save: Draw with a stick in the dirt. Practice stars. Easy: Sketch the feather, add celestial bits. Try sticking star stickers on your skin temporarily. It’s fun and free. This design lifts your spirits. Create your own magic.
Robin with Geometric Patterns
Layer geometric patterns over the robin. It modernizes the classic. Draw shapes around a bird outline. Mix circles and lines. Put it on your elbow for flexibility. Tip: Use a ruler and paper you have. Add patterns step by step. A DIY: Cut shapes from paper and overlap them. No purchase required. This blends styles seamlessly. Try it and see the fit.
Detailed Feather Focus Tattoo
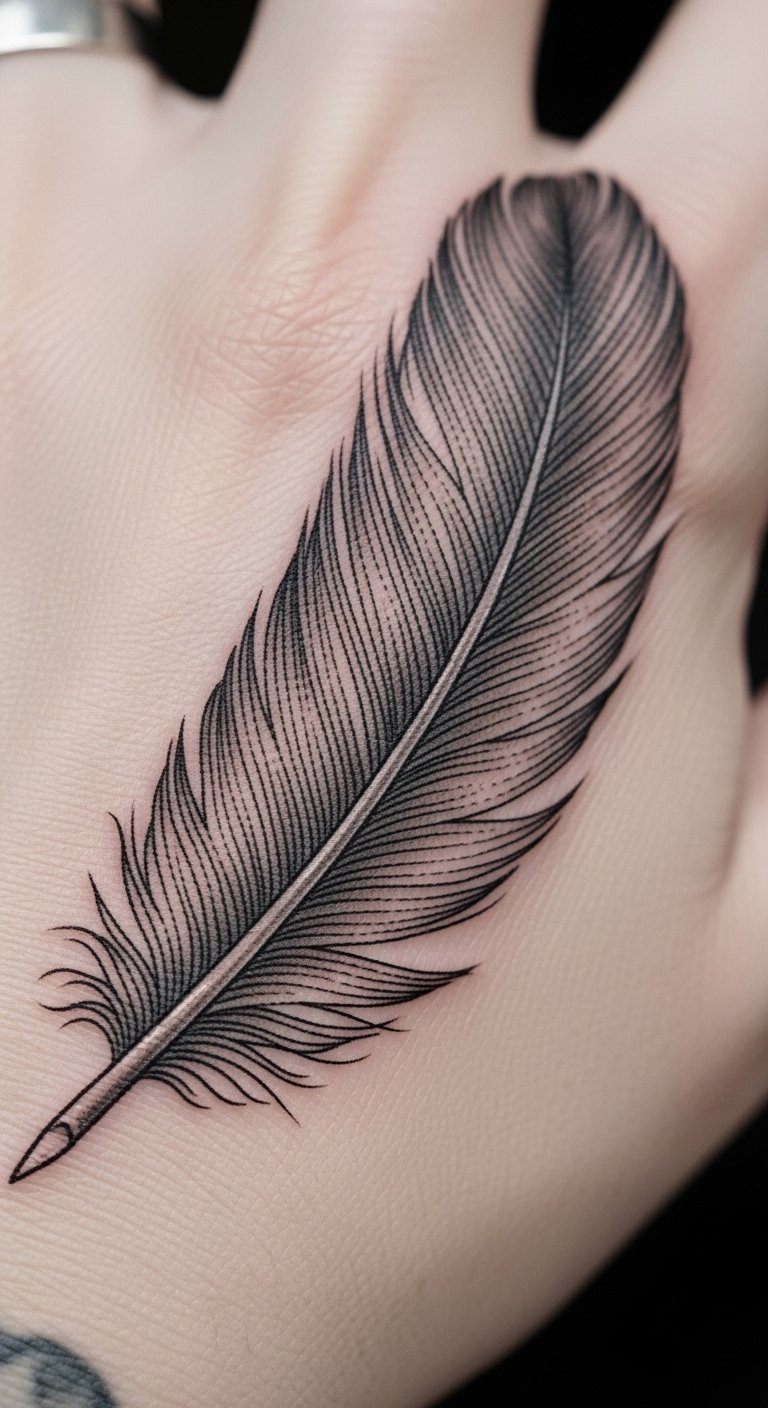
Zoom in on just the feather for detail. This highlights texture and form. Draw feather lines on paper. Focus on patterns. Tattoo it on your hand for constant view. Advice: Use a toothpick for fine lines in sketches. Keep it detailed but simple. Steps: Draw one feather, add details. A DIY: Press a real feather on paper to trace. It’s resourceful. This design stands alone. Make it personal.
Robin Symbolizing Renewal
Use the robin to show new beginnings. Pick uplifting colors and shapes. Sketch it with a focus on growth. Add rising lines. Place it on your upper arm for inspiration. Tip: Draw with recycled paper and pens. Build the theme. Easy: Start with the bird, add renewal signs. Try drawing on a window with a dry erase marker. Wipe and redo. This keeps costs low. Embrace the message.
Arm-Wrapped Robin Design
Wrap the robin around your arm for a custom fit. This makes it part of you. Draw it to follow the curve. Use flowing lines. Keep it on your arm for practicality. Save: Measure your arm with string and sketch accordingly. Adjust as needed. Steps: Draw the curve, add the bird. A DIY: Wrap string around your arm and mark the design. It’s simple. This design flows with you. Plan it easily.
Shoulder Blade Robin Tattoo
Position the robin on your shoulder for protection. Make it symmetrical and strong. Sketch it to fit the blade. Add protective elements. Place it there for security. Tip: Use a mirror to draw on yourself roughly. Get the fit right. Steps: Outline the spot, draw the bird. A DIY: Tape paper to your shoulder and mark it. No fuss. This design guards your path. Start sketching now.
Back-Covering Robin Scene
Cover your back with a full robin scene. This creates a big story. Draw a mini version on large paper. Include the environment. Put it on your back for impact. Advice: Use newspaper for big sketches. Keep it balanced. Easy: Draw the center bird first. Try laying out drawings on the floor. It’s free. This design tells a tale. Make it your canvas.
Chest-Centered Robin Tattoo
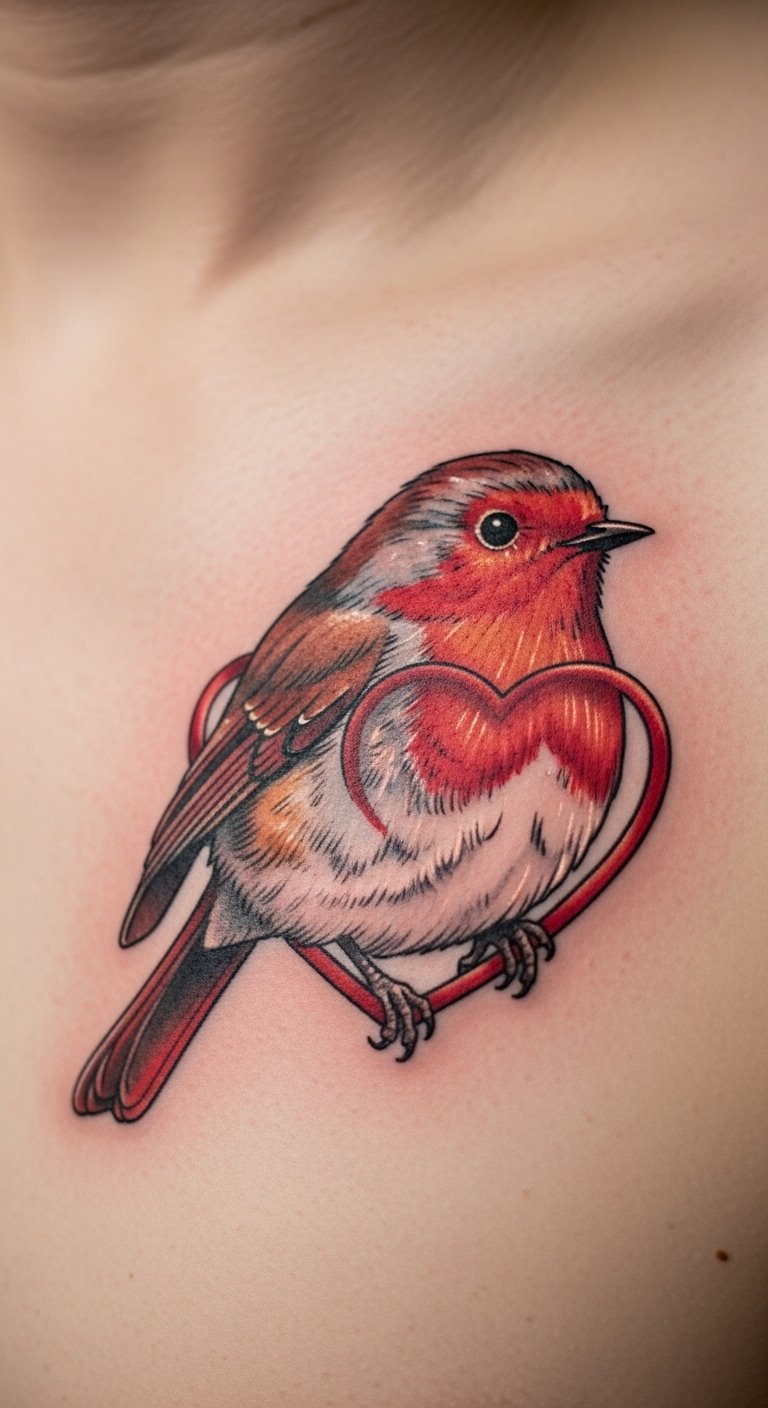
Center the robin on your chest for heart-felt meaning. Focus on emotional spots. Sketch it directly over the area. Use red for emphasis. Place it centrally. Tip: Draw on a t-shirt with fabric pens. Test the spot. Steps: Mark the center, add the bird. A DIY: Pin a paper robin to your shirt. Easy adjustment. This design hits close. Feel the connection.
Simple Line Work Robin
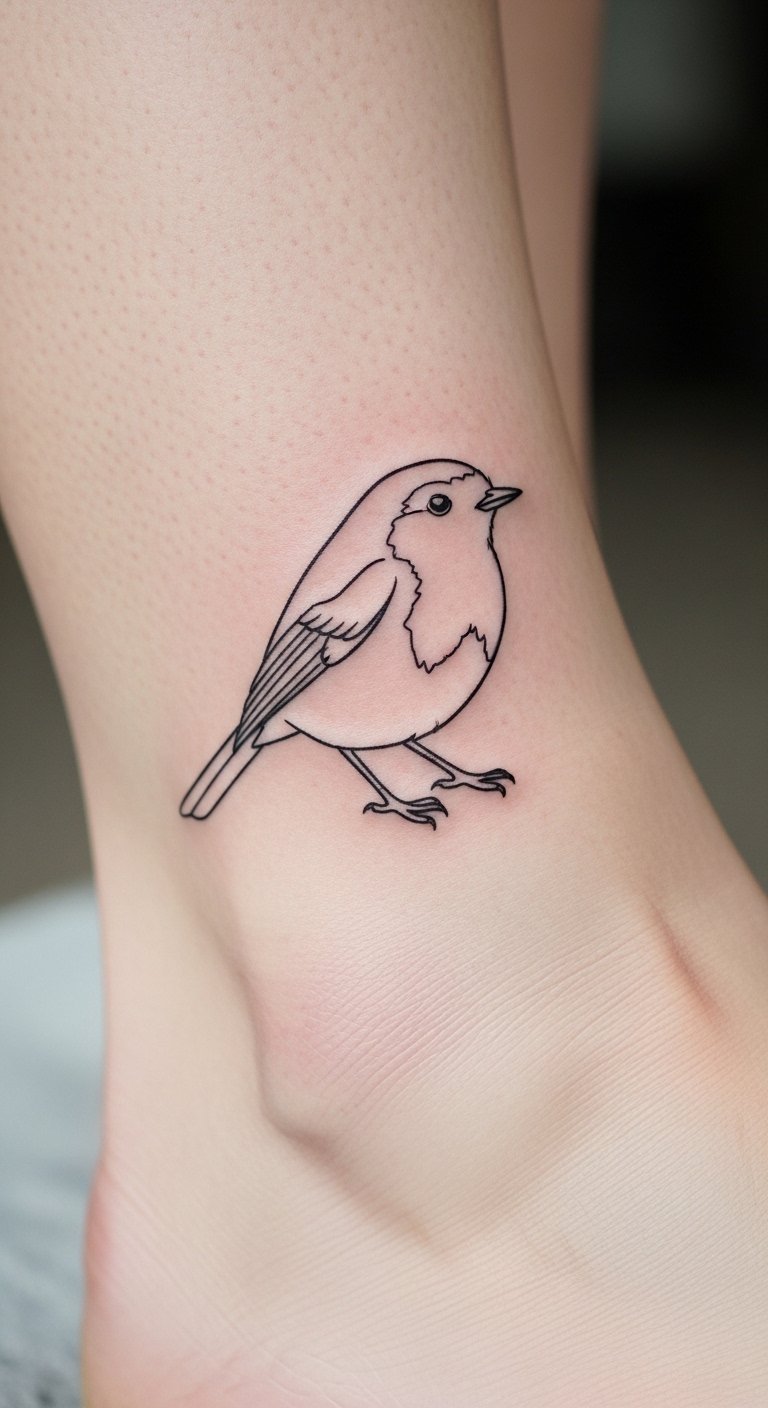
Opt for just lines to keep it minimal. This clean style is easy to love. Draw with straight lines on paper. Focus on the outline. Tattoo it on your ankle for simplicity. Save: Use a single pen for all lines. Practice quickly. Steps: Draw the basic shape. A DIY: Trace with a string on paper. No extras. This design says a lot with little. Try it out.
Vibrant Robin in Flight Again
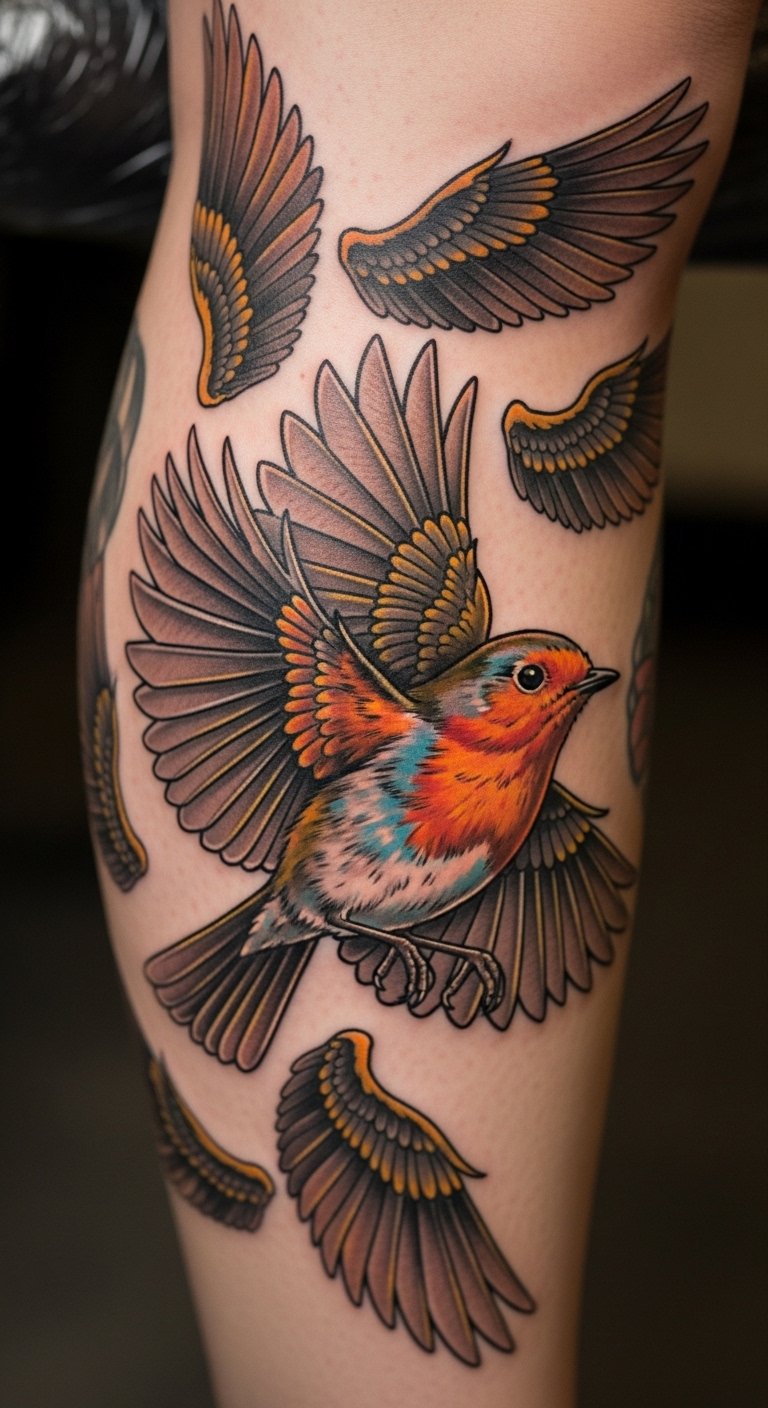
Repeat the flight theme with more color. Build on the idea for depth. Sketch multiple wings on paper. Layer the colors. Put it on your leg for extension. Tip: Reuse old drawings for repeats. Add flair. Easy: Draw one, copy it. A DIY: Stamp the design with a potato. It’s clever and cheap. This reinforces freedom. Keep building.
Nature-Inspired Robin Blend
Blend the robin with natural elements for unity. This creates a seamless look. Draw it with surrounding features. Match the colors. Place it on your side for flow. Advice: Collect outdoor items for ideas. Sketch freely. Steps: Combine the bird with nature. Try arranging items at home. No cost. This design harmonizes with you. Start your blend today.
With these robin tattoo ideas, you’ve got plenty of ways to express yourself. Pick one that sparks joy, grab a pencil, and sketch your path forward. Your next ink adventure waits—act on it now!