
Geometric sleeve tattoos blend sharp lines and patterns into eye-catching designs that stand out on your arm. People search for these to add a personal touch with shapes like triangles and mandalas, making a statement without overwhelming the look. Dive into this list for fresh ideas that fit everyday life, from simple sketches to real ink options.
Geometric Mandala Sleeve Design

Geometric mandala sleeves use circles and lines for a balanced feel. Start with a basic sketch on paper using a pen. Draw small mandalas on your notebook to test ideas. Pick a spot on your arm that shows off the design. Talk to a local artist who works with simple tools. They can use black ink for a clean finish. Add elements like dots for extra flair. Keep costs low by choosing a half-sleeve option. This might run under a few hundred dollars at a budget shop. Try tracing patterns from free online templates. Wear a short-sleeve shirt to imagine how it looks daily. Focus on shapes that match your style. Get feedback from friends before committing. A good artist will adjust based on your input.
Abstract Triangle Patterns on Sleeve
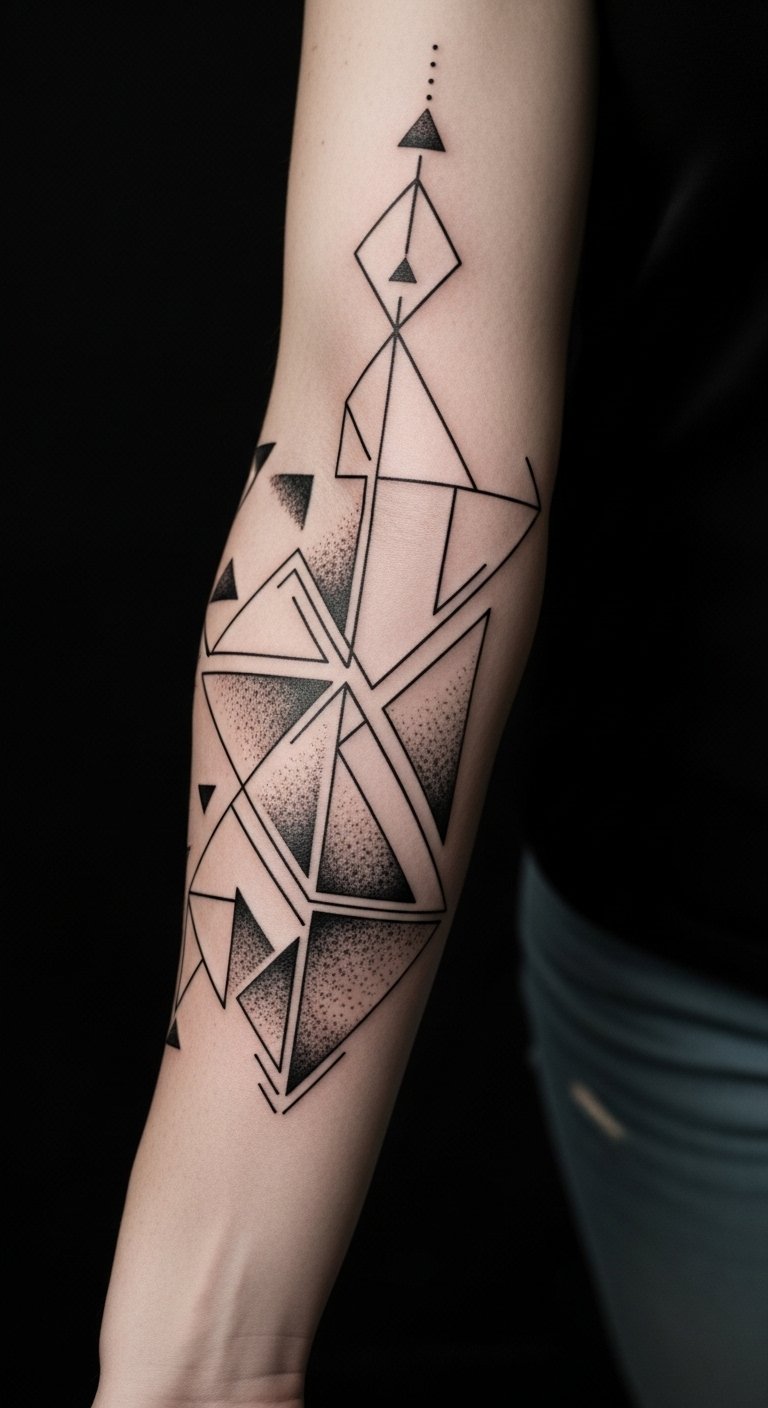
Abstract triangle patterns build a modern sleeve with pointed shapes. Grab a ruler and paper to draw triangles at home. Experiment with different angles on scrap paper. Place them along your arm for a flowing effect. Find an artist who uses fine needles for sharp lines. Stick to black ink to keep things straightforward. This design works well for first tries. Look for deals at tattoo events in your area. Prices drop for smaller sections. Use phone apps to overlay triangle ideas on photos of your arm. Adjust sizes to fit your daily routine. A simple version might take one session. Share sketches with the artist for tweaks. This approach helps create something unique without high costs.
Clean Line Wave Motifs
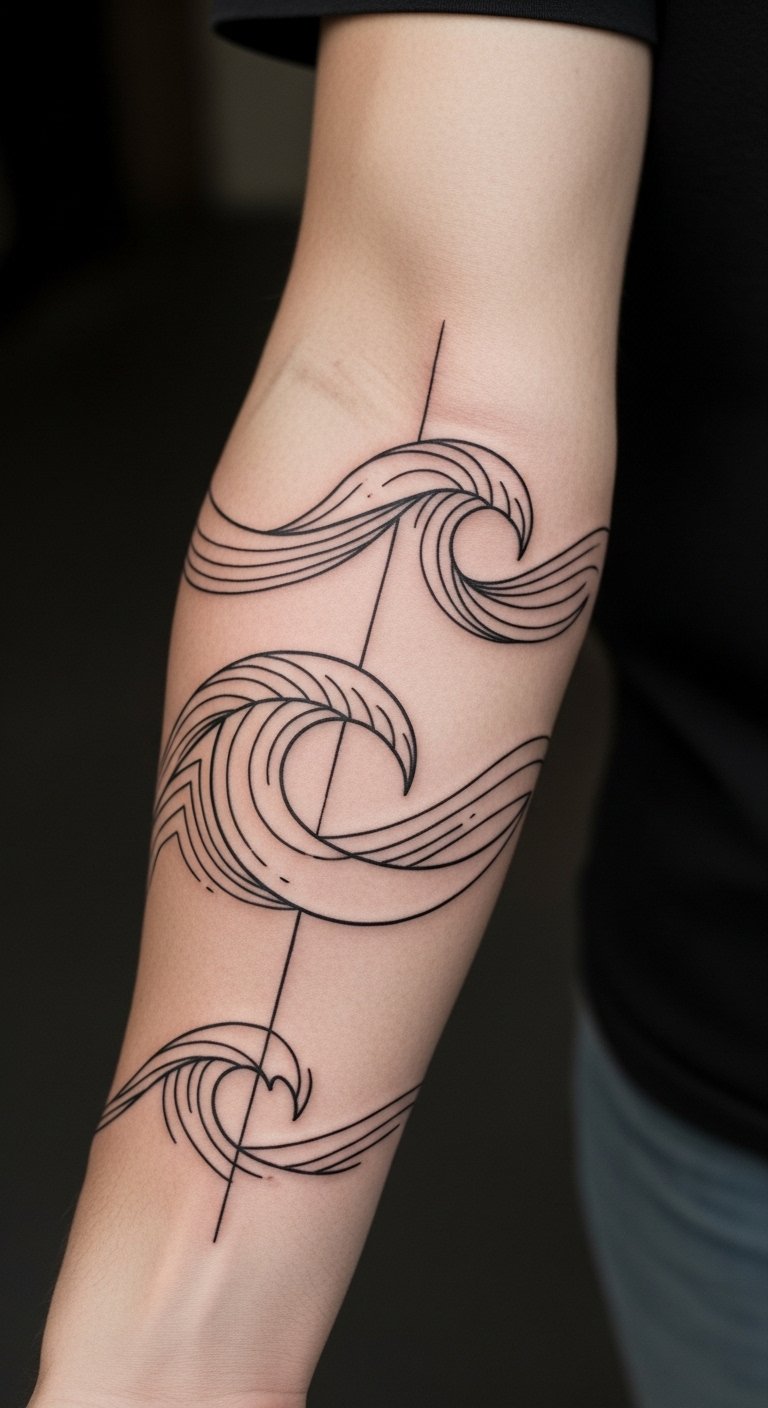
Clean line waves add movement to your sleeve with straight and curved lines. Practice drawing waves on plain paper with a marker. Layer them to see how they connect. Position waves from shoulder to elbow for balance. Visit a nearby studio that specializes in line work. Opt for thin lines to keep it subtle. Black ink keeps the design timeless. Save money by getting just the waves done first. Local shops often have promotions for new clients. Snap pictures of your arm and add waves using editing tools. This lets you preview the look easily. Focus on smooth flows that suit your lifestyle. Discuss changes with the artist during the process.
Symmetrical Dot Work Sleeve
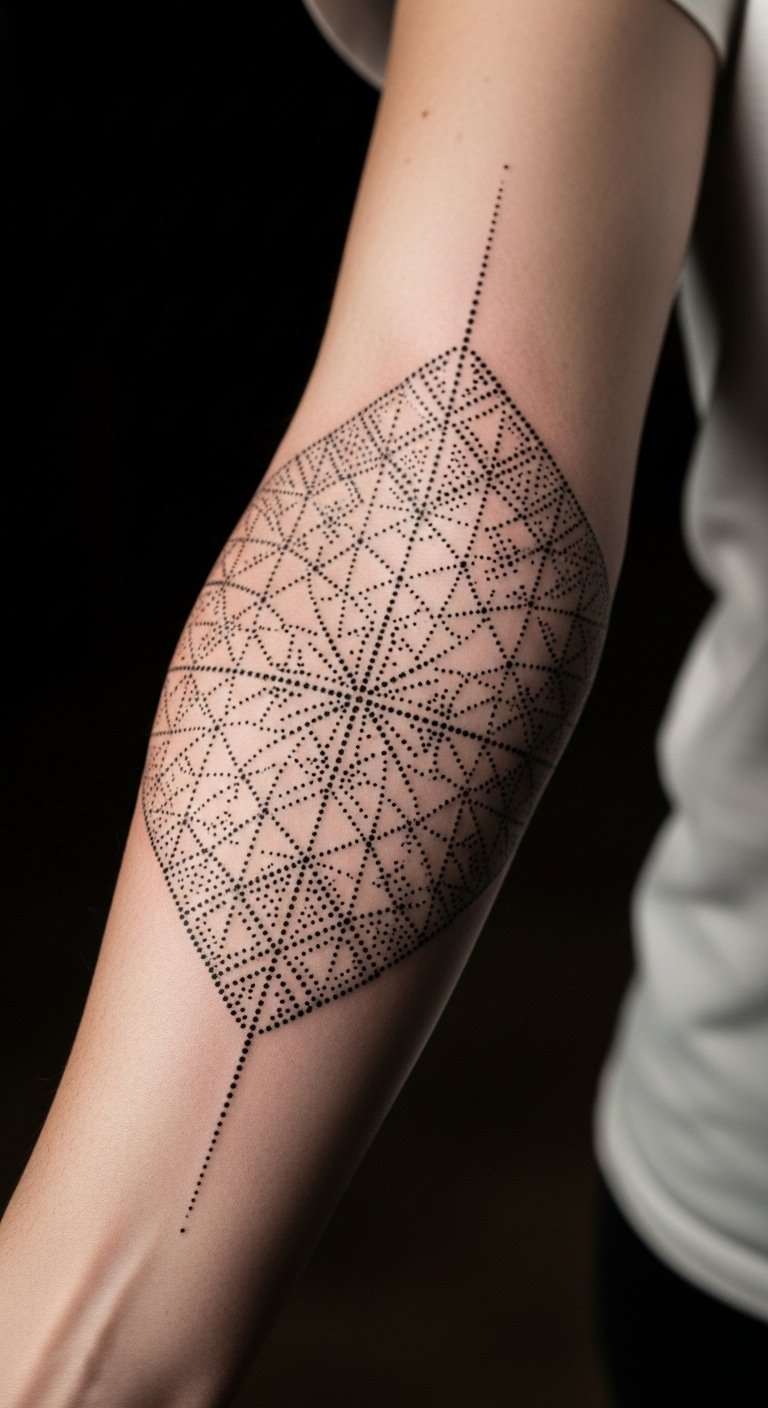
Symmetrical dot work uses dots to form patterns on your sleeve. Start by making dot grids on paper with a pencil. Arrange them in rows for symmetry. Place dots along your upper arm for impact. Find an artist skilled in dot techniques. Use small dots for a delicate touch. Black ink works best for this style. Go for a partial sleeve to cut costs. Check for affordable sessions at community events. Use a dot sticker set to mock up ideas on your skin. This gives a real sense of fit. Keep designs simple for everyday wear. Let the artist refine your sketch on the spot.
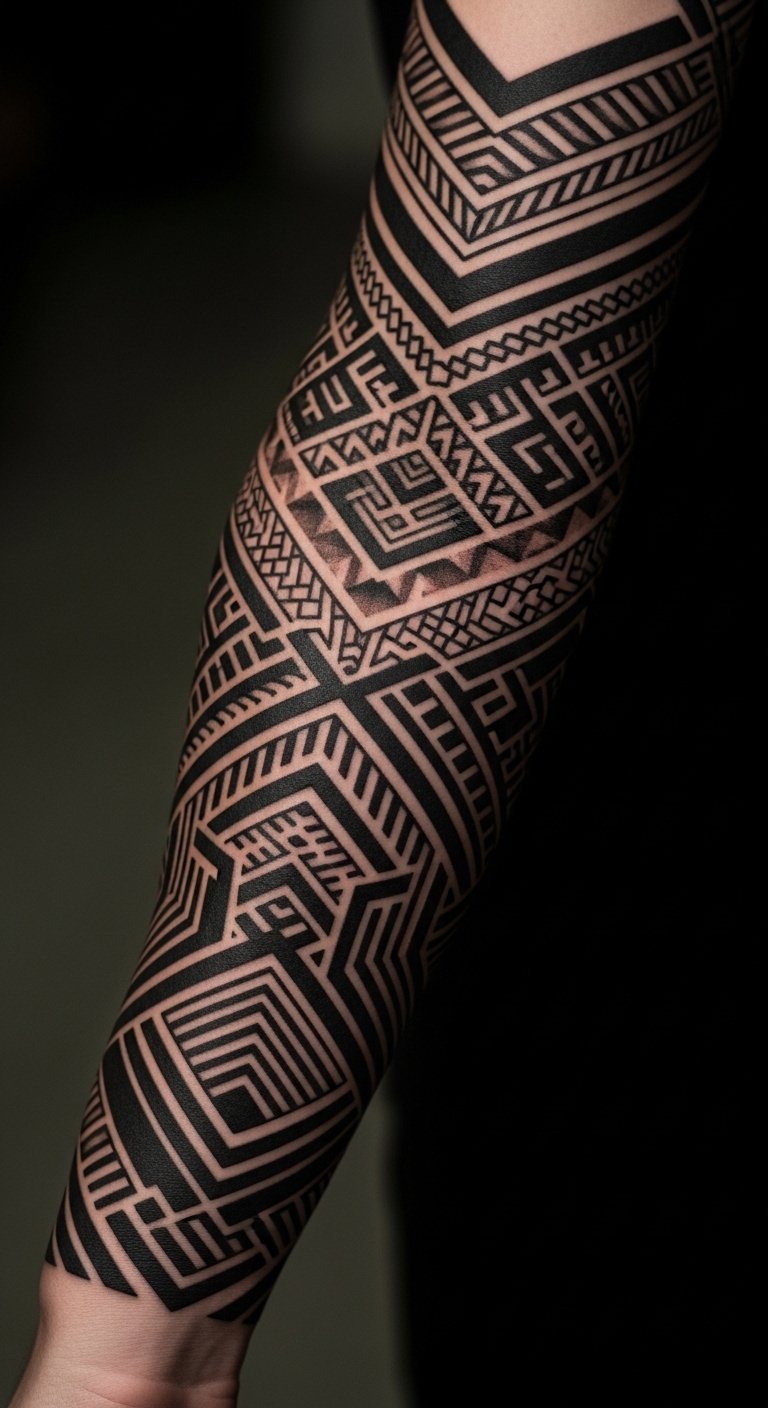
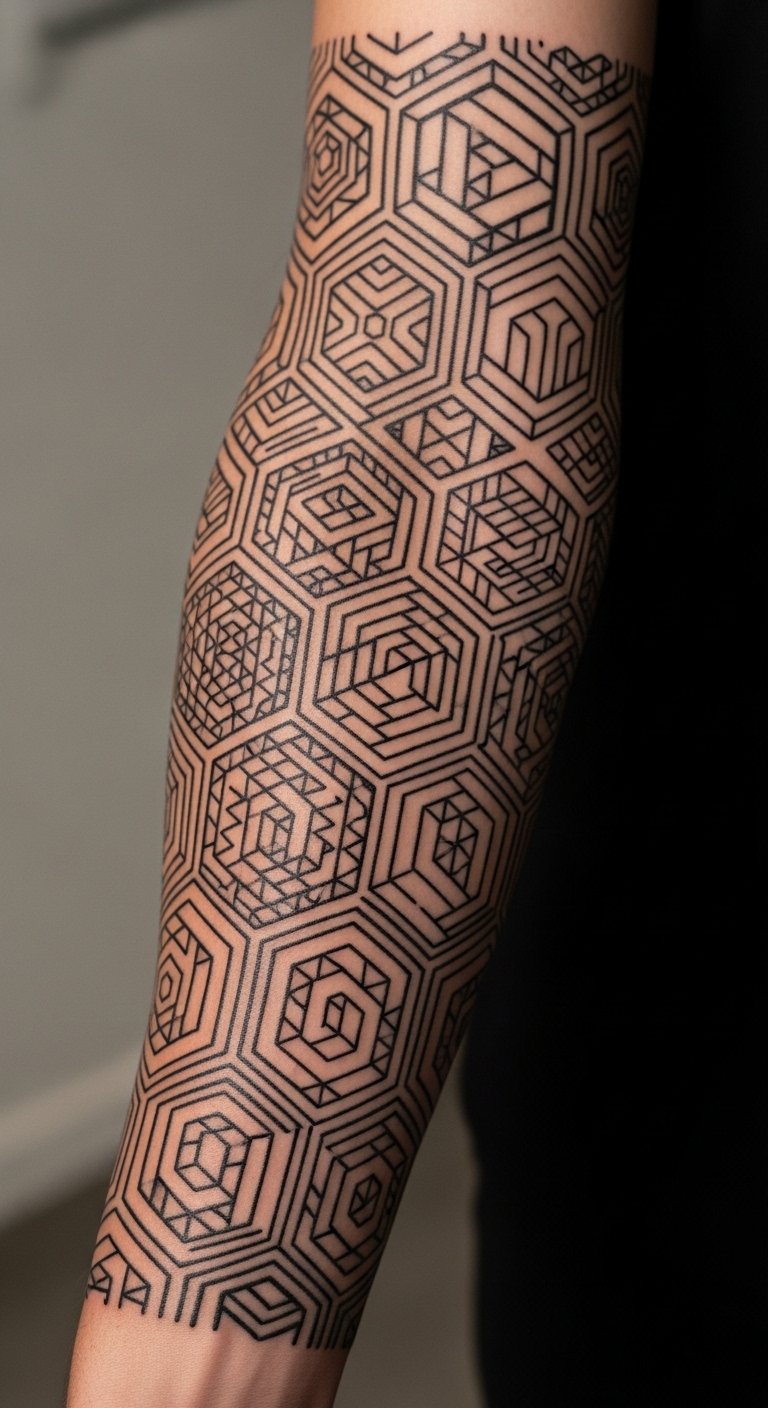
Interlocking Hexagon Layout
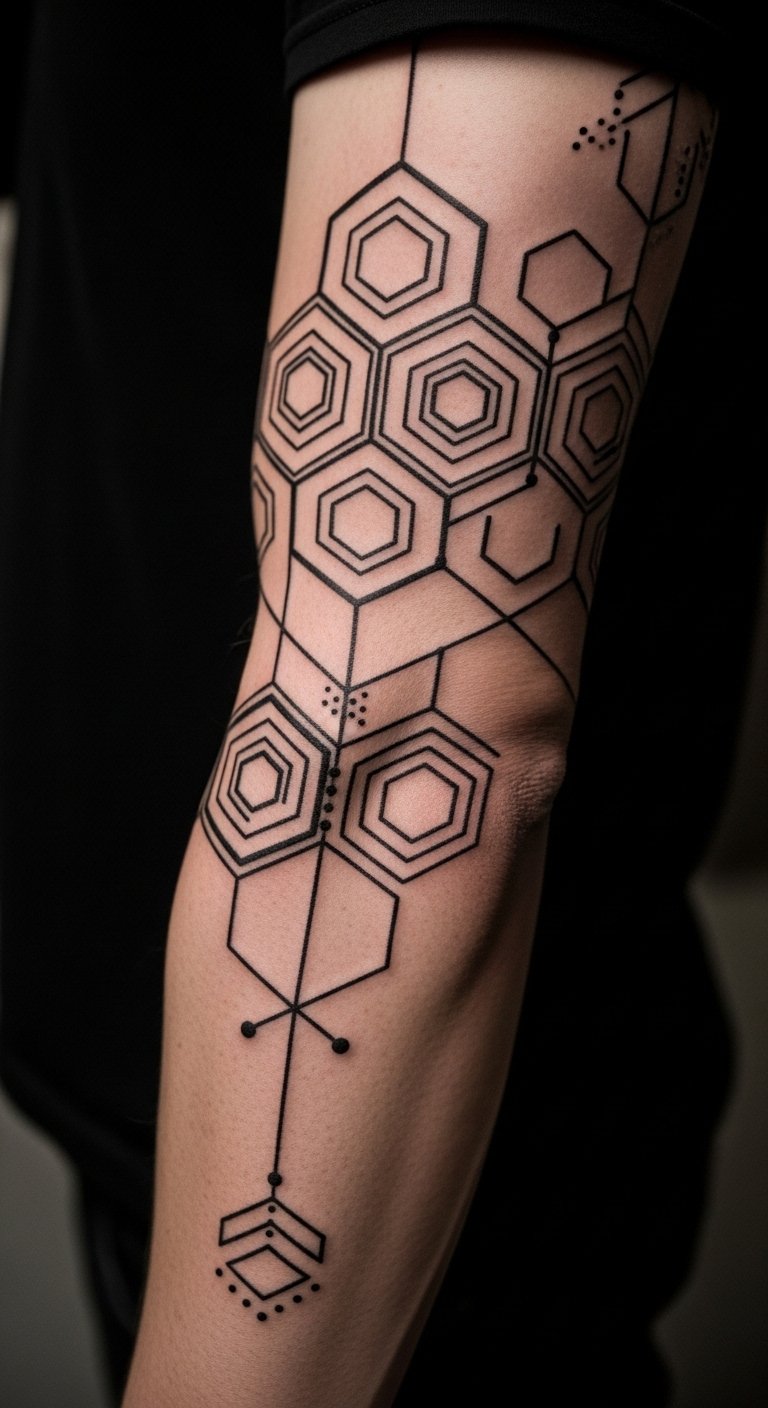
Interlocking hexagons create a structured sleeve with linked shapes. Draw hexagons on graph paper to plan. Connect them to form a grid. Fit them on your forearm for easy viewing. Search for artists who handle geometric layouts. Choose hexagons in basic black for simplicity. This design scales down for budget reasons. Look for introductory rates at local parlors. Trace hexagons on your arm with washable markers first. It helps visualize the final look. Adjust based on how it feels in motion. Share your drawing with the artist for input.
Spiral and Circle Fusion
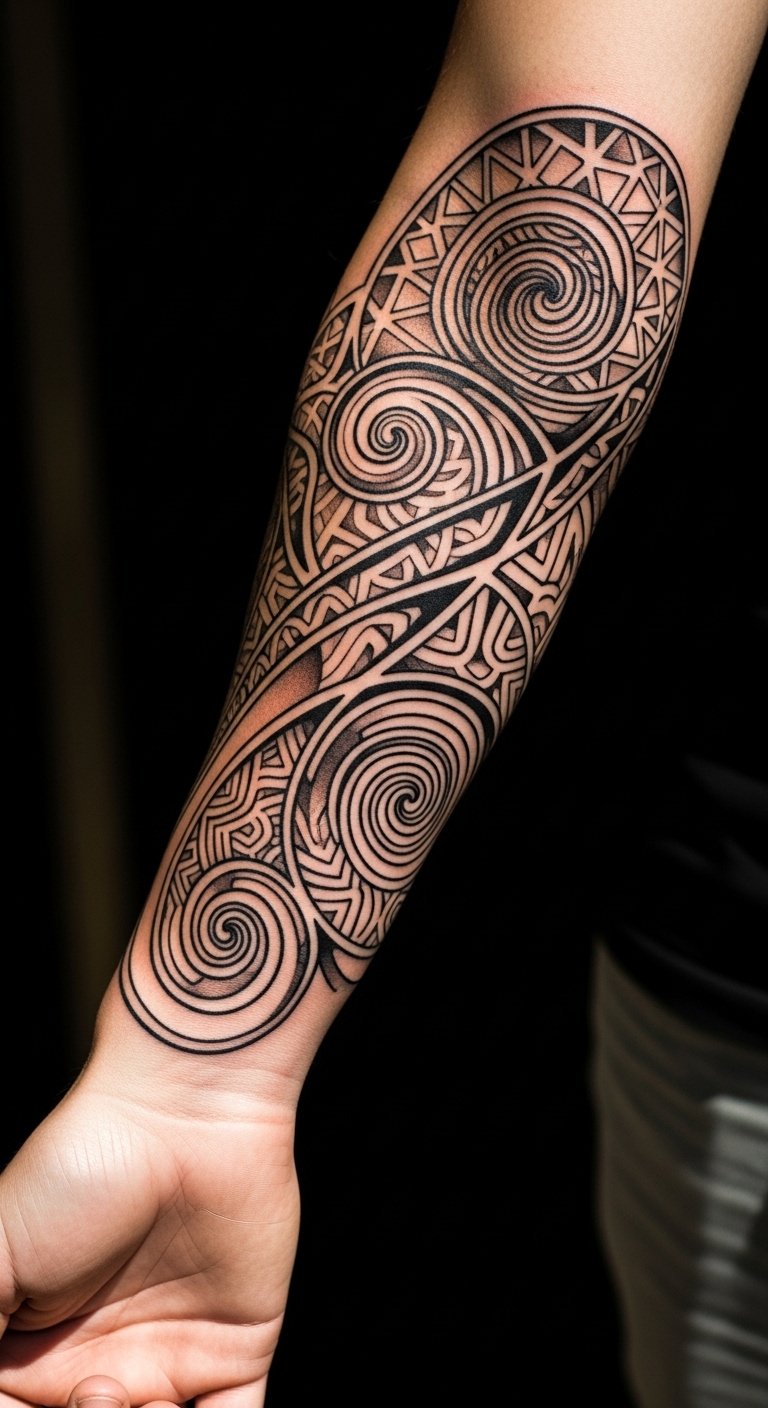
Spiral and circle fusion brings energy to your sleeve with twisting lines. Sketch spirals inside circles on notebook paper. Build layers for depth. Place this on your outer arm for prominence. Connect with an artist who does dynamic lines. Go with solid black to maintain focus. Start small to keep expenses low. Watch for flash sales at tattoo spots. Use string to outline spirals on your arm temporarily. This previews the movement. Make sure it aligns with your routine. Get artist advice on flow.
Angular Mountain Scenes
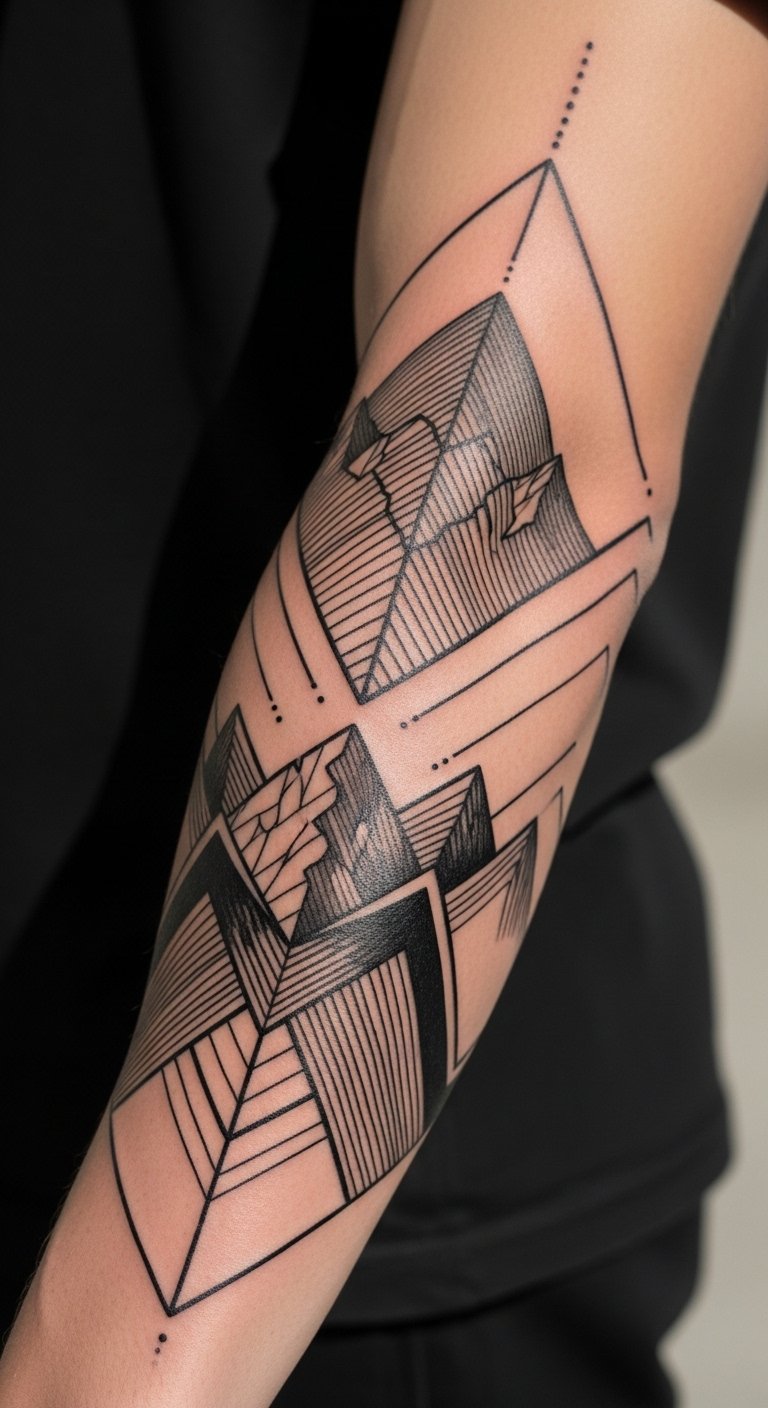
Angular mountain scenes use peaks and lines for a landscape vibe. Draw jagged mountains on drawing paper. Add lines for paths. Position on your sleeve for a story feel. Find an artist good with scenery elements. Use black outlines for clarity. Opt for a section to save money. Scout for package deals online. Tape paper mountains to your arm to test. It offers a quick view. Ensure the design fits your activities. Discuss details with the artist beforehand.
Layered Square Patterns
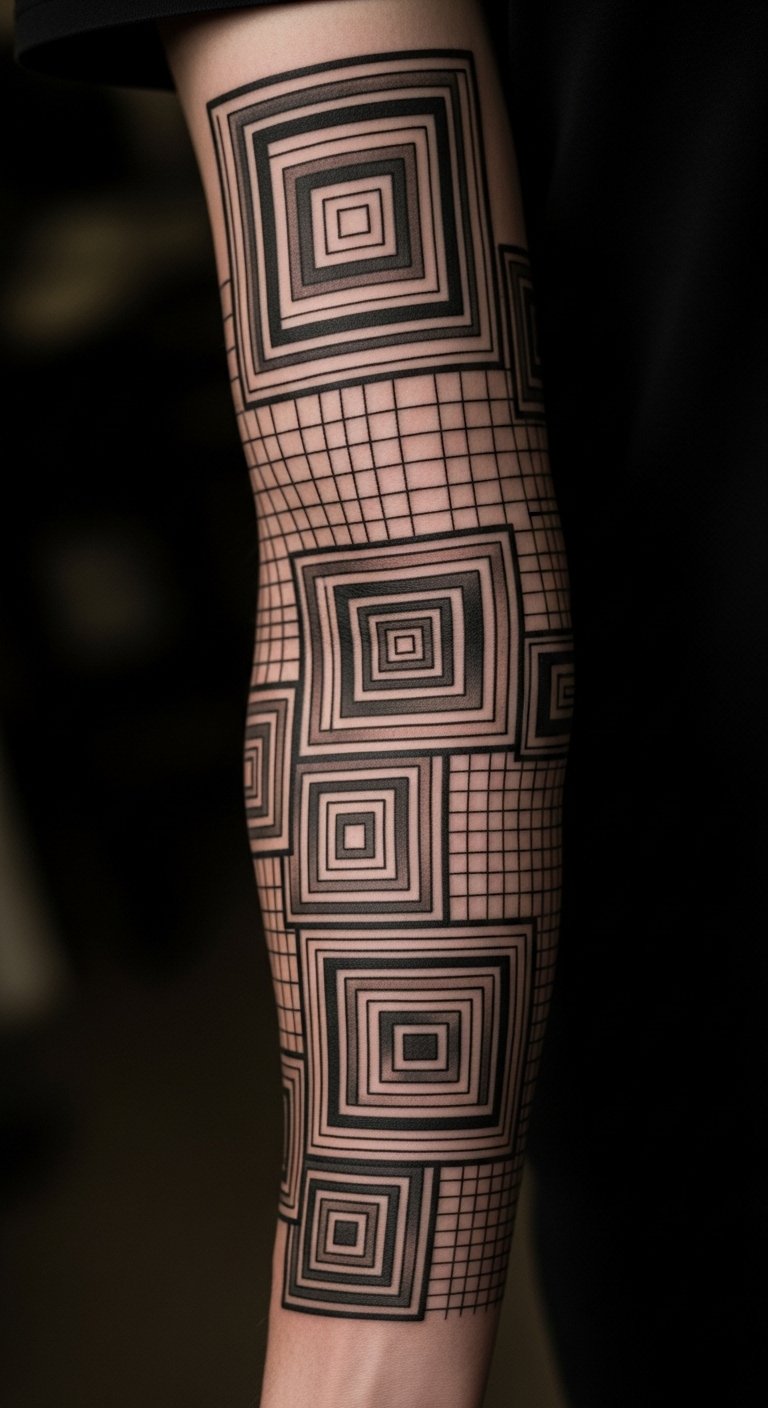
Layered square patterns stack boxes for a bold sleeve. Practice with square grids on plain sheets. Overlap them for interest. Put on your inner arm for subtlety. Look for artists who layer shapes well. Stick to black for a stark effect. Choose a mini version for affordability. Check classifieds for low-cost options. Use grid paper to plan on your skin. This makes adjustments easy. Keep it practical for daily use. Collaborate with the artist on layers.
Radial Star Designs
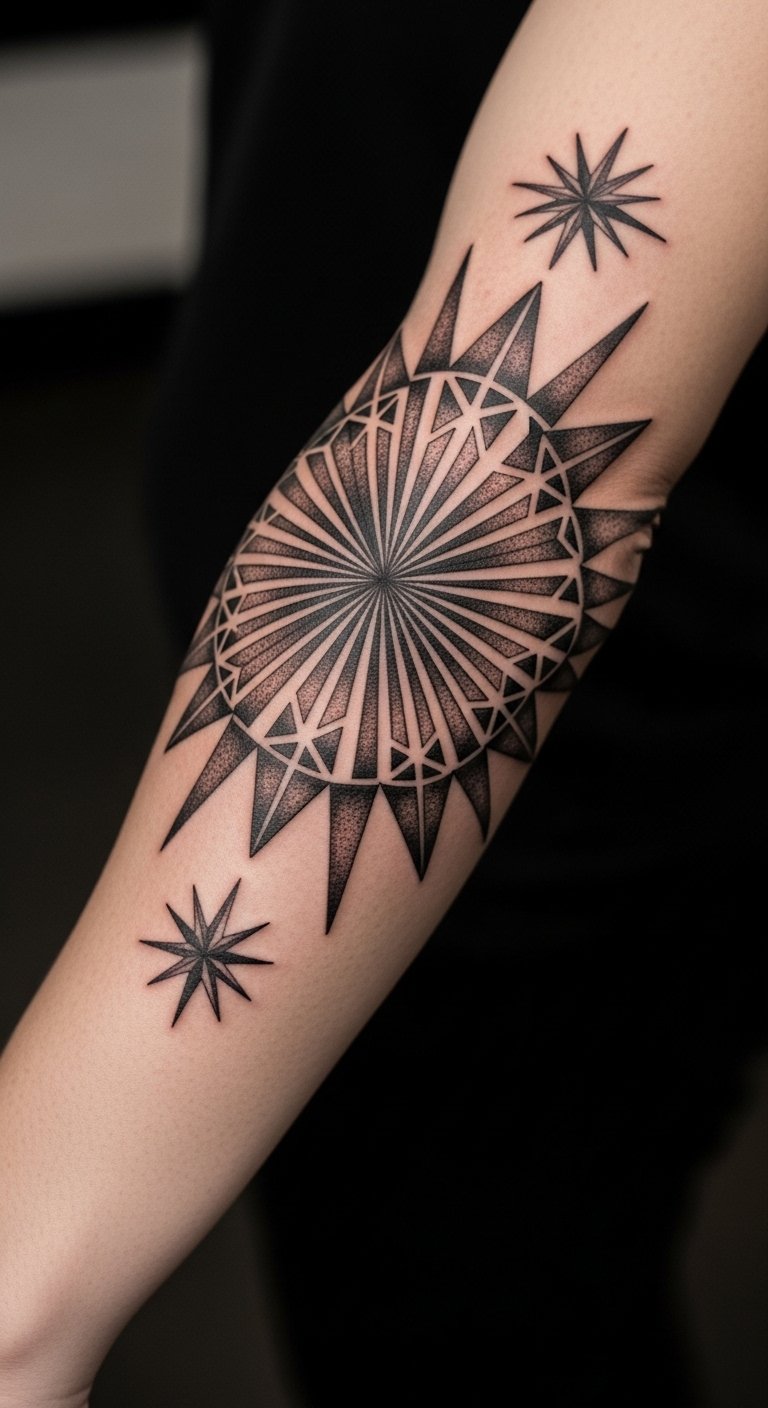
Radial star designs radiate from a point for a starburst look. Draw stars with lines from a center on paper. Expand outward for effect. Locate on your sleeve center. Seek artists skilled in radial work. Use black ink for precision. Go partial to manage costs. Find group session discounts. Draw stars with chalk on your arm first. It helps see the spread. Make sure it suits your style. Talk through ideas with the artist.
Fractal Tree Branches
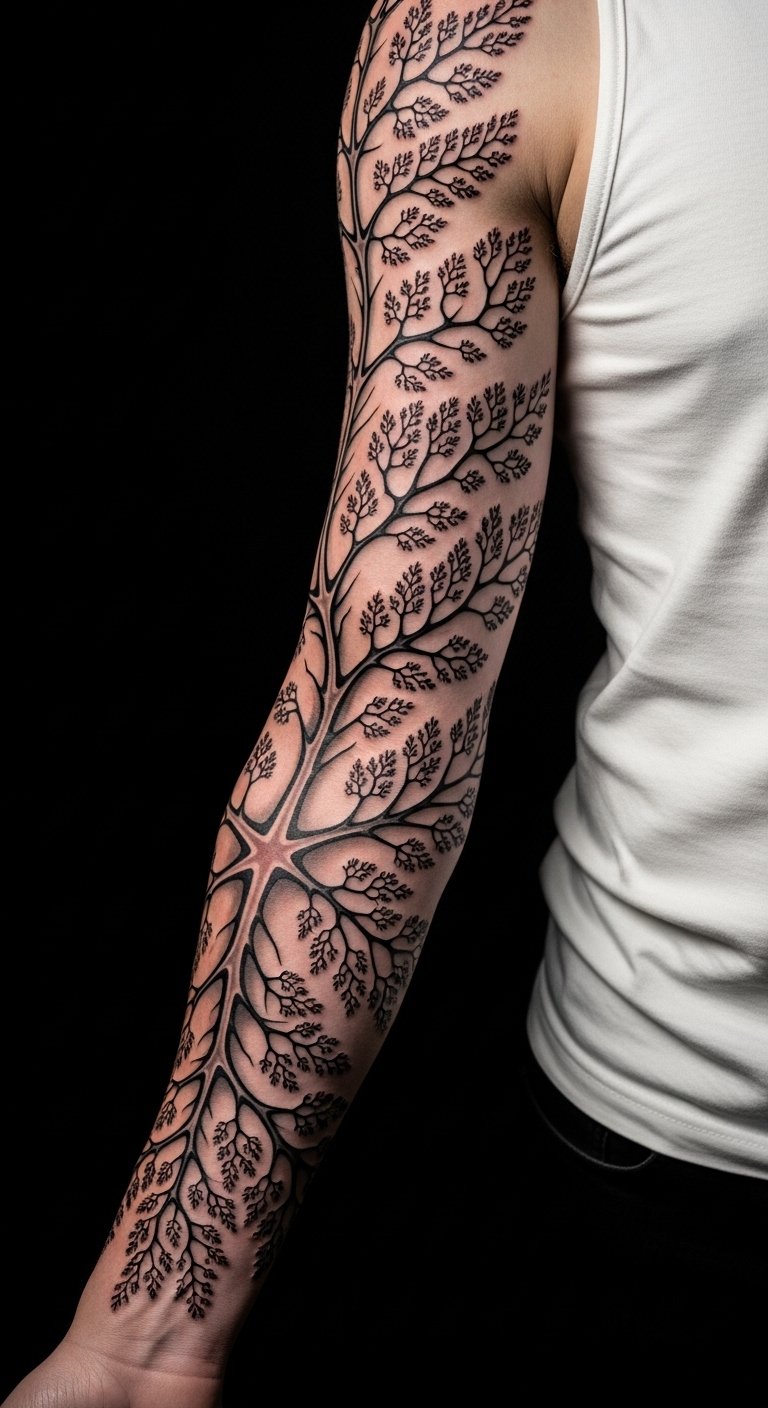
Fractal tree branches mimic nature with repeating lines. Sketch tree forks on paper. Add details for complexity. Place along your arm flow. Connect with fractal-focused artists. Opt for black lines only. Start with branches to keep budget in check. Look for artist specials. Use branches from nature photos as guides. Tape them on to visualize. Ensure comfort in wear. Refine with artist input.
Geometric Animal Silhouettes
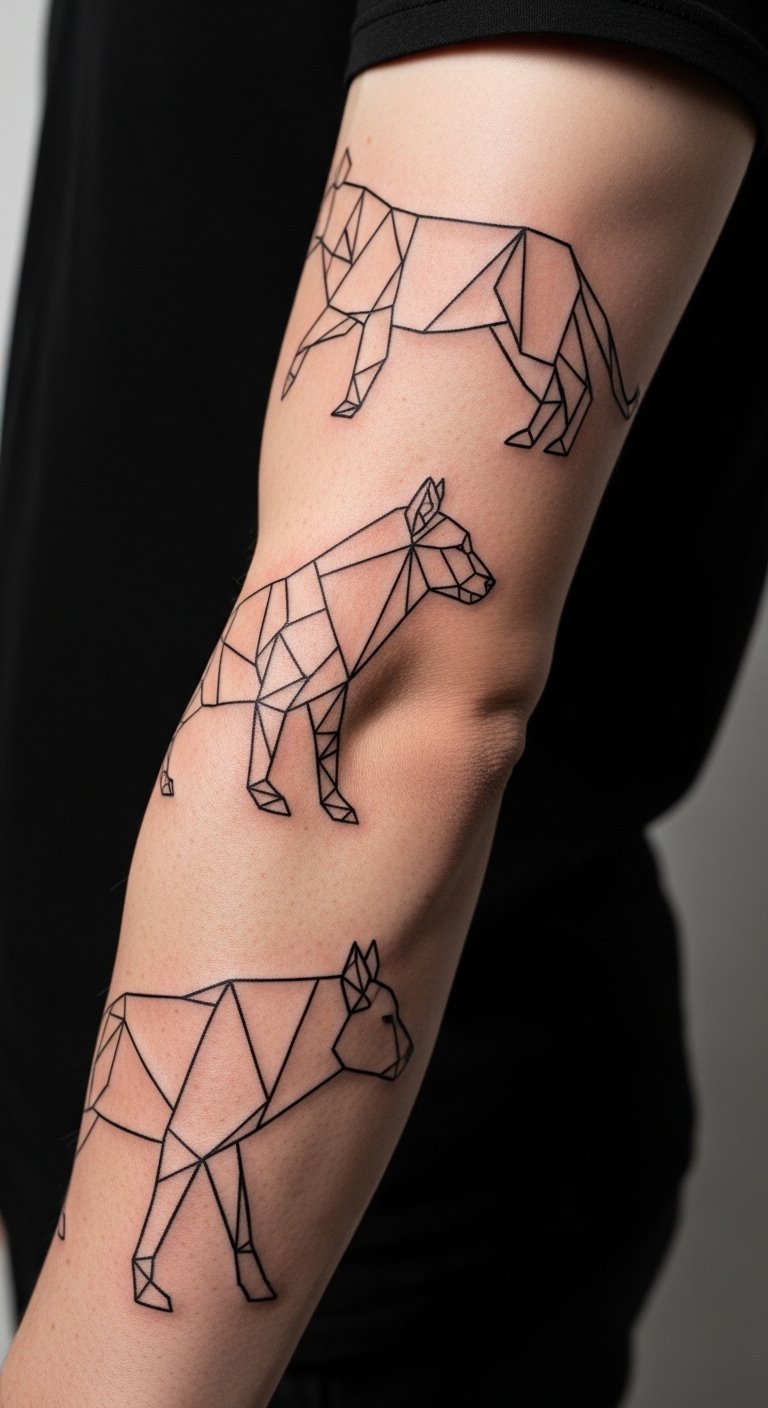
Geometric animal silhouettes turn animals into shapes. Draw simple animal outlines on paper. Add geometric twists. Fit on your sleeve for fun. Find artists who mix themes. Use black for clean cuts. Pick one animal to start cheap. Watch for walk-in deals. Cut out animal shapes from paper for trials. This shows placement. Keep it fun and functional. Get artist feedback quickly.
Chevron and Zigzag Stripes
Chevron and zigzag stripes add direction with angles. Practice zigzags on lined paper. Arrange in bands. Put on your lower arm. Search for stripe experts. Go with basic black. Do stripes first for less money. Find online coupons. Use tape to mimic on your arm. It previews the lines. Make sure it flows well. Discuss with the artist.
Overlapping Polygon Grids
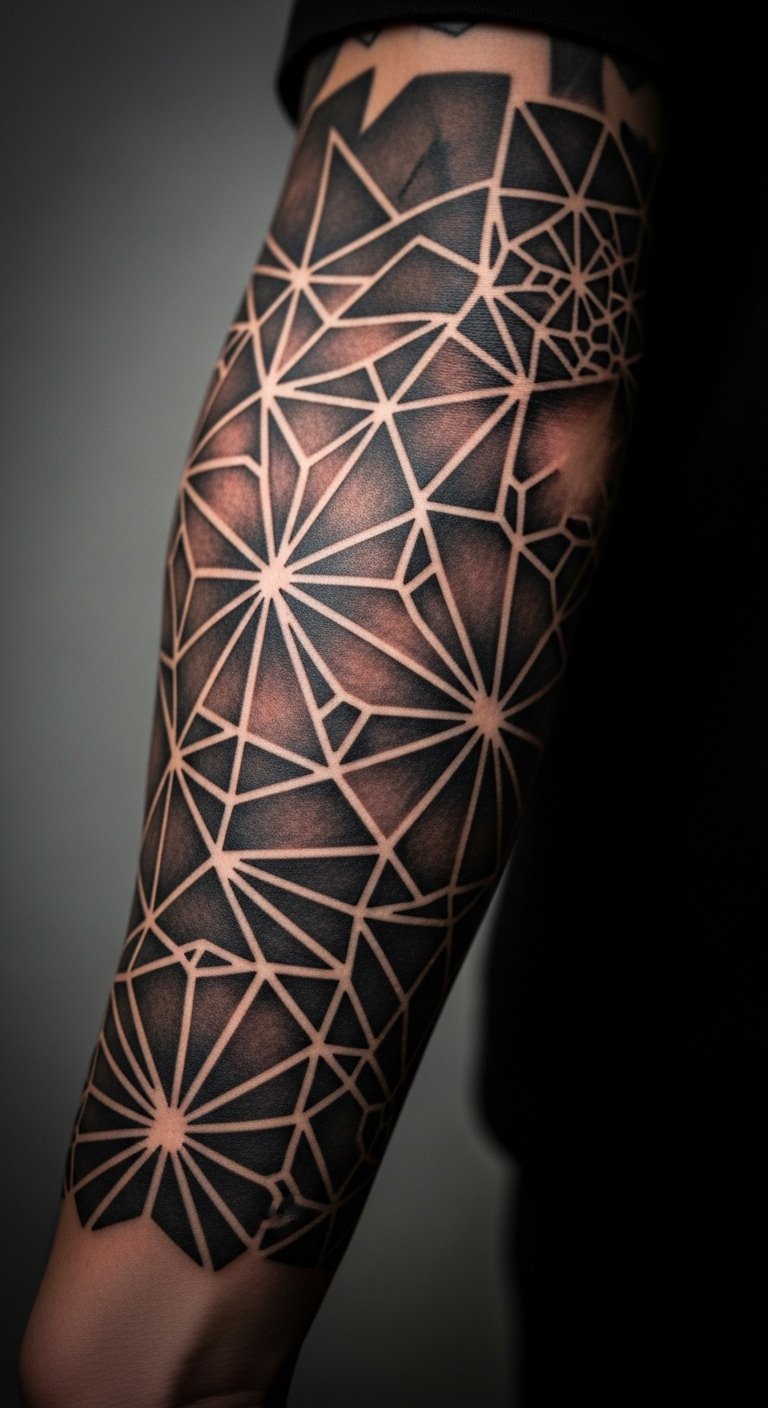
Overlapping polygon grids layer polygons for depth. Draw polygons on grid paper. Overlap for patterns. Place across your sleeve. Look for grid-savvy artists. Use black for impact. Start with a grid section. Check for bundle offers. Outline with string on your arm. This tests the look. Keep it straightforward. Work with the artist on overlaps.
Minimalist Arrow Paths
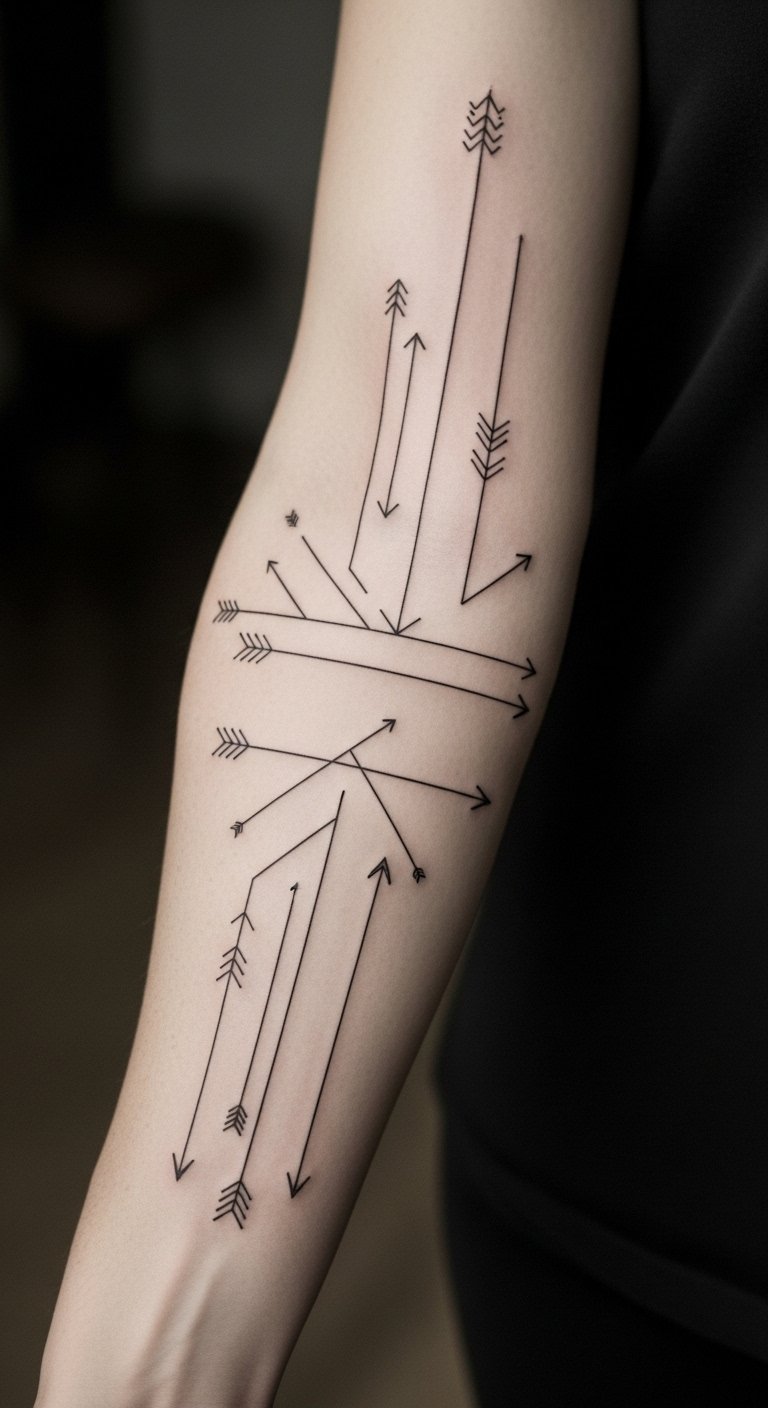
Minimalist arrow paths guide with straight lines. Sketch arrows on paper. Create paths that lead. Position on your arm route. Find line-specialist artists. Stick to black arrows. Do a path segment cheaply. Look for first-timer rates. Draw arrows with markers temporarily. It shows direction. Ensure ease in life. Share plans with the artist.
Diamond Lattice Structures
Diamond lattice structures form nets of diamonds. Draw diamonds in lattices on paper. Connect for strength. Put on your outer sleeve. Seek lattice artists. Use black for definition. Choose a small lattice. Find cost-effective sessions. Use net patterns for mock-ups. This visualizes the structure. Keep practical. Get artist adjustments.
Wave and Line Hybrid
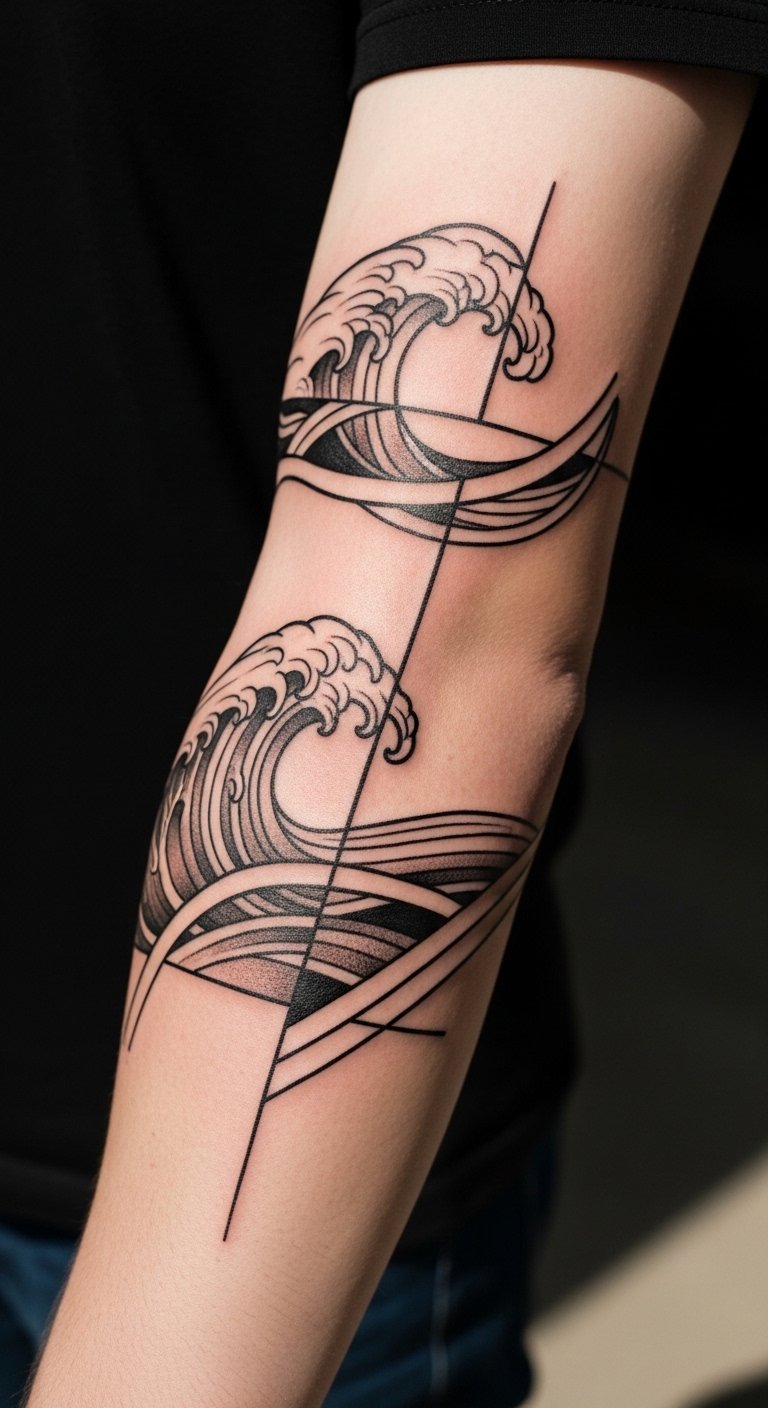
Wave and line hybrids mix curves and straights. Sketch waves with lines on paper. Blend for harmony. Locate on your sleeve blend. Connect with hybrid artists. Go black for unity. Start with a hybrid piece. Watch for deals. Tape wave-line combos on. It previews the mix. Make sure it fits. Discuss with the artist.
Cubist Face Incorporations
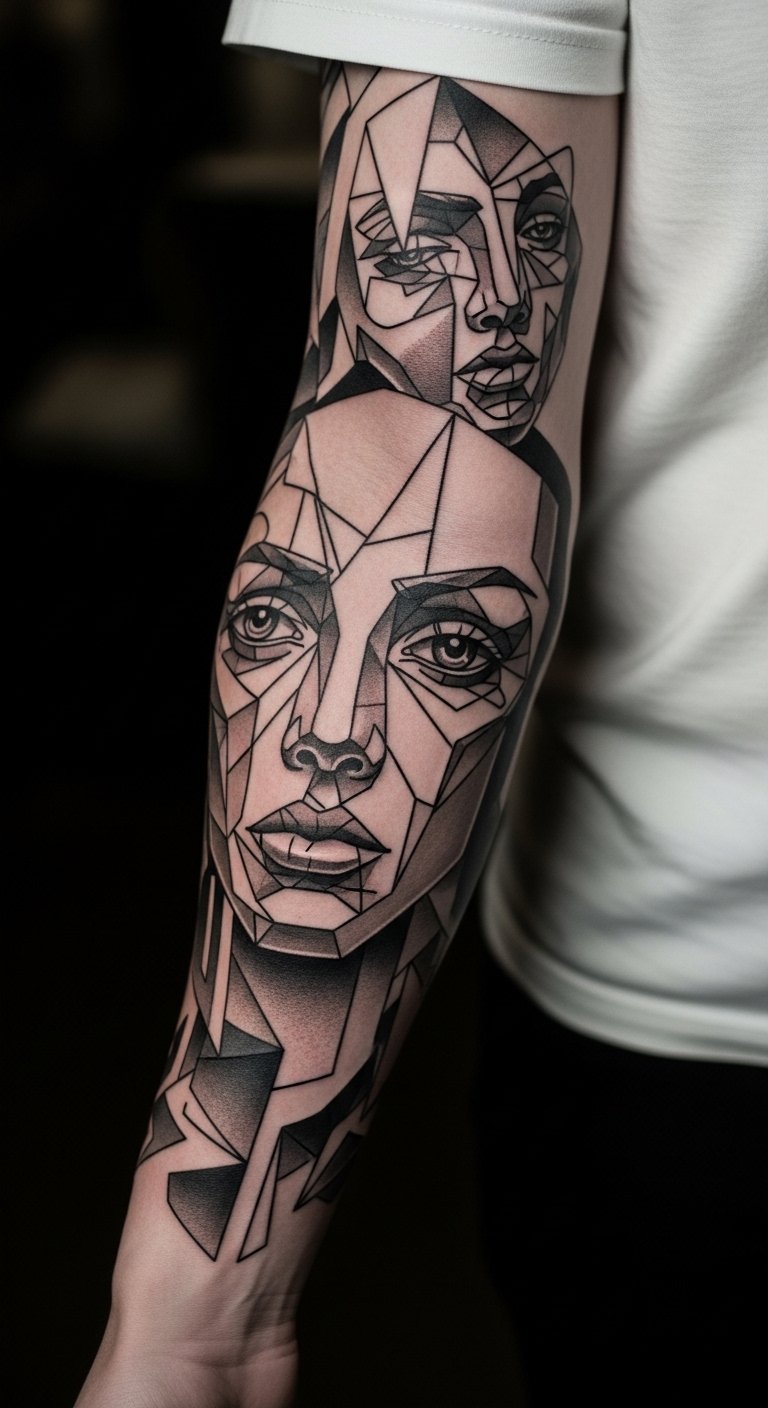
Cubist face incorporations break faces into shapes. Draw fragmented faces on paper. Add geometric edges. Place on your sleeve face. Find cubist-style artists. Use black for effect. Do one face cheaply. Look for portfolio discounts. Use face templates for tests. This shows the break. Keep it artistic. Refine with the artist.
Spiral Vortex Centers

Spiral vortex centers pull in with tight spirals. Draw vortexes on paper. Radiate lines out. Center on your sleeve. Seek vortex experts. Opt for black spirals. Begin with a center design. Check for session packages. Outline with circular tools. It previews the pull. Ensure daily comfort. Talk to the artist.
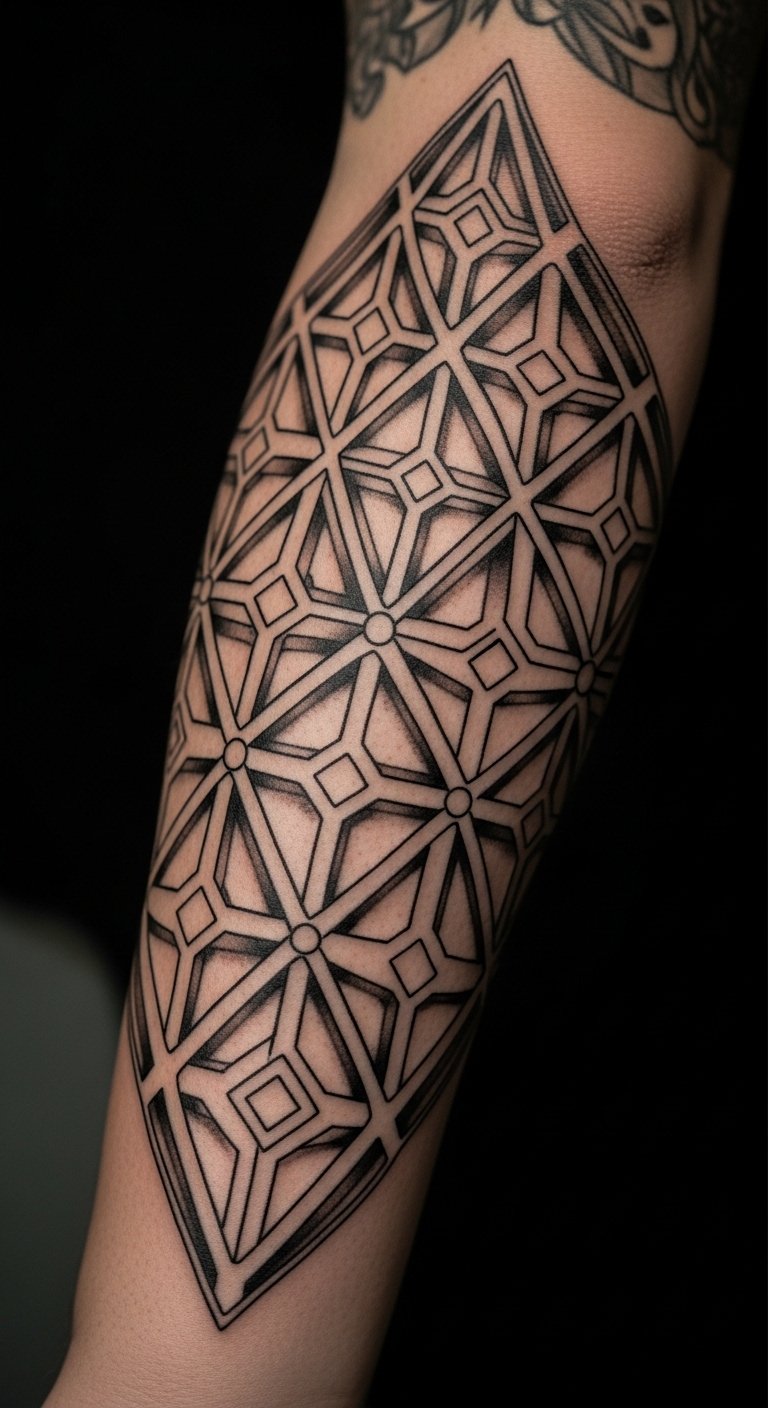
Tessellated Tile Patterns
Tessellated tile patterns repeat shapes without gaps. Sketch tiles on paper. Fit them together. Arrange on your sleeve. Find tessellation artists. Use black for tiles. Go for a tile section. Find affordable artists. Use tile stickers for trials. This shows the repeat. Keep it neat. Get artist input.
Infinity Symbol Weaves
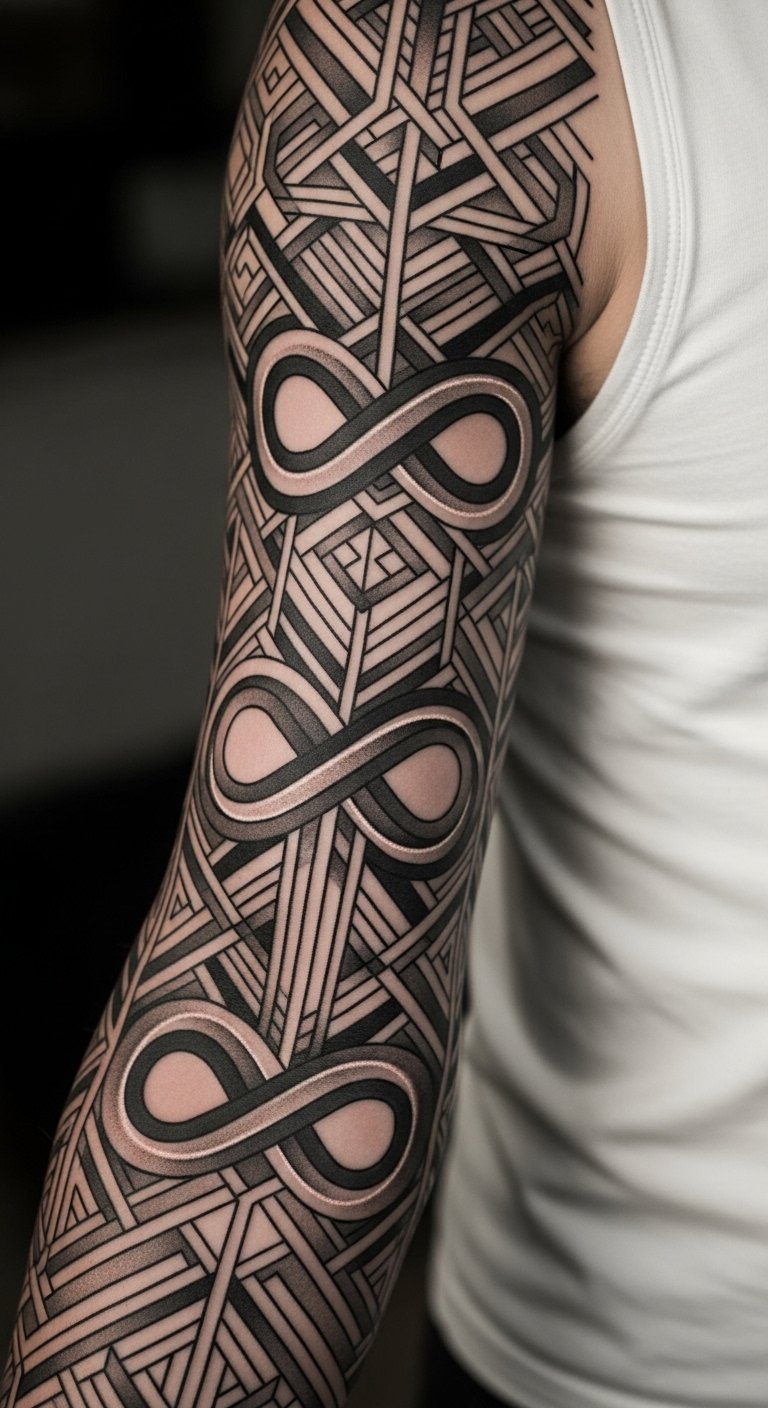
Infinity symbol weaves loop forever. Draw infinity loops on paper. Weave with lines. Place along your arm loop. Look for symbol artists. Stick to black weaves. Do a loop first. Watch for specials. Trace with string. It previews the flow. Make sure it lasts. Discuss with the artist.
Geometric sleeve tattoos offer ways to express yourself with shapes and lines that fit your life. Each idea here gives a starting point, from quick sketches to final ink. Try one today and see how it enhances your look.