
Blast-over tattoos offer a fresh way to update ink without hiding the past entirely. This approach lets old designs peek through, creating a unique layered look that’s gaining popularity. If you’re thinking about transforming a tattoo, you’ll find practical steps here to make it happen affordably and effectively. Dive into these ideas to refresh your body art with style and ease.
Way 1: Start with a Simple Design Sketch

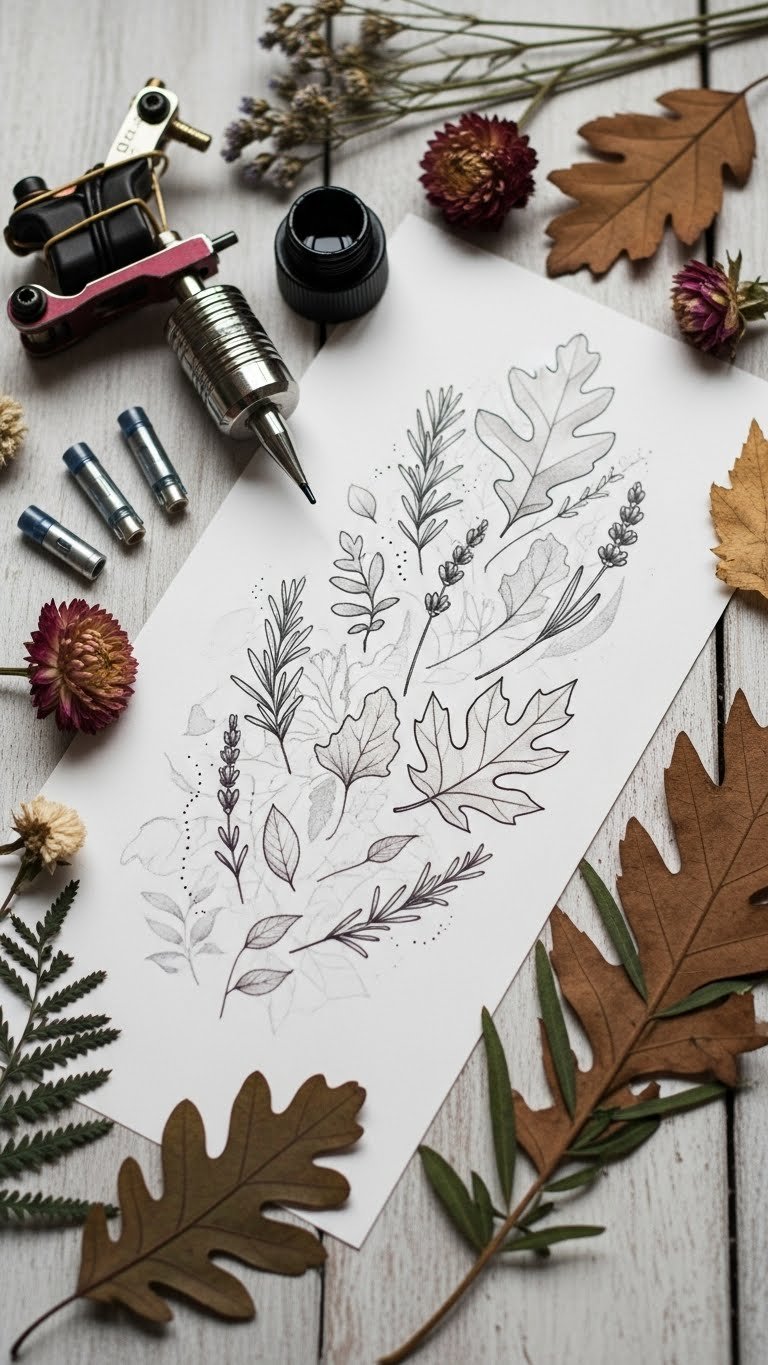
Grab a pencil and paper. Draw your idea first. Think about how the old tattoo fits in. Keep lines thick and clear. This helps you visualize the change. Try sketching at home. Use free apps on your phone for digital versions. Cost? Under $5 for supplies. Add bold elements to cover parts gently. For example, draw over a faded flower with new geometric shapes. Practice a few times. Share sketches with friends for feedback. This step saves money on artist revisions. Make it fun and quick.
Way 2: Pick Bold Line Work for Impact

Go for thick lines in your new tattoo. They stand out and layer well. Use a marker to test on your skin first. This shows how it might look. Keep it simple. Bold lines hide just enough without erasing history. Budget tip: Buy markers for $2 and practice designs. For instance, add lines around an old symbol to make it pop. Artists charge less for straightforward work. Aim for contrast to enhance the effect. Do this in one session if possible. Results last with basic care.
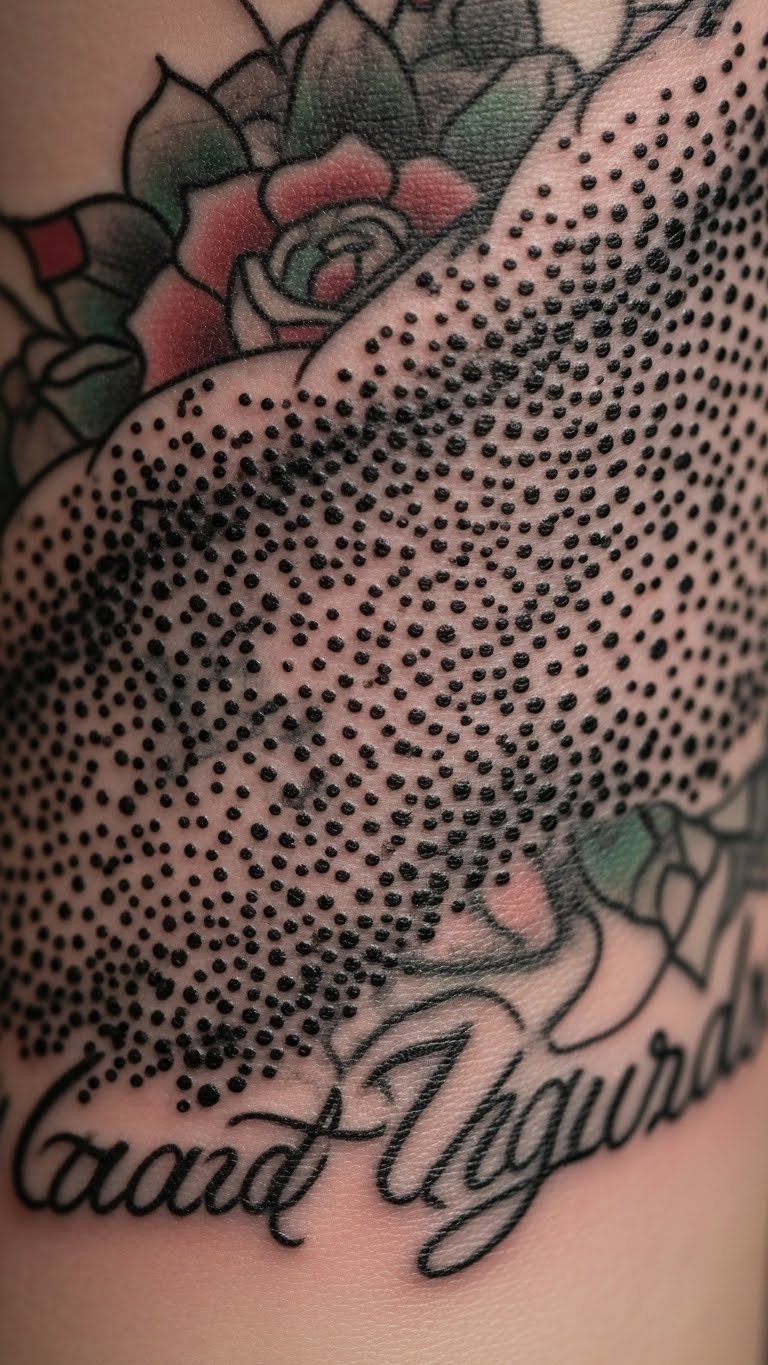
Way 3: Use Black Ink for Strong Contrast

Opt for black ink to dominate the old tattoo. It creates clear layers without full cover. Test with a temporary marker at home. Draw over the area and wait a day. See how it blends. Black works best on faded spots. Save cash by choosing local artists over big names. Example: Turn an old tribal mark into a starry night with black dots. Keep sessions short to cut costs. Focus on key areas. This method adds depth fast. Try it for a dramatic update.
Way 4: Layer with Faded Elements as Background

Let the old tattoo act as a base. Add new parts that play off it. Sketch ideas on paper first. No need for fancy tools. For example, use an old heart as a frame for a new pattern. This keeps costs low. Do preliminary drawings yourself. They guide the artist. Aim for harmony, not perfection. Budget-friendly: Use household items like pens for planning. Get it done in a single visit. The result feels personal and unique. Make small adjustments as you go.
Way 5: Add Color Pops for Extra Pop

Incorporate small color spots to highlight new work. Pick one or two shades that contrast the old ink. Test with washable paints at home. Draw on your skin and check the effect. For instance, add red accents to an old black design. This keeps things affordable. Colors cost extra but not much. Focus on spots, not full color. Example: Brighten a faded sleeve with yellow lines. Plan it out to avoid waste. The look adds life without overwhelming. Do this step by step.
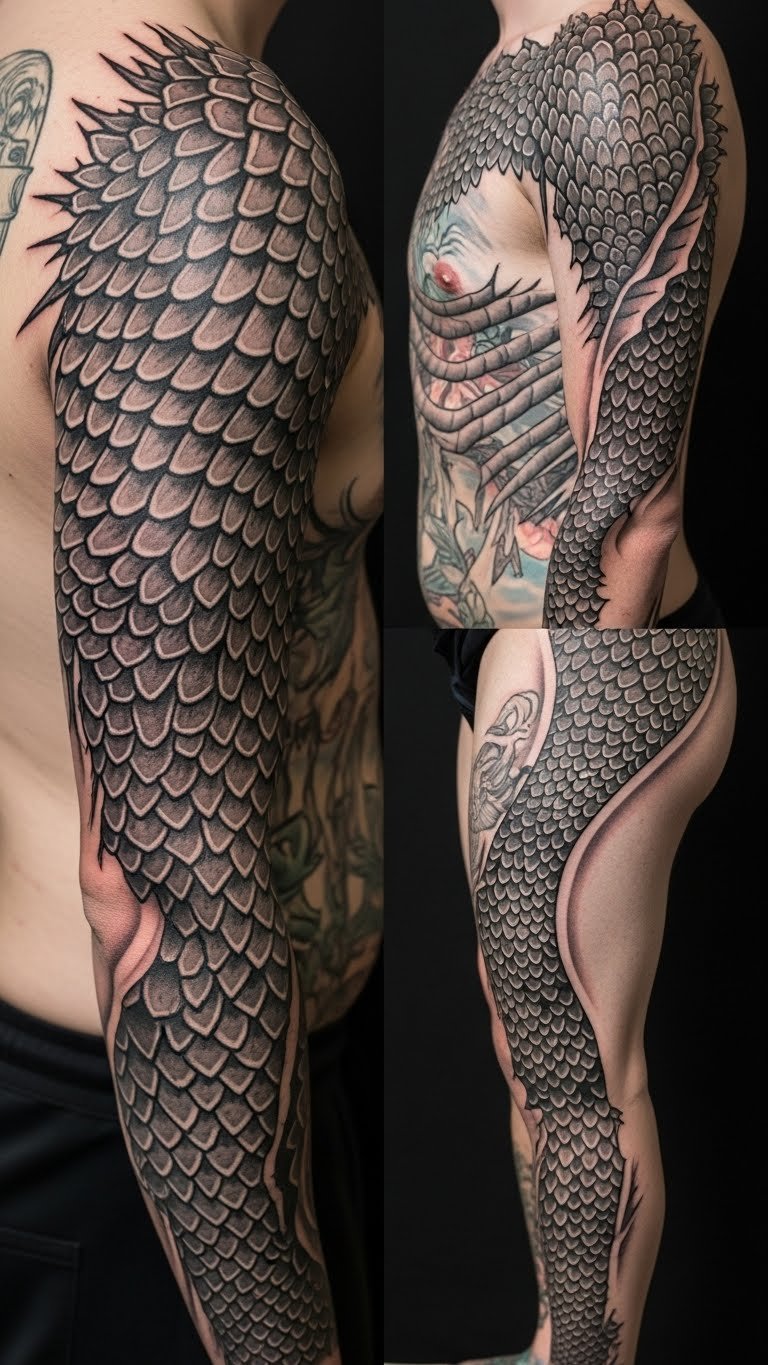
Way 6: Focus on Large-Scale Updates
Tackle big areas like sleeves with broad strokes. Map it out on paper first. Measure the space with a ruler you already own. For example, extend an old design across the arm. This method uses the existing tattoo wisely. Keep it budget-conscious by spacing sessions. Local shops often have deals. Add elements gradually. The effect builds depth over time. Try sketching freehand at home. Results feel expansive and bold. Make sure it fits your lifestyle.
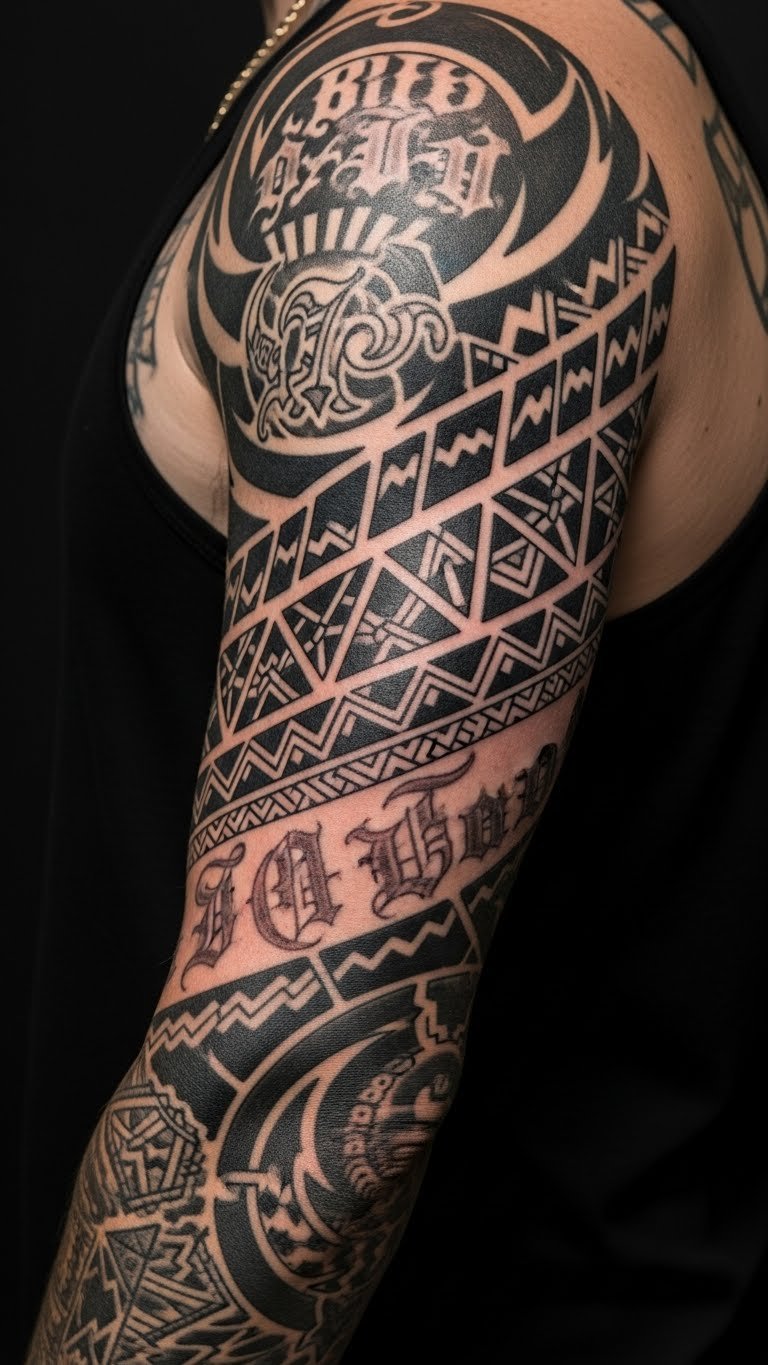
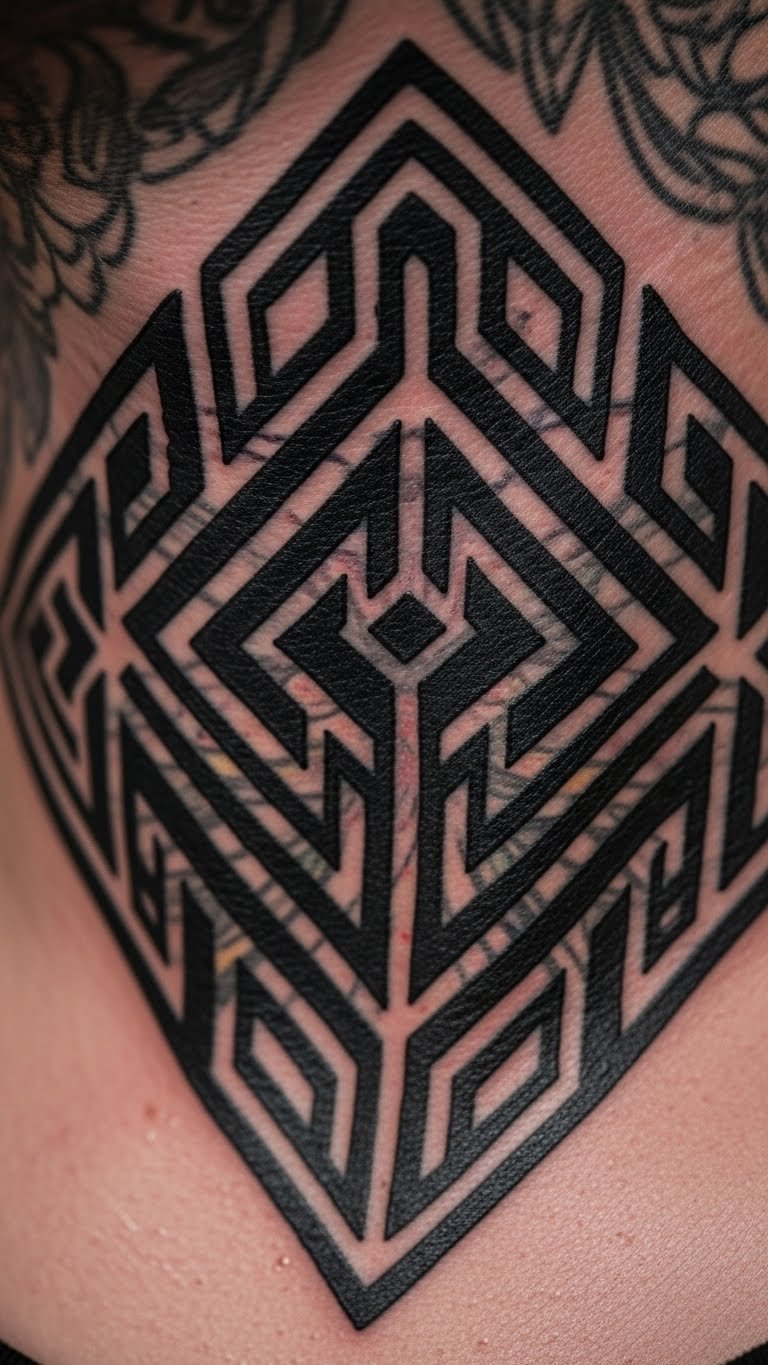
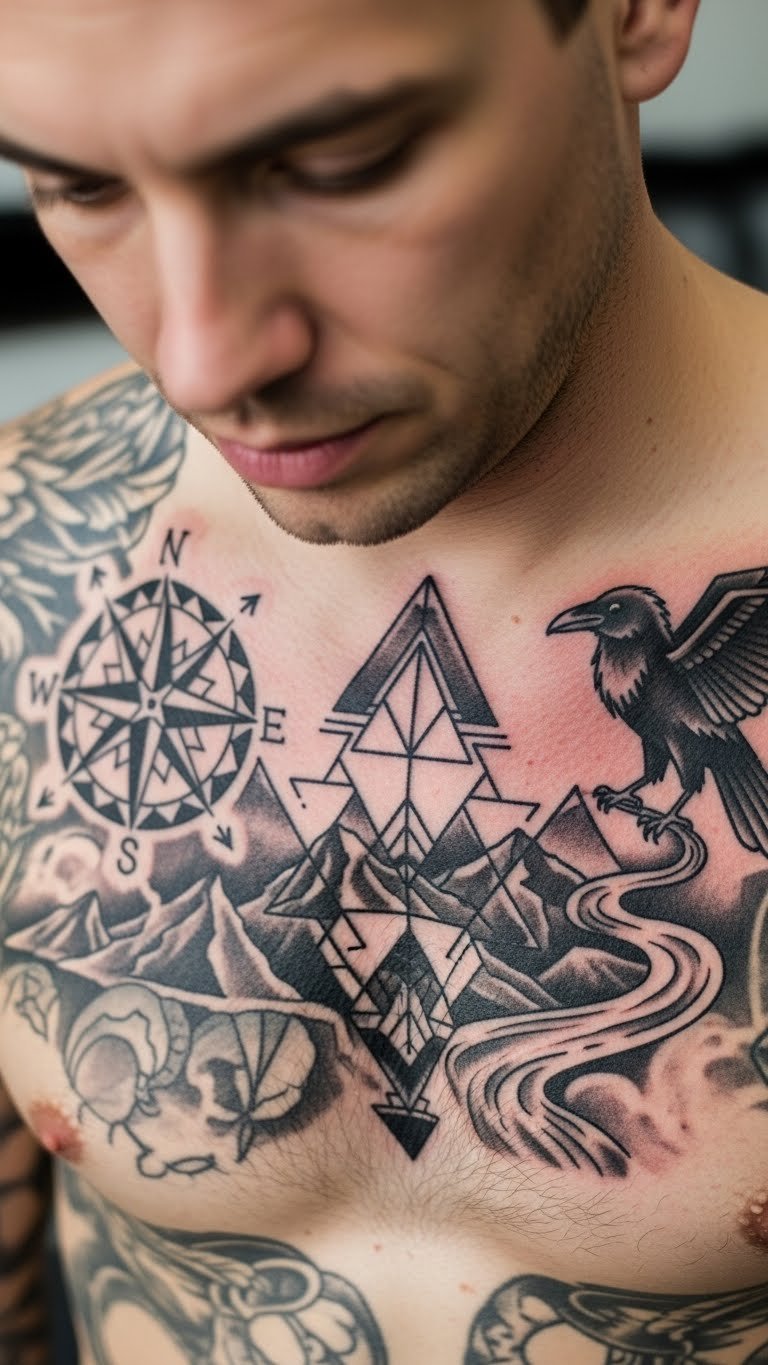
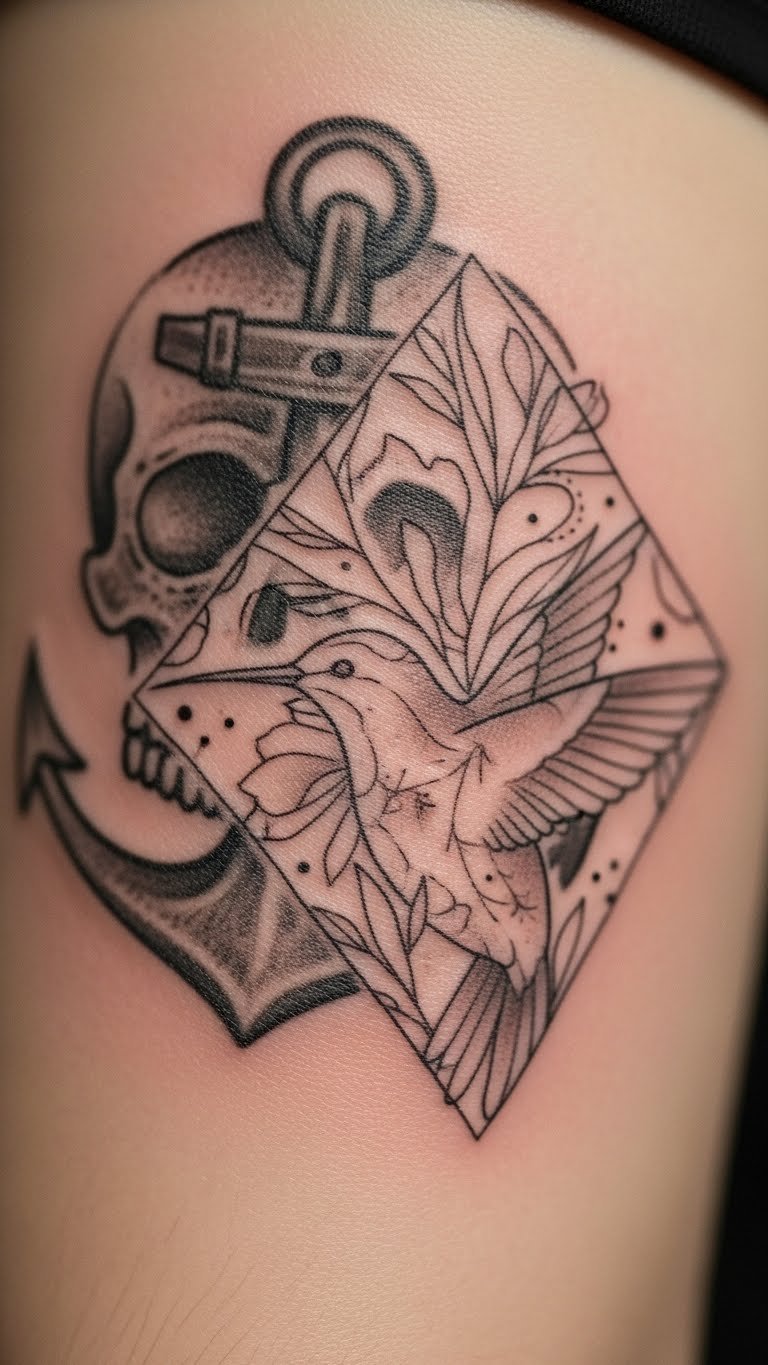
Way 7: Incorporate Geometric Shapes for Harmony
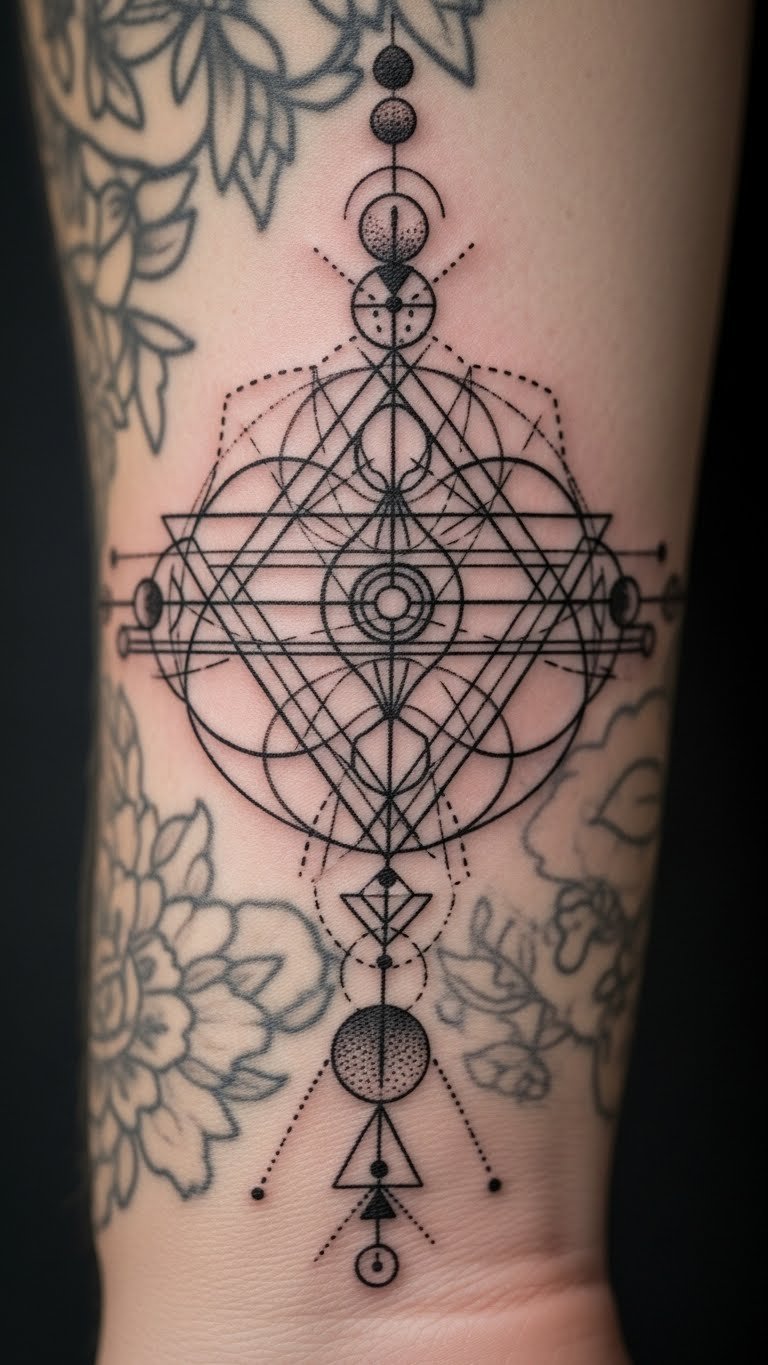
Use shapes like circles or triangles to blend with the old tattoo. Draw them on paper to plan. They add structure without clutter. For example, overlay a square grid on a faded image. This keeps things simple and cheap. Use a compass from your drawer for accuracy. Artists appreciate clear plans. It reduces time and cost. The result creates a balanced look. Experiment at home first. This way feels modern and easy. Adjust as needed.
Way 8: Experiment with Thick Outlines Only
Stick to thick outlines for a quick refresh. Sketch the outline on your skin with a pen. See how it sits on the old ink. For instance, trace around existing parts to enhance them. This approach is fast and inexpensive. No colors needed. Budget tip: Use pens you have. Sessions take less time, so pay less. The effect is striking yet subtle. Try it for small areas. It works well for busy schedules.
Way 9: Build a Narrative with Personal Symbols
Add symbols that tell your story. Jot ideas in a notebook first. Link them to the old tattoo. For example, place a new icon over a past one to show growth. This keeps costs down by focusing on meaning. Use free online tools for designs. The process feels rewarding. Results create a personal journey on skin. Plan it yourself. Make it simple and direct.
Way 10: Opt for Minimal Tools at Home

Gather basic items like pens and mirrors. Practice designs at home. Draw directly on the spot. For example, outline new ideas over the old one. This saves on professional help initially. Costs? Almost zero. It helps you decide before committing. The key is repetition. Try different angles. This step makes the real tattoo smoother.
Way 11: Focus on Skin Prep for Better Results

Clean and moisturize the area ahead. Use lotion from your cabinet. This ensures ink takes well. For example, apply it daily before the session. It reduces irritation and cost later. Keep it routine. No special products needed. The outcome is smoother layers. Do this for a week.
Way 12: Schedule Short Sessions for Affordability

Book brief appointments. Focus on one part at a time. For instance, update a section in 30 minutes. This lowers fees. Find deals at local spots. Plan your visits. The process is less overwhelming. Results build up affordably.
Way 13: Use Online Tutorials for Ideas

Watch free videos for inspiration. Pause and sketch along. For example, adapt a tutorial to your tattoo. This guides your choices without extra spend. Learn quickly. The ideas spark creativity at home.
Way 14: Add Dots and Dashes for Texture
Incorporate dots for extra feel. Draw them on paper first. Place them strategically. For example, scatter over faded areas. This adds depth cheaply. Artists can do it fast. The effect is subtle yet effective.
Way 15: Repurpose Old Ink Creatively

Turn old elements into new ones. Sketch how to integrate them. For instance, make a wave from an old line. This uses what’s there. Save on ink. The result is resourceful and unique.
Way 16: Choose Strategic Placement for Visibility

Pick spots that show off the work. Measure with a tape at home. For example, update an ankle tattoo. This makes it practical. Costs stay low with smart choices.
Way 17: Mix Styles for Fun

Combine patterns playfully. Draw options on paper. For example, blend abstract with old. This keeps it engaging. Do it affordably by planning ahead.
Way 18: Focus on Aftercare Basics
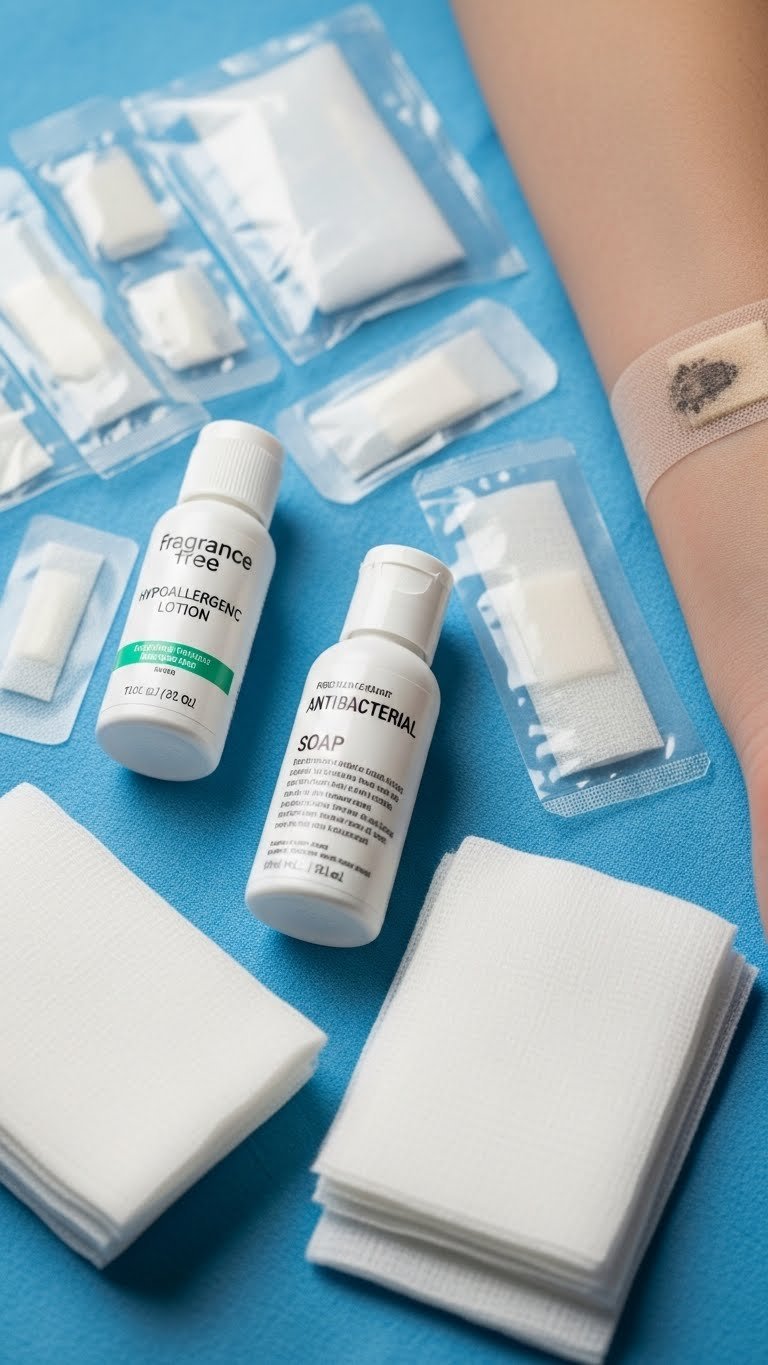
Use bandages and soap you own. Keep it clean. For example, cover for a few days. This maintains the look without extras. The process is straightforward.
Way 19: Get Feedback from Friends

Share plans with pals. Show sketches. For example, ask for thoughts on designs. This refines ideas at no cost. The input helps a lot.
Way 20: Scale Designs to Fit
Adjust sizes based on space. Measure and draw. For example, shrink for smaller areas. This fits budgets. The outcome is tailored perfectly.
Way 21: Use Freehand Techniques

Let artists draw freehand. Describe your vision. For example, guide them verbally. This speeds things up. Costs less overall.
Way 22: Add Shading Lightly
Apply shading sparingly. Test with a soft pencil. For example, shade edges only. This adds dimension cheaply. The effect is gentle.
Way 23: Plan for Touch-Ups

Check after healing. Use a mirror. For example, add small fixes. This keeps it fresh without big spends. The maintenance is easy.
Way 24: Draw from Daily Life
Inspire from surroundings. Sketch objects. For example, use a leaf pattern. This makes it personal and free. Ideas flow naturally.
Way 25: Keep It Symmetrical
Aim for even designs. Draw symmetrically on paper. For example, mirror on both arms. This creates harmony affordably. The look is polished.
Way 26: Focus on Quick Fixes
Target problem spots fast. Outline changes. For example, cover a faded part quickly. This minimizes time and cost. The result is immediate.
Way 27: Celebrate the Final Look
Snap a photo when done. Share it around. For example, post online. This marks the achievement simply. The process ends on a high note.
These ways show how blast-over tattoos can transform your ink affordably. Try them out and see the difference. Start planning today for a look you’ll love.