
Blackout tattoos offer a bold way to reinvent your look, turning skin into a canvas of pure drama. If you’re drawn to the edgy appeal of full black coverage, this style hides old ink while making a powerful statement. Dive into 27 inspiring ideas that blend creativity with practicality, perfect for anyone curious about this transformative art.
1. Full Sleeve Blackout for a Clean Slate

Start with a full sleeve blackout. This design covers your entire arm in solid black. It hides past tattoos fast. Think about how it changes your vibe. Pick a spot like your arm for easy hiding if needed. For budget tips, talk to local artists for package deals. Save money by skipping extras. A DIY example: Sketch the area on paper first to visualize. Use online tools to plan. Keep sessions short to manage discomfort. Wear loose clothes after. This approach lets you refresh without big costs. Try it step by step. Add negative space if you want patterns later. Focus on simple actions for the best results.
2. Leg Blackout for Balanced Coverage

Go for a leg blackout next. It wraps your leg in deep black. This creates symmetry and strength. Choose legs for daily wear options. Find affordable artists through community forums. A DIY idea: Measure your leg and draw outlines at home. Use free apps to mock up designs. Break sessions into smaller parts. Wear compression gear for healing. This method keeps things practical. Experiment with partial coverage first. Make it your own with easy tweaks.
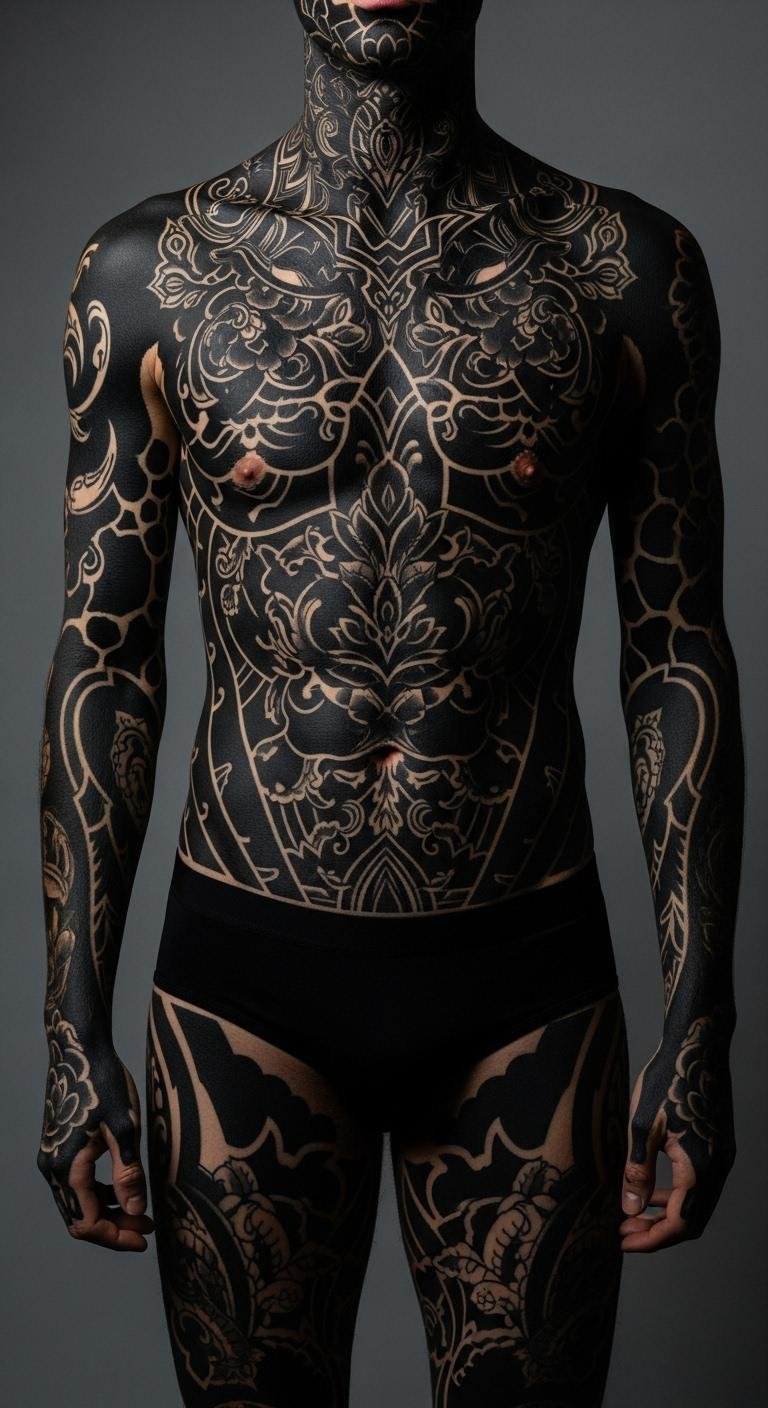
3. Torso Blackout for Core Impact
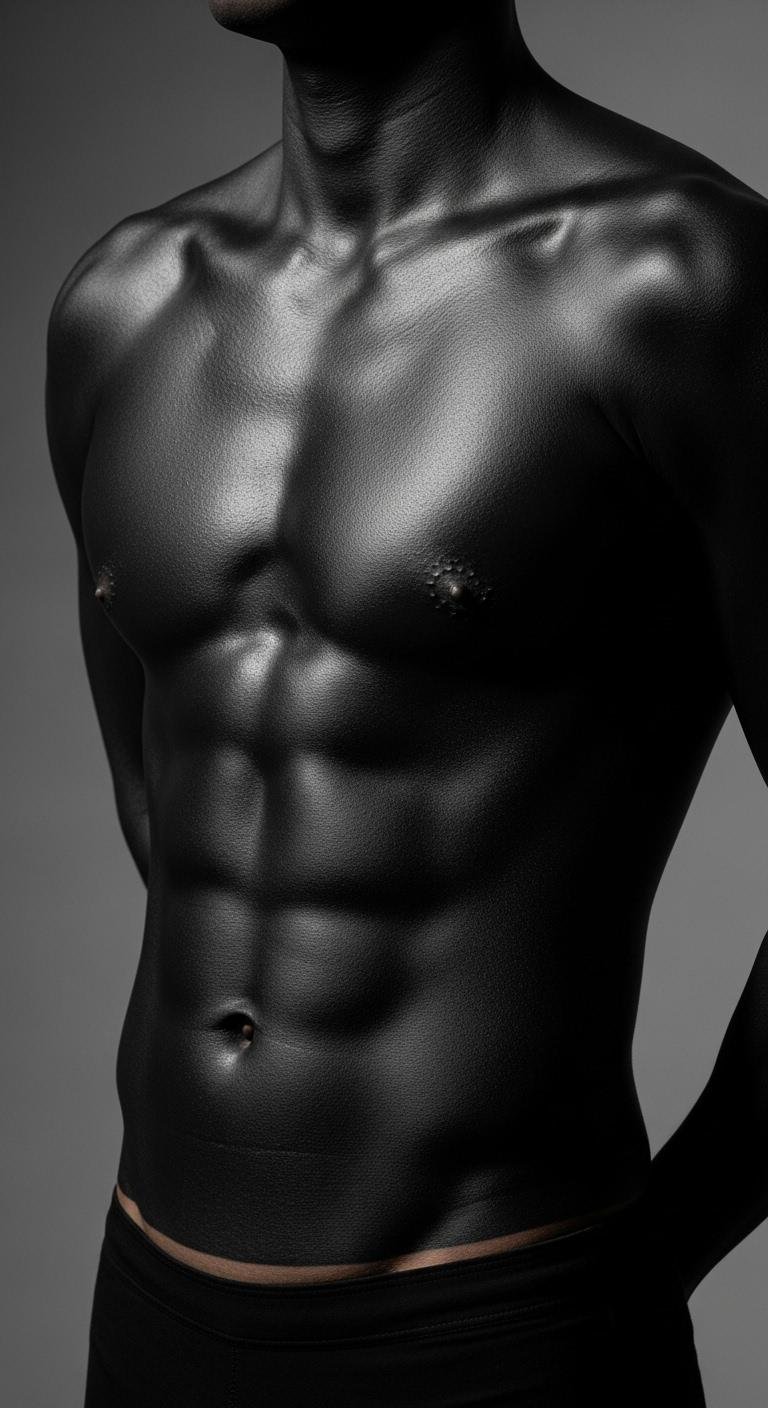
Torso blackout makes a strong center. It inks your chest and back solid. This adds impact to your body. Select areas that matter most to you. Look for sales at tattoo shops to cut costs. A home tip: Practice shading on paper before committing. Use basic supplies like markers for tests. Schedule sessions around your routine. Keep skin clean with household items. This way, you stay in control. Add details over time as needed.
4. Negative Space in Blackout for Subtle Designs

Negative space in blackout adds flair. Leave skin bare for patterns within the black. It brings subtle designs to life. Try this on smaller spots first. Search online for cheap artist recommendations. A DIY step: Draw shapes on your skin with temporary markers. Snap photos to check the look. Go for one session at a time. Use lotion from your cabinet for care. This keeps it simple and fun. Build your design gradually.
5. White Ink Accents on Blackout for Extra Pop

White ink on blackout creates pop. Add it over healed black for highlights. This makes your tattoo stand out. Start with a test spot. Find budget-friendly ink options at local stores. A home idea: Use white eyeliner to preview effects. Take notes on what works. Plan for follow-up visits. Clean with soap you have. This approach adds personality without fuss. Make changes as you go.
6. Geometric Patterns within Blackout for Modern Edge
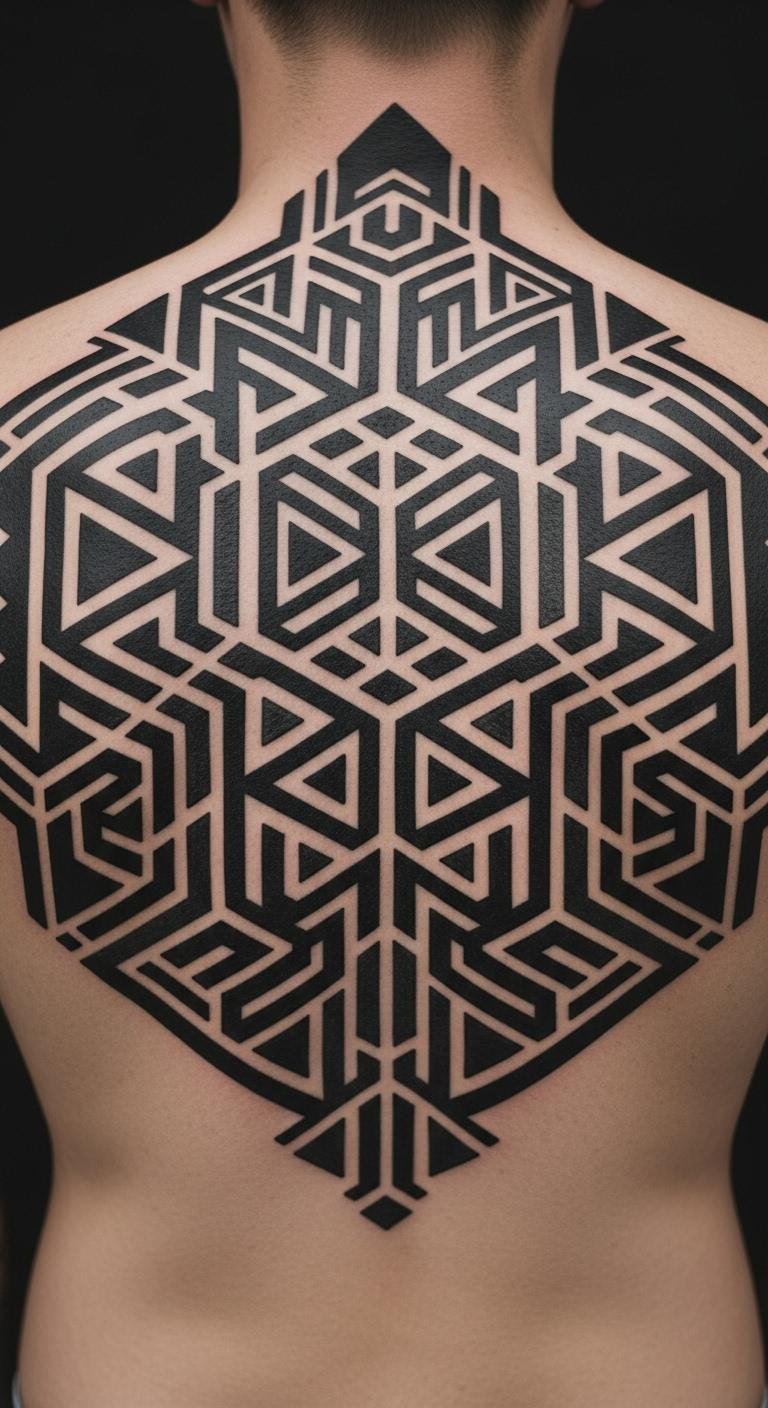
Geometric patterns in blackout give modern edge. Use shapes like triangles in the ink. This updates your style easily. Pick spots that show off the lines. Ask around for low-cost artists. A DIY trick: Cut shapes from paper and place on your body. Snap pictures for reference. Divide work into quick sessions. Protect with old shirts. This method feels approachable. Adjust details later if wanted.
7. Tribal Elements in Blackout for Cultural Touch
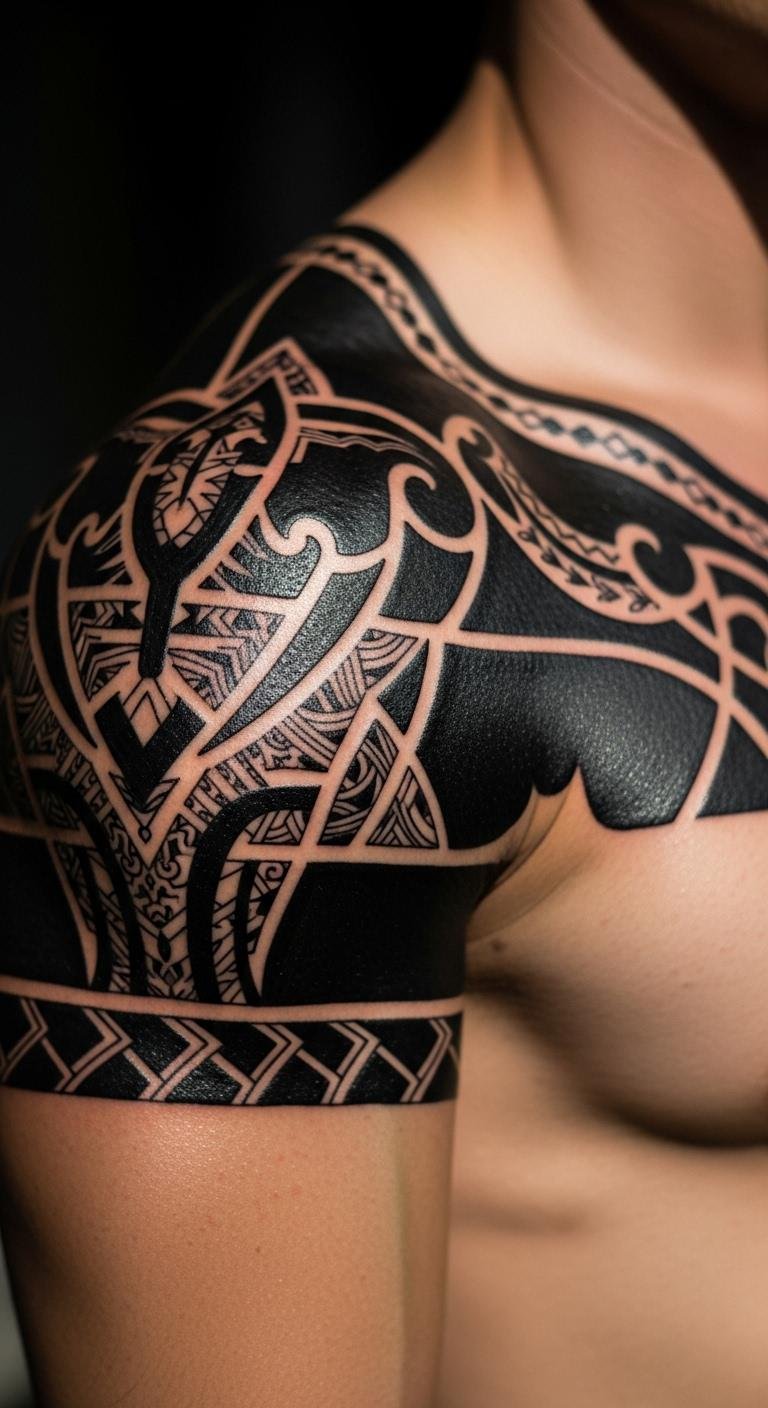
Tribal elements in blackout add cultural touch. Mix traditional lines into the black. This honors roots with a twist. Choose visible areas for expression. Look for deals on social media. A simple home test: Draw tribal designs with pens. Review in a mirror. Keep appointments short. Heal with basic creams. This way, you connect personally. Refine over time.
8. Partial Blackout on Arms for Easy Start

Partial blackout on arms is an easy start. Cover just part for a taste. This lets you dip in without full commitment. Try forearms for practicality. Seek out affordable packages online. A DIY example: Tape off sections and sketch ideas. Use your phone to capture progress. Do one area per visit. Care with everyday items. This builds confidence step by step.
9. Back Blackout for Hidden Strength
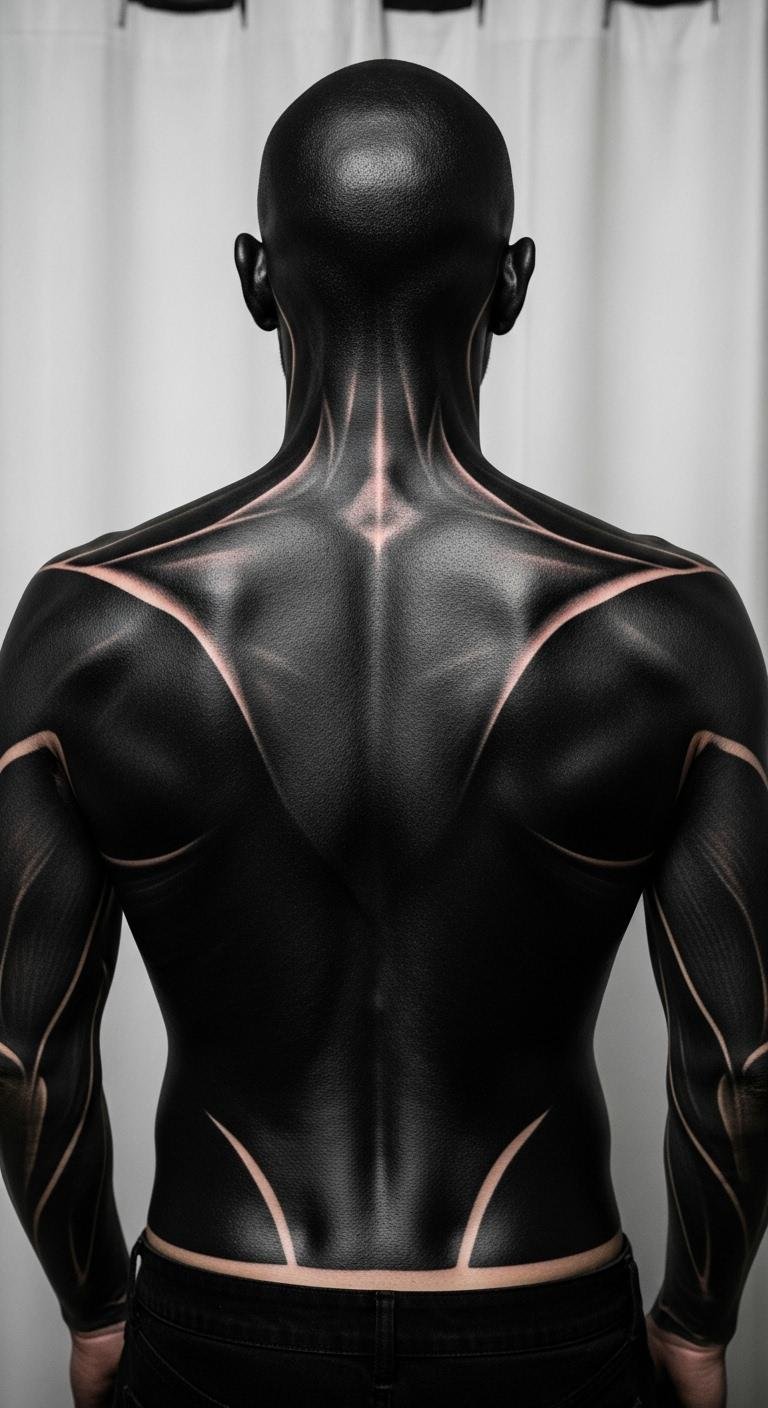
Back blackout offers hidden strength. Ink your back solid for a private change. This provides coverage where it counts. Select based on your comfort. Find cost-saving options through reviews. A home prep: Outline on a shirt first. Take selfies to plan. Break into manageable sessions. Use gentle washes. This keeps it personal and effective.
10. Chest Blackout for Front-Facing Boldness

Chest blackout brings front-facing boldness. Cover your chest in black for impact. This transforms your appearance quickly. Choose for daily visibility. Check for budget artists in your area. A DIY tip: Practice on paper cutouts. Document with photos. Schedule around life. Maintain with household products. This method empowers your look.
11. Finger Blackout for Subtle Details

Finger blackout adds subtle details. Ink fingers solid for a discreet touch. This works for everyday wear. Start small to test. Look for inexpensive touch-up deals. A home idea: Draw on fingers with markers. Check in daily. Go for quick sessions. Keep hands moisturized. This approach is straightforward.
12. Neck Blackout for Dramatic Effect

Neck blackout creates dramatic effect. Cover your neck in black for edge. This makes a statement fast. Pick for high-visibility spots. Search for affordable pros. A DIY step: Use string to outline. Snap progress shots. Divide into short visits. Care with simple routines. This adds flair easily.
13. Face Blackout for Ultimate Commitment

Face blackout shows ultimate commitment. Ink parts of your face for boldness. This is for serious fans. Think carefully on placement. Find low-cost options locally. A home test: Draw lightly with makeup. Review in photos. Plan sessions wisely. Use gentle skin care. This path demands thought.
14. Cover-Up with Blackout for Fresh Starts

Cover-up with blackout gives fresh starts. Hide old ink under black layers. This renews your skin simply. Focus on problem areas. Seek out price breaks. A DIY preview: Cover tattoos with markers. Compare before and after. Tackle in phases. Heal with basics. This offers real change.
15. Aftercare for Blackout Tattoos

Aftercare for blackout tattoos keeps things smooth. Follow basic steps like cleaning daily. This ensures good results. Use items you own. Look for tips online. A real example: Apply lotion twice a day. Monitor for changes. Rest the area. This routine works well.
16. Personal Transformation with Blackout

Personal transformation with blackout shifts your story. Ink for a new chapter. This feels empowering. Start with meaning. Seek affordable ways. A self-reflection: Journal your reasons. Track progress. Build slowly. This journey is yours.
17. Full-Body Blackout Journey
Full-body blackout journey is a big adventure. Cover most of your skin. This takes time. Begin small. Find phased options. A step-by-step: Map your body. Add piece by piece. Stay patient. This path rewards effort.
18. Scarification and Blackout Mix

Scarification and blackout mix add texture. Combine for unique feel. This stands out. Try on test spots. Look for pros who do both. A home idea: Research safe methods. Practice carefully. Proceed with care. This creates depth.
19 Minimalist Blackout Designs

Minimalist blackout designs keep it clean. Use less for more impact. This is elegant. Start simple. Find budget designs. A DIY: Sketch basic shapes. Review options. Add as needed. This style is timeless.
20. Abstract Blackout Art

Abstract blackout art sparks creativity. Blend shapes in black. This expresses freely. Choose flowing spots. Seek affordable artists. A fun example: Doodle ideas at home. Capture inspirations. Build your piece. This lets imagination play.
21. Floral Motifs in Blackout

Floral motifs in blackout add nature. Use leaves in the design. This softens the look. Pick visible areas. Look for deals. A home tip: Draw flowers on paper. Test placements. Add slowly. This brings beauty.
22. Animal Themes in Blackout

Animal themes in blackout bring wildlife. Incorporate beasts in ink. This adds personality. Start with favorites. Find cost-effective ways. A DIY: Sketch animals first. Plan the layout. Proceed step by step. This makes it fun.
23. Cultural Blackout Tattoos

Cultural blackout tattoos honor heritage. Mix in traditional elements. This connects deeply. Choose meaningful spots. Search for respectful artists. A personal example: Research your background. Draw inspirations. Add with care. This celebrates roots.